Upcyling old clothing is both practical and fun. Think of how much you love your favourite old t-shirt, even though is worn out and warped enough that you don’t wear it anymore. Just because it no longer looks good as a t-shirt doesn’t mean you should throw it away!
Check out this guide for turning your favourite old t-shirt into a useful tote bag… without even having to learn how to sew!
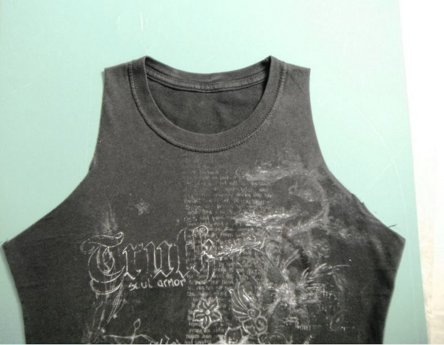
Step 1:
Choose which t-shirt you want to upcycle! Perhaps you want to transform an old fav so that you can get a few more years’ use out of it. Maybe you want to alter one that you never wore in order to clear out space in your closet and make it into something useful!

(Source: Recyclart)
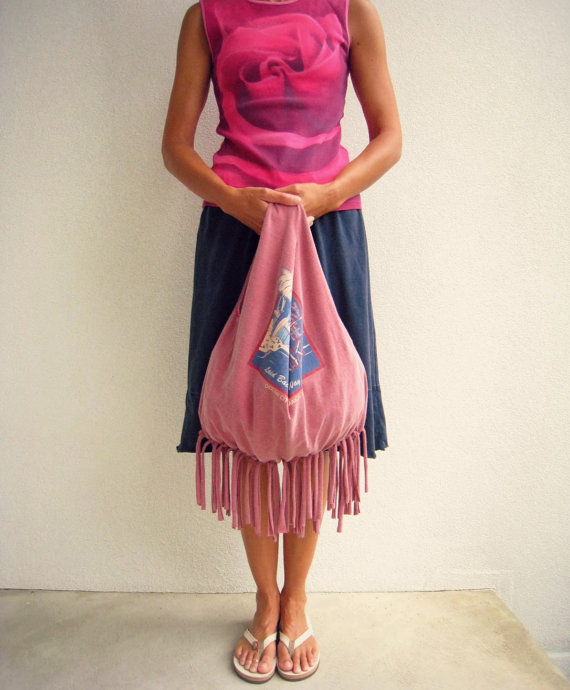
Step 2:
Gather your supplies. This part is really easy! Besides your old t-shirt, all you need is a pair of good scissors. We’re serious- that’s it!
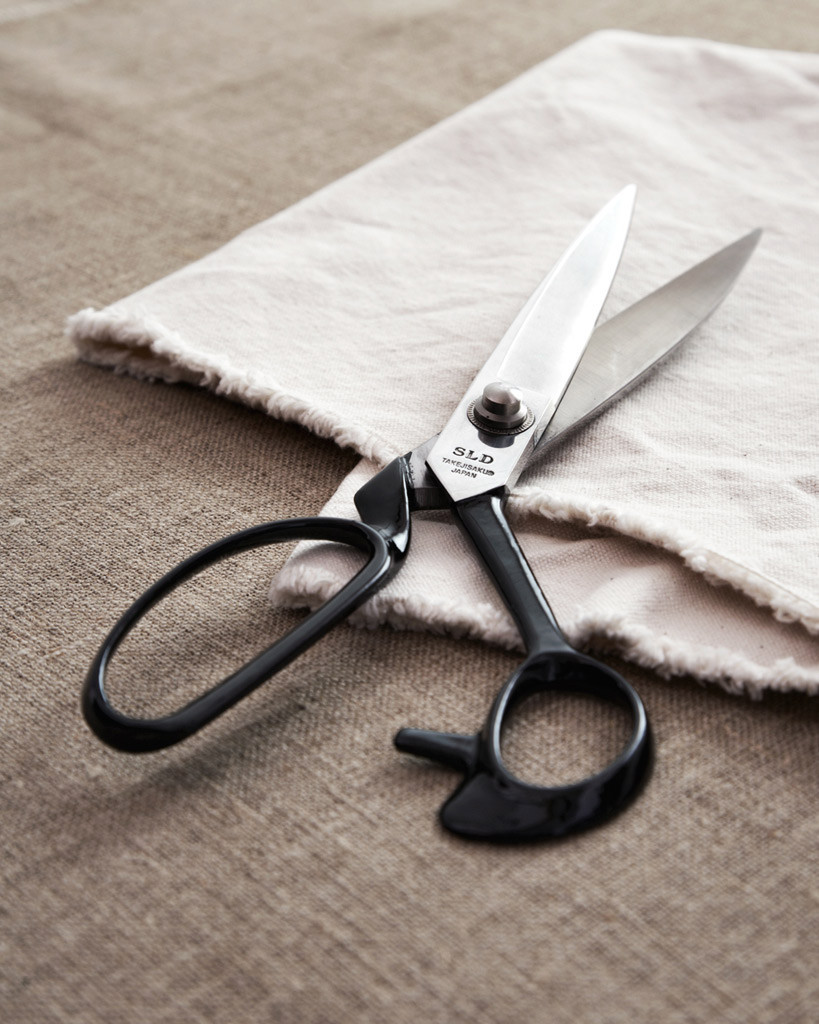
(Source: Nalata Nalata)
Step 3:
Fold your shirt neatly in half, with the back of the shirt on the inside of the fold. Make sure the edges of the shirt and the sleeves line up neatly.
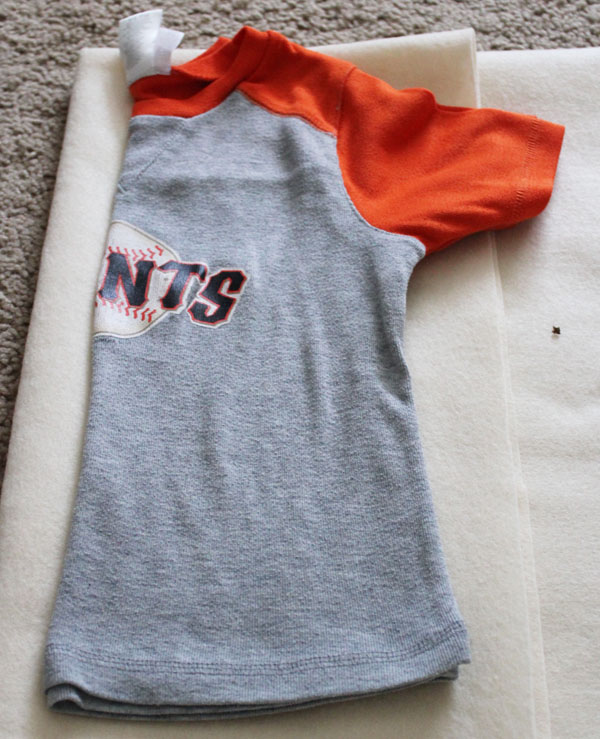
(Source: 30 Minute Crafts)
Step 4:
Neatly cut the t-shirt sleeves off. Following the seem line can help if the seam is relatively straight, rather than curved far into the body of the shirt.
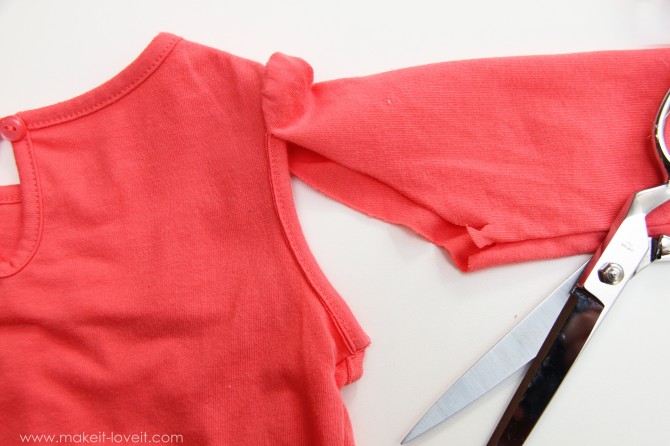
(Source: Make It, Love It)
Step 5:
Lay the t-shirt flat on it’s back and look at the neck and collar. Decide how you want to cut this piece out of the shirt. You can draw or mark where you want to make cuts, or you can “eyeball it” by following the edge of the neckline as a cutting guide.
(Source: Candice Charlson)
Step 6:
Make sure your cuts are even around the neckline and then sleeves. Take this time to neaten any wiggly lines or trim off any uneven pieces. You want the front and back of the shirt to line up well. This is what the neckline should look like once you’ve cut it out!
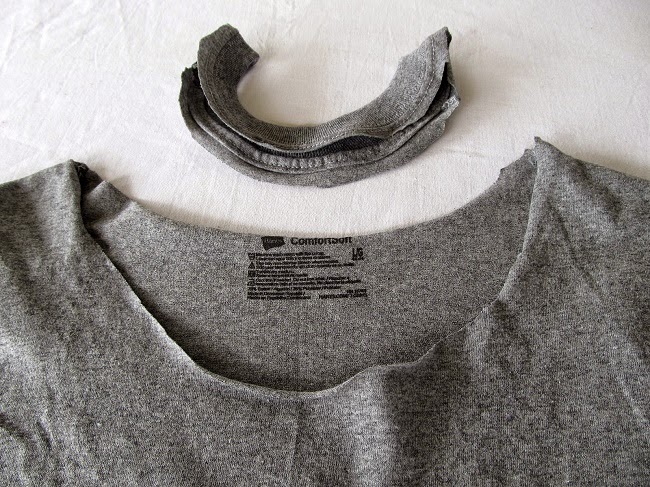
(Source: U Can Do It)
Step 7:
Once your cut is even, evaluate its size. This hole at the neckline will be the main opening of your tote, so it should be big enough for you to put things in and take things out of the bag. Do you want to carry your school books or your groceries in it? Make sure you’d be able to fit a note book or a head of lettuce through the hole! If you can’t, carefully cut away more material from the neckline until you can. Remember not to cut it too big, or things will fall out of your bag!
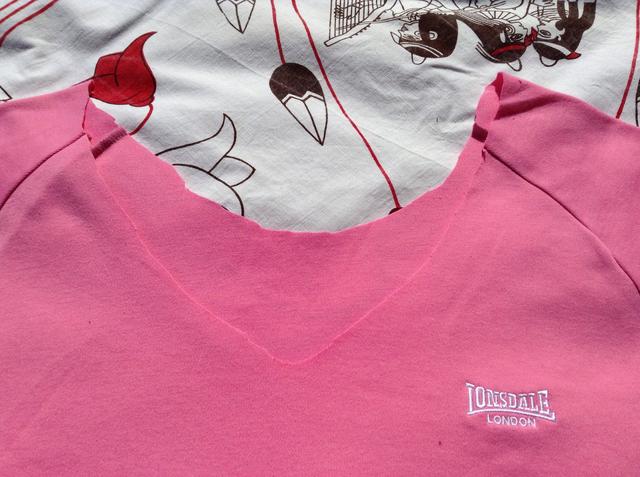
(Source: Snapguide)
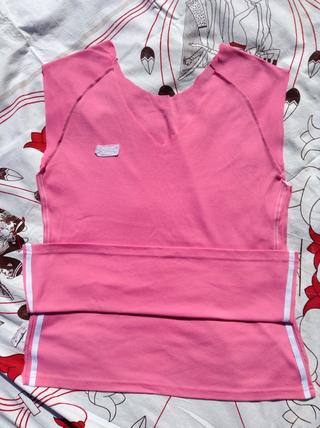
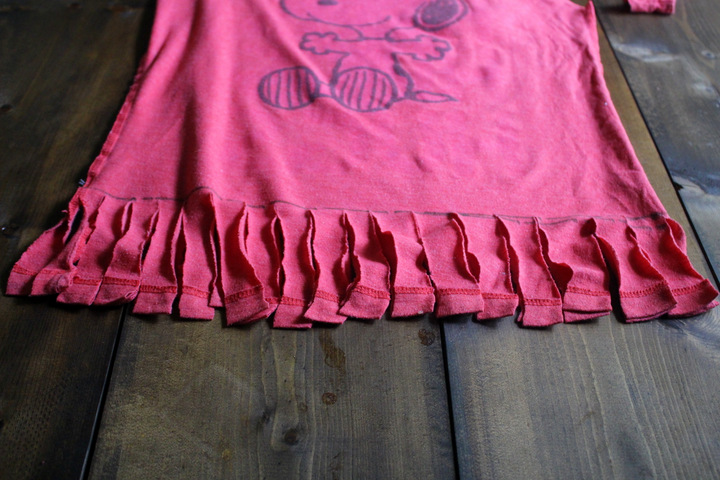
Step 8:
You’re going to cut the bottom of the shirt into strips to make knotted fringe. If you’d like your bag to have some flare, you can let the fringe show by leaving it hanging down at the bottom. If you’d like the bag to look neat and tidy, you can hide the knots on the inside. For a fringy bag, you can leave your shirt right-side-out when you cut your strips. For a tidy bag, turn the shirt inside out and realign the edges before you cut, just like in this picture.

(Source: Snapguide)
Step 9:
Near the side seams of the shirt, make a vertical cut the same size on each side. The length of your cuts will determine the size of your tote. You can text the size by folding the bottom of the shirt up like this picture.
(Source: Snapguide)
Step 10:
Along the bottom of the shirt, cut slits the same length as your side cutes. Make sure you’re cutting through both the front and the back of the shirt at once. This will make a fringe along the bottom.
(Source: Fashion Foot)
Step 11:
Take each pair of strips (i.e. the strip you cut from the front of the shirt and the corresponding strip you cut from the back of the shirt) and tie it into a tight knot with its partner. Repeat the knotting process all the way along the bottom of the shirt.
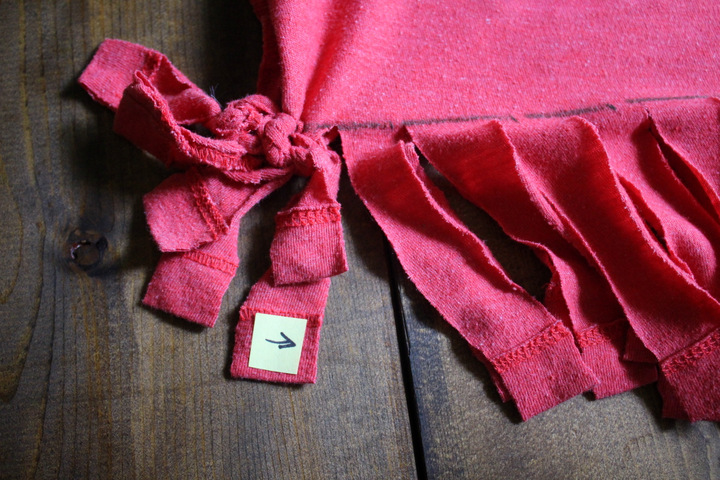
(Source: Zopee Und Makeup)
Step 12:
If you’ve kept your shirt sight-side-out because you want to keep the fringe along the bottom of your bag showing, then you’re all done. The neckline is your main compartment and the sleeve holes are your handles!
(Source: Rave and View)
Step 13:
If you’ve decide that you want to hide the fringe for a neater look, turn the t-shirt from inside out to right-side-out so the knits are along the inside. You might consider trimming the fringe first so it doesn’t annoy you sitting in the bottom of the back (but don’t trim too closely to the knots so that they loosen and come undone).

(Source: Rush Order Tees)
Step 14:
Fill your new t-shirt tote bag up!
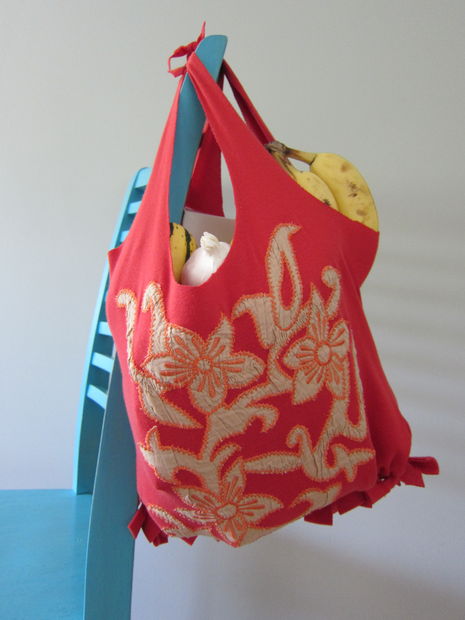
(Source: Instructables)
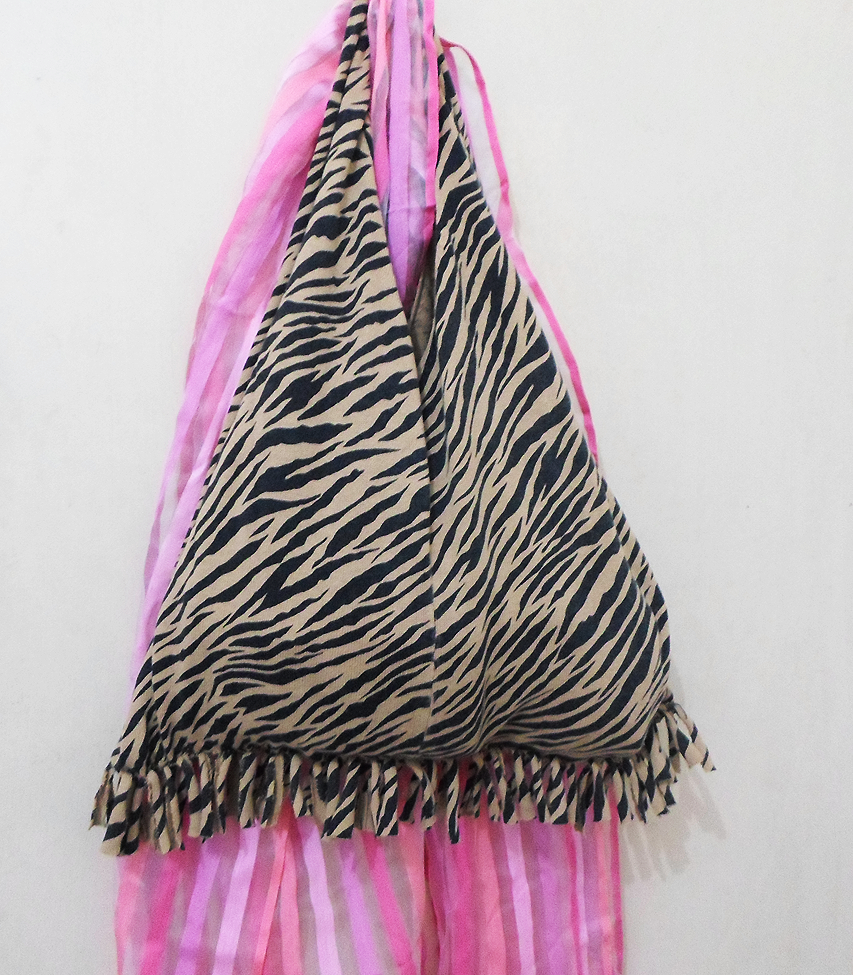
Step 15:
Enjoy your brand new upcycled bag!
(Source: Ohzie)
Do you know someone with a beloved t-shirt that needs to be retired from their wardrobe? Share this post with them so they can still make use of it!