This time of year is all about new beginnings and fresh starts. One of the best ways to refresh your routine and prepare for 2016 is to start the year off organized! Whether you’re hoping to tie up loose ends from last year, get your finances in order, or improve your fitness routine, laying out your schedule and keeping track of your goals is the best first step you can take.
Staying organized might not sound very exciting, but that’s nothing that a little DIY attitude can’t fix. Check out these five crafty calendar ideas that will have you prepared for your day without boring you each morning!
1. The Chalkboard Calendar
Remember how much fun writing on the chalkboard in grade school was? I Spy DIY came up with a calendar idea that lets you have fun with chalk every day! Cut pieces of thick card into squares or find small square canvasses. Paint each square with chalkboard paint. Be sure to make 31 so that each month fits on your calendar! Next, make titles for your months and days. Print them off, paint them, or spell them out in glittered foam letters; get as creative as you like. Stick your month at the top, your days in a row below, and your squares in columns under each day, just like a regular calendar. On the first of each month, number your days. Keep chalk of all different colors in a cup stuck next to your customizable chalkboard calendar.
2. The Paint Chips and Bulletin Board Calendar

Looking for an easy way to make a cute, colorful calendar without breaking the bank? Do what Say Yes did and grab your old bulletin board, some push pins, and a few paint card samples! Cut out the squares in whichever shades you like and pin them like a calendar on your bulletin board. Each morning, the bright colors will keep you cheerful while the push pins make it easy for you to move the cards around, make notes on them, and rearrange things however you like!
3. The Framed Button Calendar
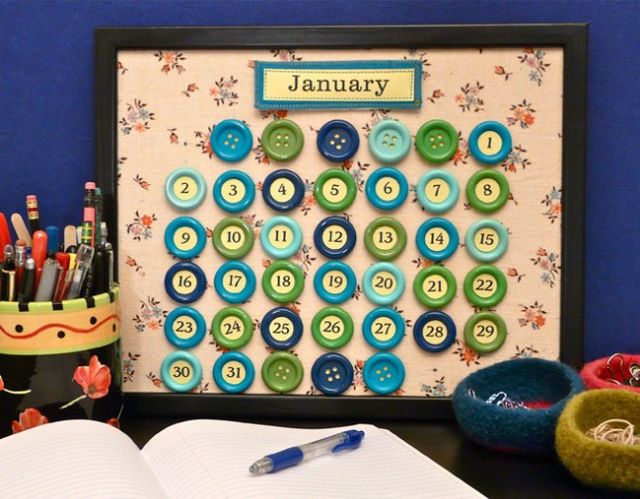
What better way to use your random collection of spare buttons than for crafting? Keep yourself organized and up-cycling by using them to create this awesome button calendar from Make:! Use spray adhesive to cover a foam board in fun material and fit the board into a picture frame without the glass. Glue a push pin to the back of each button and paint or glue a number on the front. Organize the buttons according to the days of the week each month. On days that you have many things to do, write a list and pin it to the board with your button!
4. The DIY Instagram Calendar

If you’re a craft person who also likes to stroll down memory lane, try making the DIY Instagram Calendar by A Beautiful Mess! Cut out 13 pieces of thick card into the shape you want: 1 piece for the cover of your calendar and 1 for each month of the year. At the top, punch two holes in each card. Pile them so the holes line up and tie them all together with ribbon or string. Print out a temple of each month’s calendar (or draw your own!). Next, choose and print 12 pictures that make you happy. Glue the images and the calendar templates so that each month has a fun picture when you open the calendar!
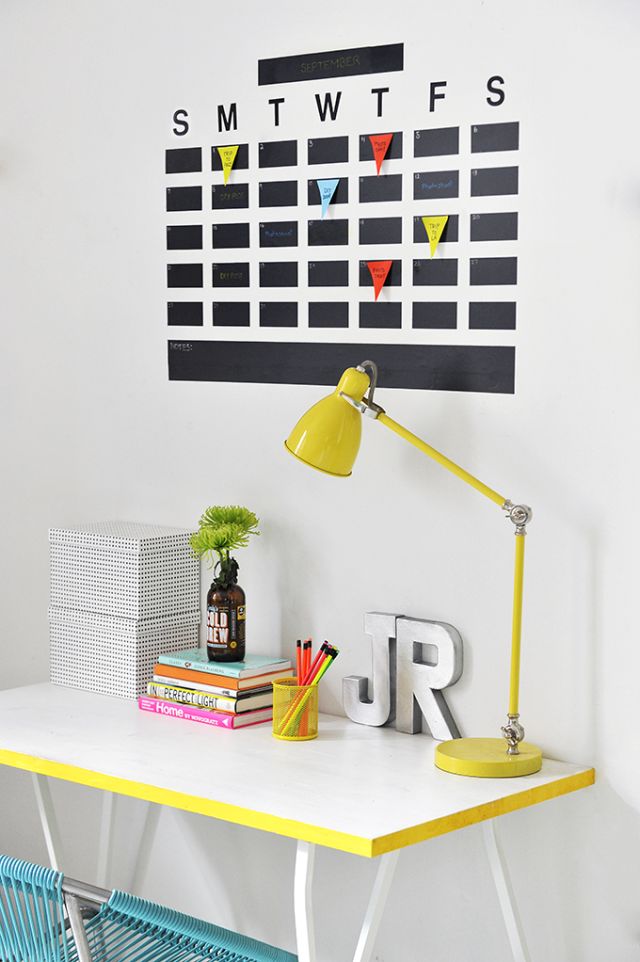
5. The DIY Dry Erase Calendar
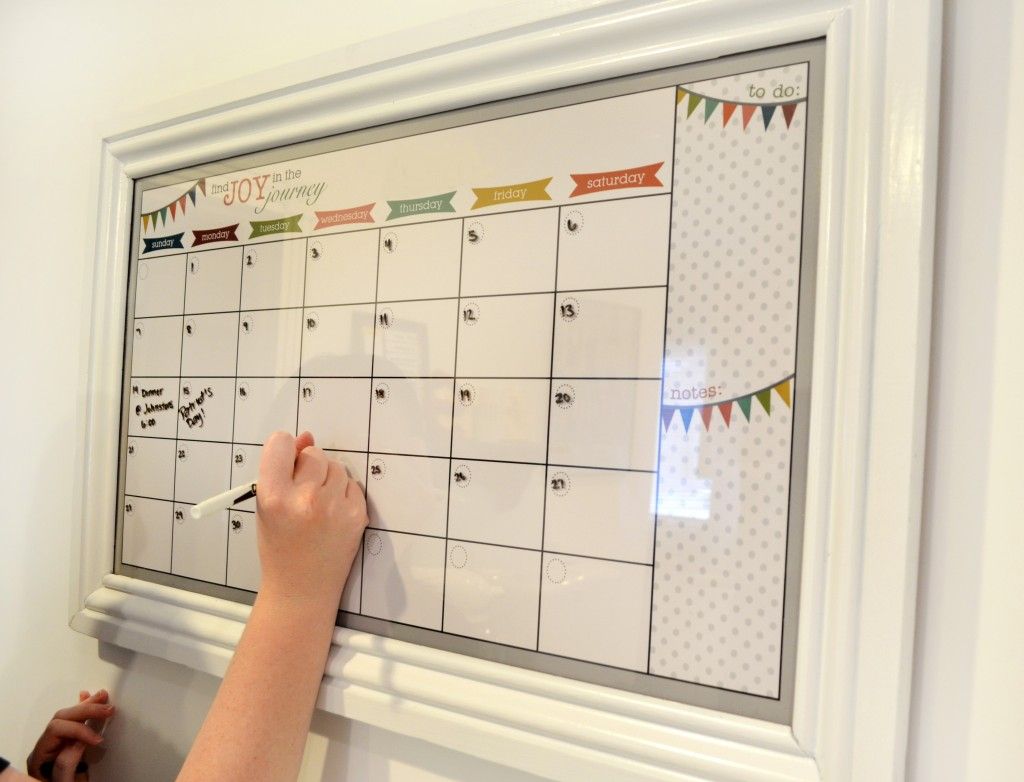
Have you ever seen dry erase poster calendars and thought about how useful they are? Did you know that after a few months they often get harder to clean off? Darling Doodles has the solution! Create your own dry erase calendar by pasting a blank calendar template on a backing and placing it in a picture frame. Customize your frame, template, and backing however you like. Use a dry erase marker to fill the calendar in each month and wipe it off easily when it’s time to change things!
Getting organized doesn’t have to be dull.
Tell us about your DIY calendar designs in the comments!