VIEW IN GALLERY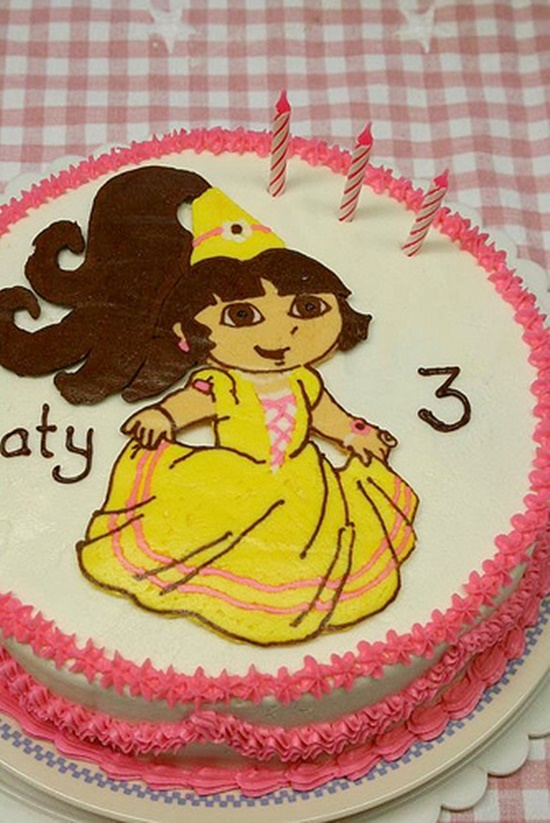 VIEW IN GALLERY VIEW IN GALLERY
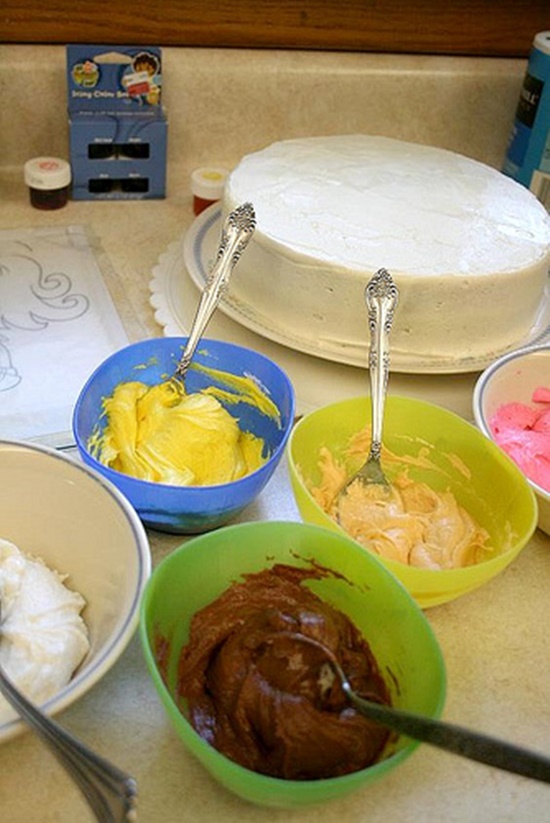 VIEW IN GALLERY
 VIEW IN GALLERY
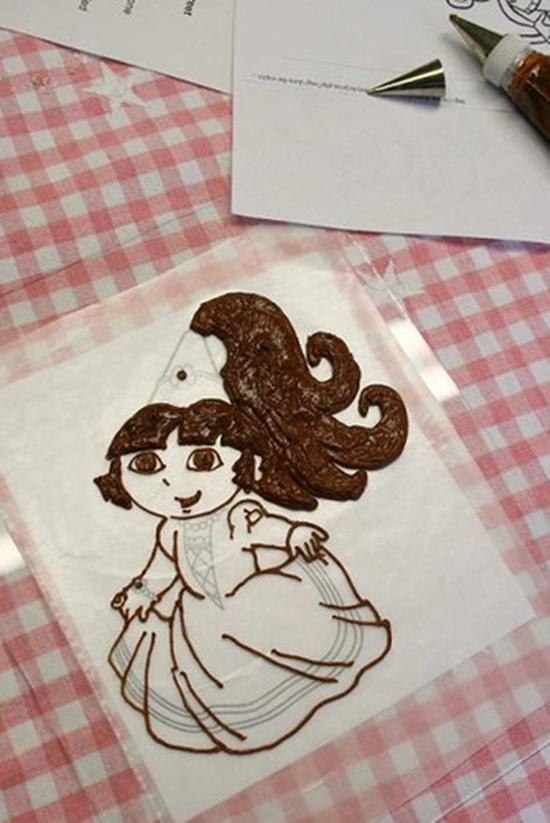 VIEW IN GALLERY
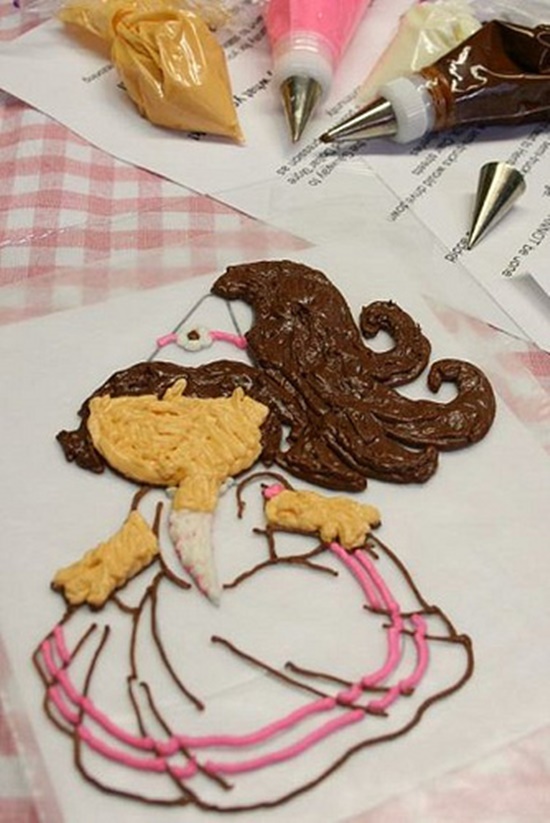 VIEW IN GALLERY
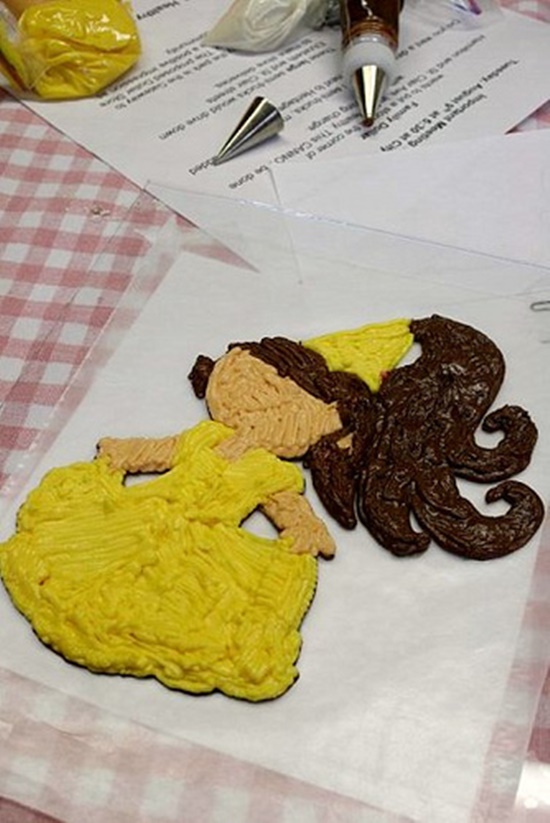 VIEW IN GALLERY
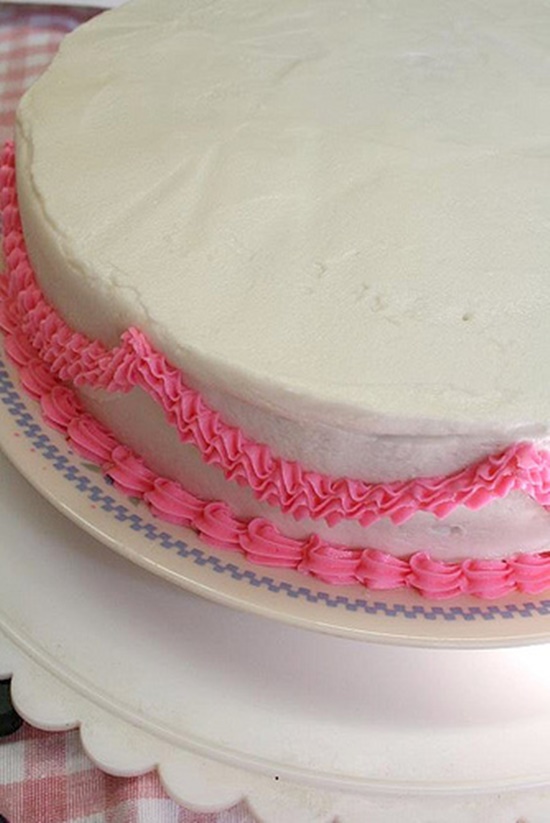 VIEW IN GALLERY
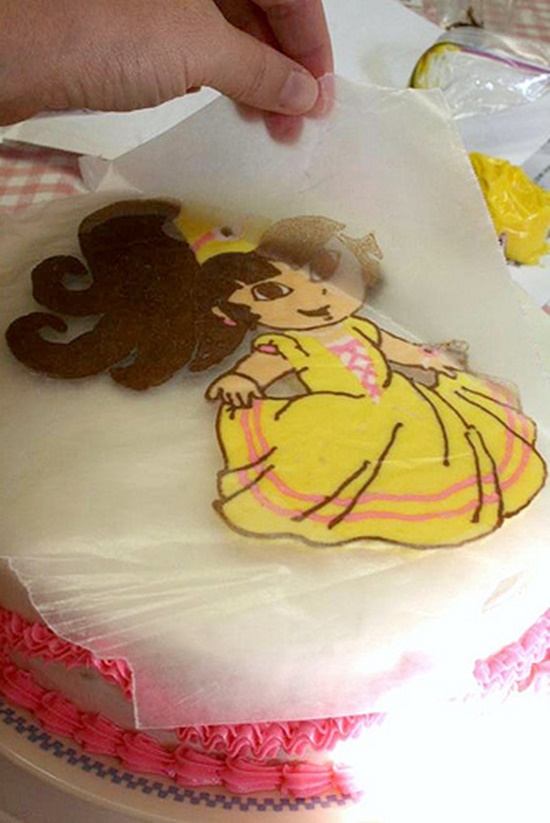
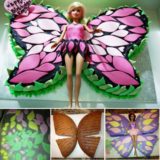
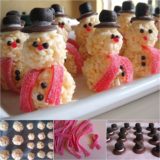
How to decorate a cake with your favorite image ? Your kid likes a certain team?No problem. All you need is a picture off the webz (or a coloring book page, or a drawing you did yourself) and you can make any design you want. The beauty of this method is that you can put anything you darn well want on a cake.
Directions:
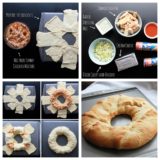
1. First, bake your cake and let it cool thoroughly. It needs a flat top, so do what you have to to make it flat.
2.Make your icing; a buttercream made with butter is best.
3. Ice your cake. You want a flat-topped cake. The icing job does not have to be perfect, just flat.
4. Print out a coloring page, and make sure it is the right size for the top of your cake
5. Trim your coloring page, and tape it to the back side of a flat piece of glass.
ape a similarly-sized piece of wax paper to the front of the glass. Now you have a coloring page/glass/wax paper sandwich.
6. Mix up the colors you will need for your design. Don’t forget to include a dark color for outlines and details.
7. Fill your icing bags. For the finest details, use a #1 decorating tip.
Now, trace over the outlines that you want to see on your finished product. This bottom layer will be the top layer.
8. Once your bottom detail layer is established, you can fill in larger areas over the details with other colors of icing. You can’t go back in and put details in at this stage if you leave them out, so think logically, one step at a time. It isn’t hard and you can fix things later if you need to, so don’t stress too much about it.
Color in all the areas with the icing layers to a depth of about 1/4 inch. Fill in right to the edges and on top of your detail lines, so your whole design is supported by that 1/4″ thickness of icing.
9. Now, take the whole coloring page/glass/wax paper/icing design sandwich, and slip it into the freezer. You want it in the freezer until the icing is hard to the touch.
10.Take your coloring page/glass/wax paper/icing design sandwich out of the freezer and make sure the icing is nice and hard.
11.Un-tape the wax paper/icing, and quickly but carefully, up-end your design onto the cake. Press it down a little so it sticks.
Then, also quickly but carefully, before the design softens, peel back the wax paper to reveal the design.
11. Now, make the top edge of the cake look pretty with some stars or whatever (a #16 tip is good to use for decorating the sides and edges) and pipe your message.
Enjoy !
VIEW IN GALLERY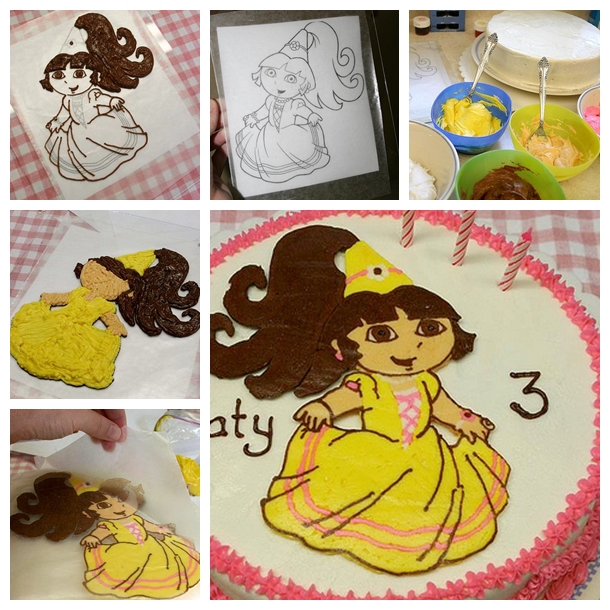
More details: https://bit.ly/1hcM0KY