Coffee mugs featuring inspirational quotes, cute patterns, or phrases that remind you of someone make a great gift. The problem is that it’s not always easy to find the perfect designs for your friends and family. In the crafting world, however, that’s never really a problem!
(Photo source: Phenomenal Haley)
Custom designing your own mugs is easy to do. It’s also very budget friendly if you do it right! In fact, this is one of those rare scenarios where using dollar store items will actually give you a better finished product!
Here’s what you’ll need:
- A plain white ceramic mug (Note: Get the piece you’re customizing from the dollar store!).
- An oil-based Sharpie (this can be a brand-name sharpie or dollar store brand, as long as it’s an oil-based permanent marker. Black shows up best, but other colours also work).
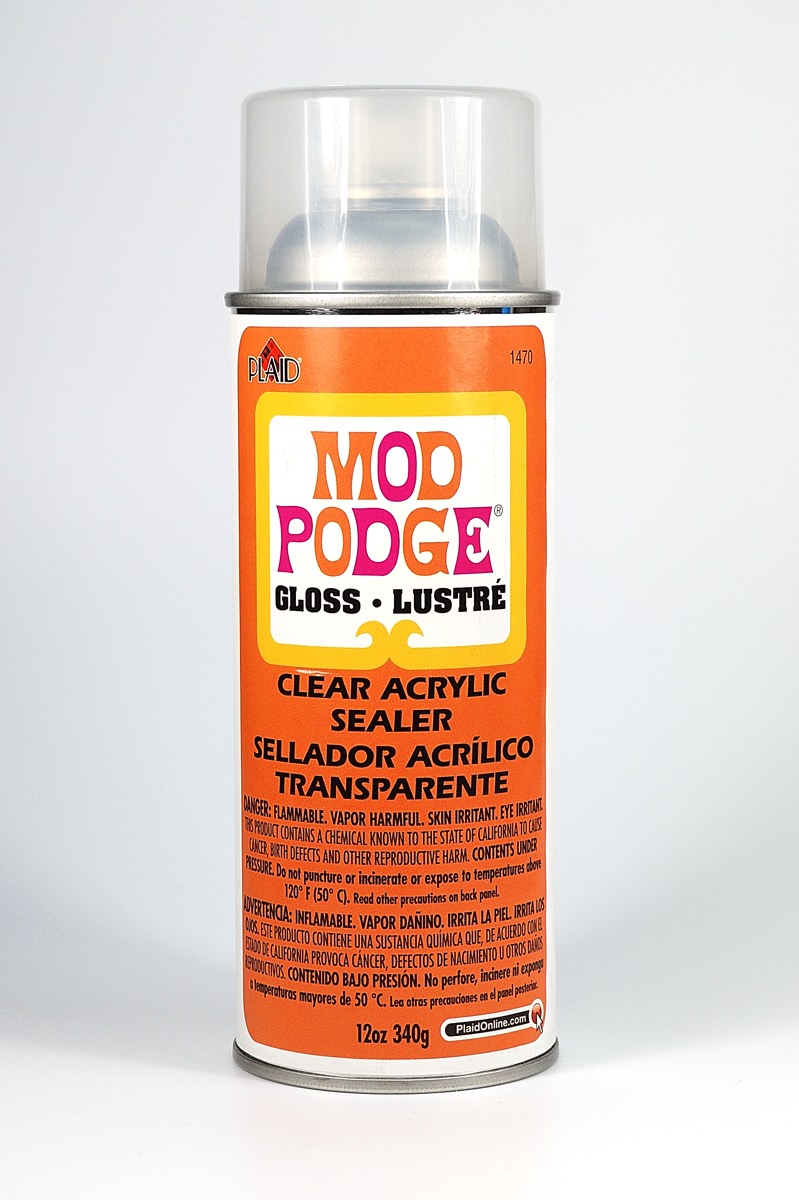
- Sealing spray (we recommend something like glossy-finish Mod Podge spray).
- Rubbing alcohol and a paper towel or cotton pad
- A baking tray.
- Access to an oven.
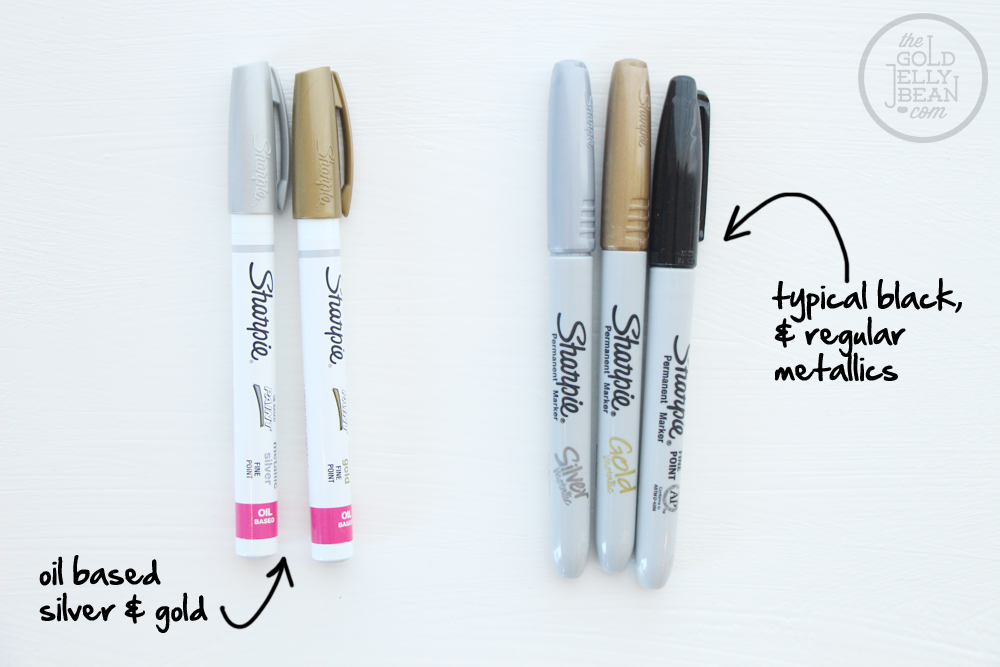
(Photo source: The Gold Jellybean)
Why shop at the dollar store?
For this particular project, there’s actually a good reason to buy some of your supplies at the dollar store (besides saving a few bucks, of course)! The ceramic wares sold at the dollar store at finished with a sealant that is less tough than more expensive plates and mugs. This means that when you bake the wares after drawing your pattern, the seal will being to melt and the Sharpie ink will meld right into it.

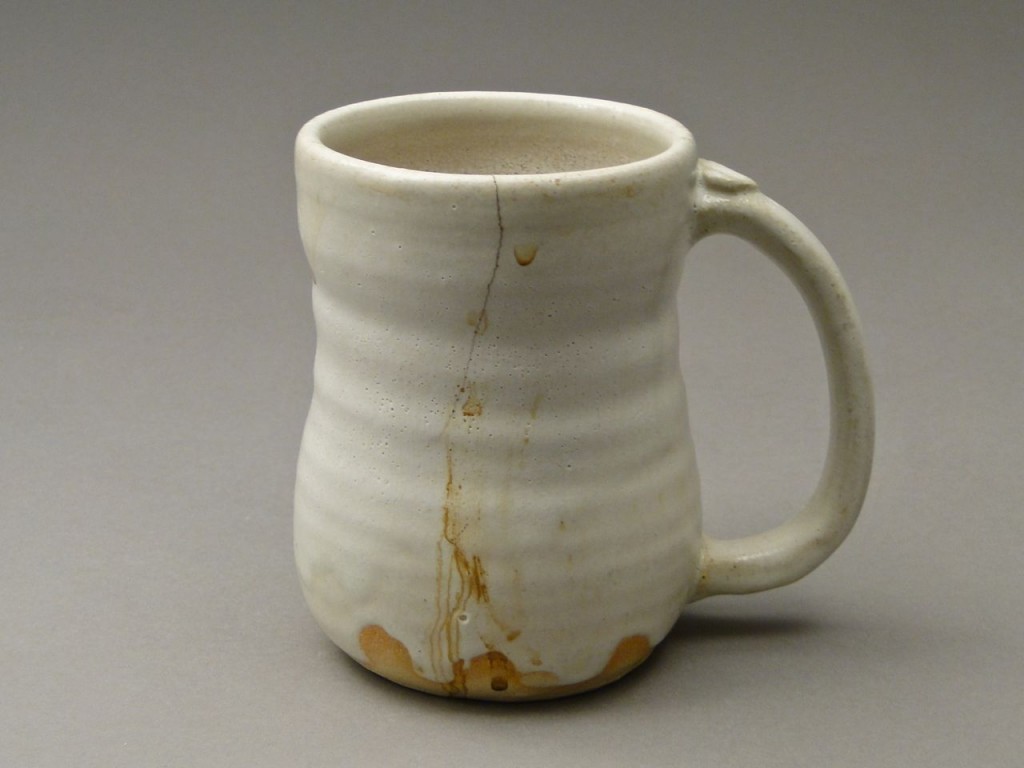
(Photo source: The Sits Girls)
When your project cools, your ink design will be much stronger than it would if the ink was just resting on the surface of an invincible gloss finish. Your custom design will be far more permanent! Once you’ve got your supplies, it’s time to get customizing!
Step 1:
Peel any labels or stickers off the bottom of your project. You don’t want to risk putting these little papers in the oven! If they don’t start to smell burnt, they’ll certainly be stuck on your mug when you take it out.
Step 2:
Wash your mug. You want it to be clean and free of any residues from labels etc., particularly if you intend to draw all over it.
Step 3:
Wipe the outside surface of your mug with rubbing alcohol on a paper towel or cotton pad. This makes sure the ceramic and its seal are completely free of any residues that the Sharpie ink might stick to instead of the surface of the mug.

(Photo source: The Sits Girls)
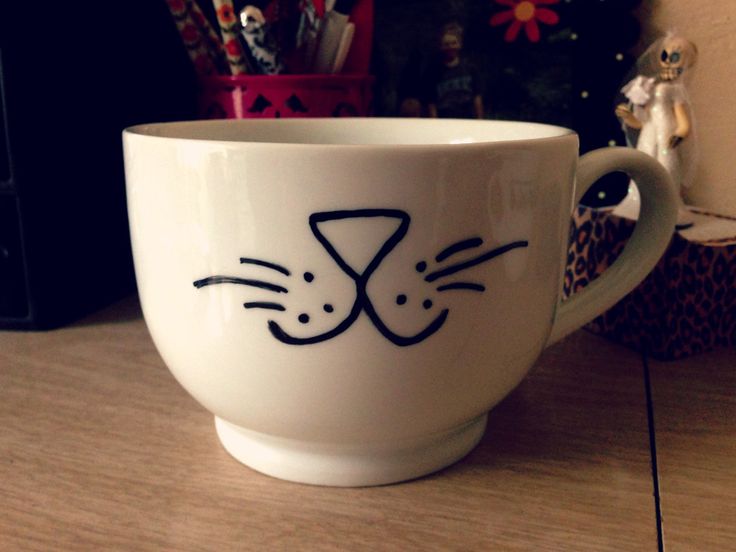
Step 4:
Get drawing! Write a quote in fancy cursive, draw a picture of your own, or copy a nice image that you saw elsewhere and really liked. Black Sharpie shows up best, but other colours work as well.

(Photo source: Madigan Made)
Step 5:
Leave the mug to dry for 24 hours. Letting the ink dry completely will help keep it permanent and washable later.
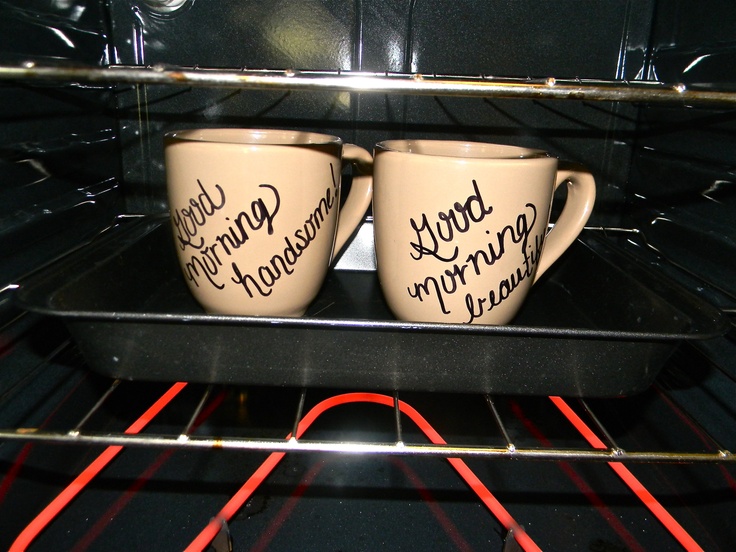
Step 6:
Set your mug on a baking sheet and put it in the oven before you set the temperature and pre-heat. Putting the mug in while the oven is still cold prevents it from cracking. If you put ceramic into an oven that is already extremely hot, your project might come out with tiny spider cracks all across the surface!
(Photo source: Supermatt28)
Step 7:
Once the mug is inside, pre-heat the oven to 350 F and let it bake for 30 minutes. When time that time is up, turn off the oven but leave the mug inside while the temperature slowly cools.
(Photo source: Redefined Chaos)
Step 8:
Take your mug out of the oven and fill it with paper towels. Spray only the outside of your mug with your spray seal. If your design is very small (ex. only on the handle or only near the bottom of the mug), you only need to spray that portion.
(Photo source: The Blue Bottle Tree)
Step 9:
Set your mug to dry for 24 hours once more. The spray seal must be completely dry all the way through before the mug is used or washed.
Step 10:
Remove the paper towel and wash your mug again before you give it as a gift. You want to remove any last remnants of the crafting process before anyone drinks from it! Your finished design should be able to withstand both sink and machine washing.

Step 11:
Give your mug as a gift! Your friends and family will love receiving things that are custom to their own personalities and the things they like. They’ll also appreciate how much effort went into making it!
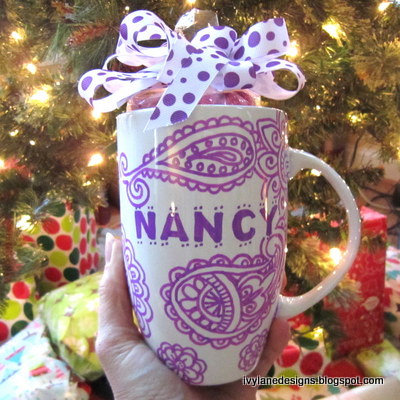
(Photo source: Ivy Lane Designs)
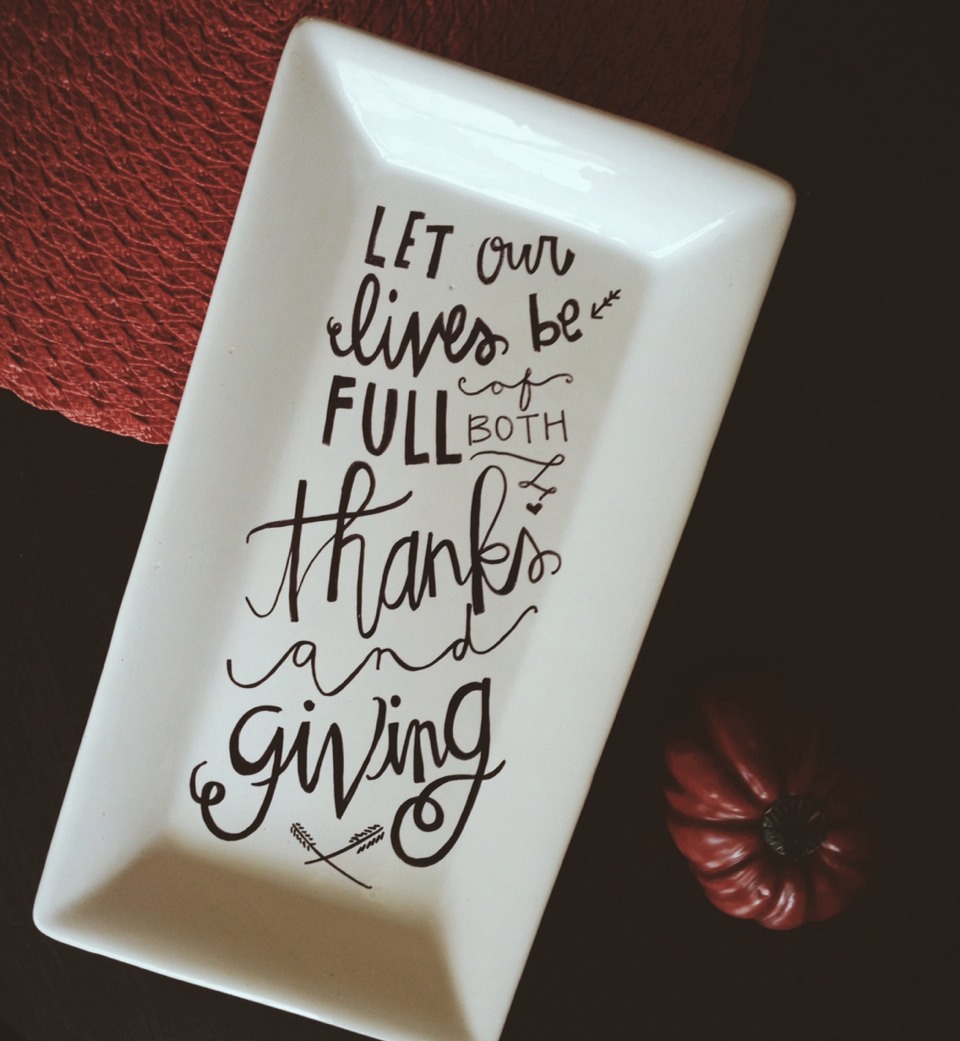
Do you know someone who would love personalized dishes but doesn’t often use mugs? Instead, try customizing them:
- A play
- A teacup
- A casserole dish
- A serving tray
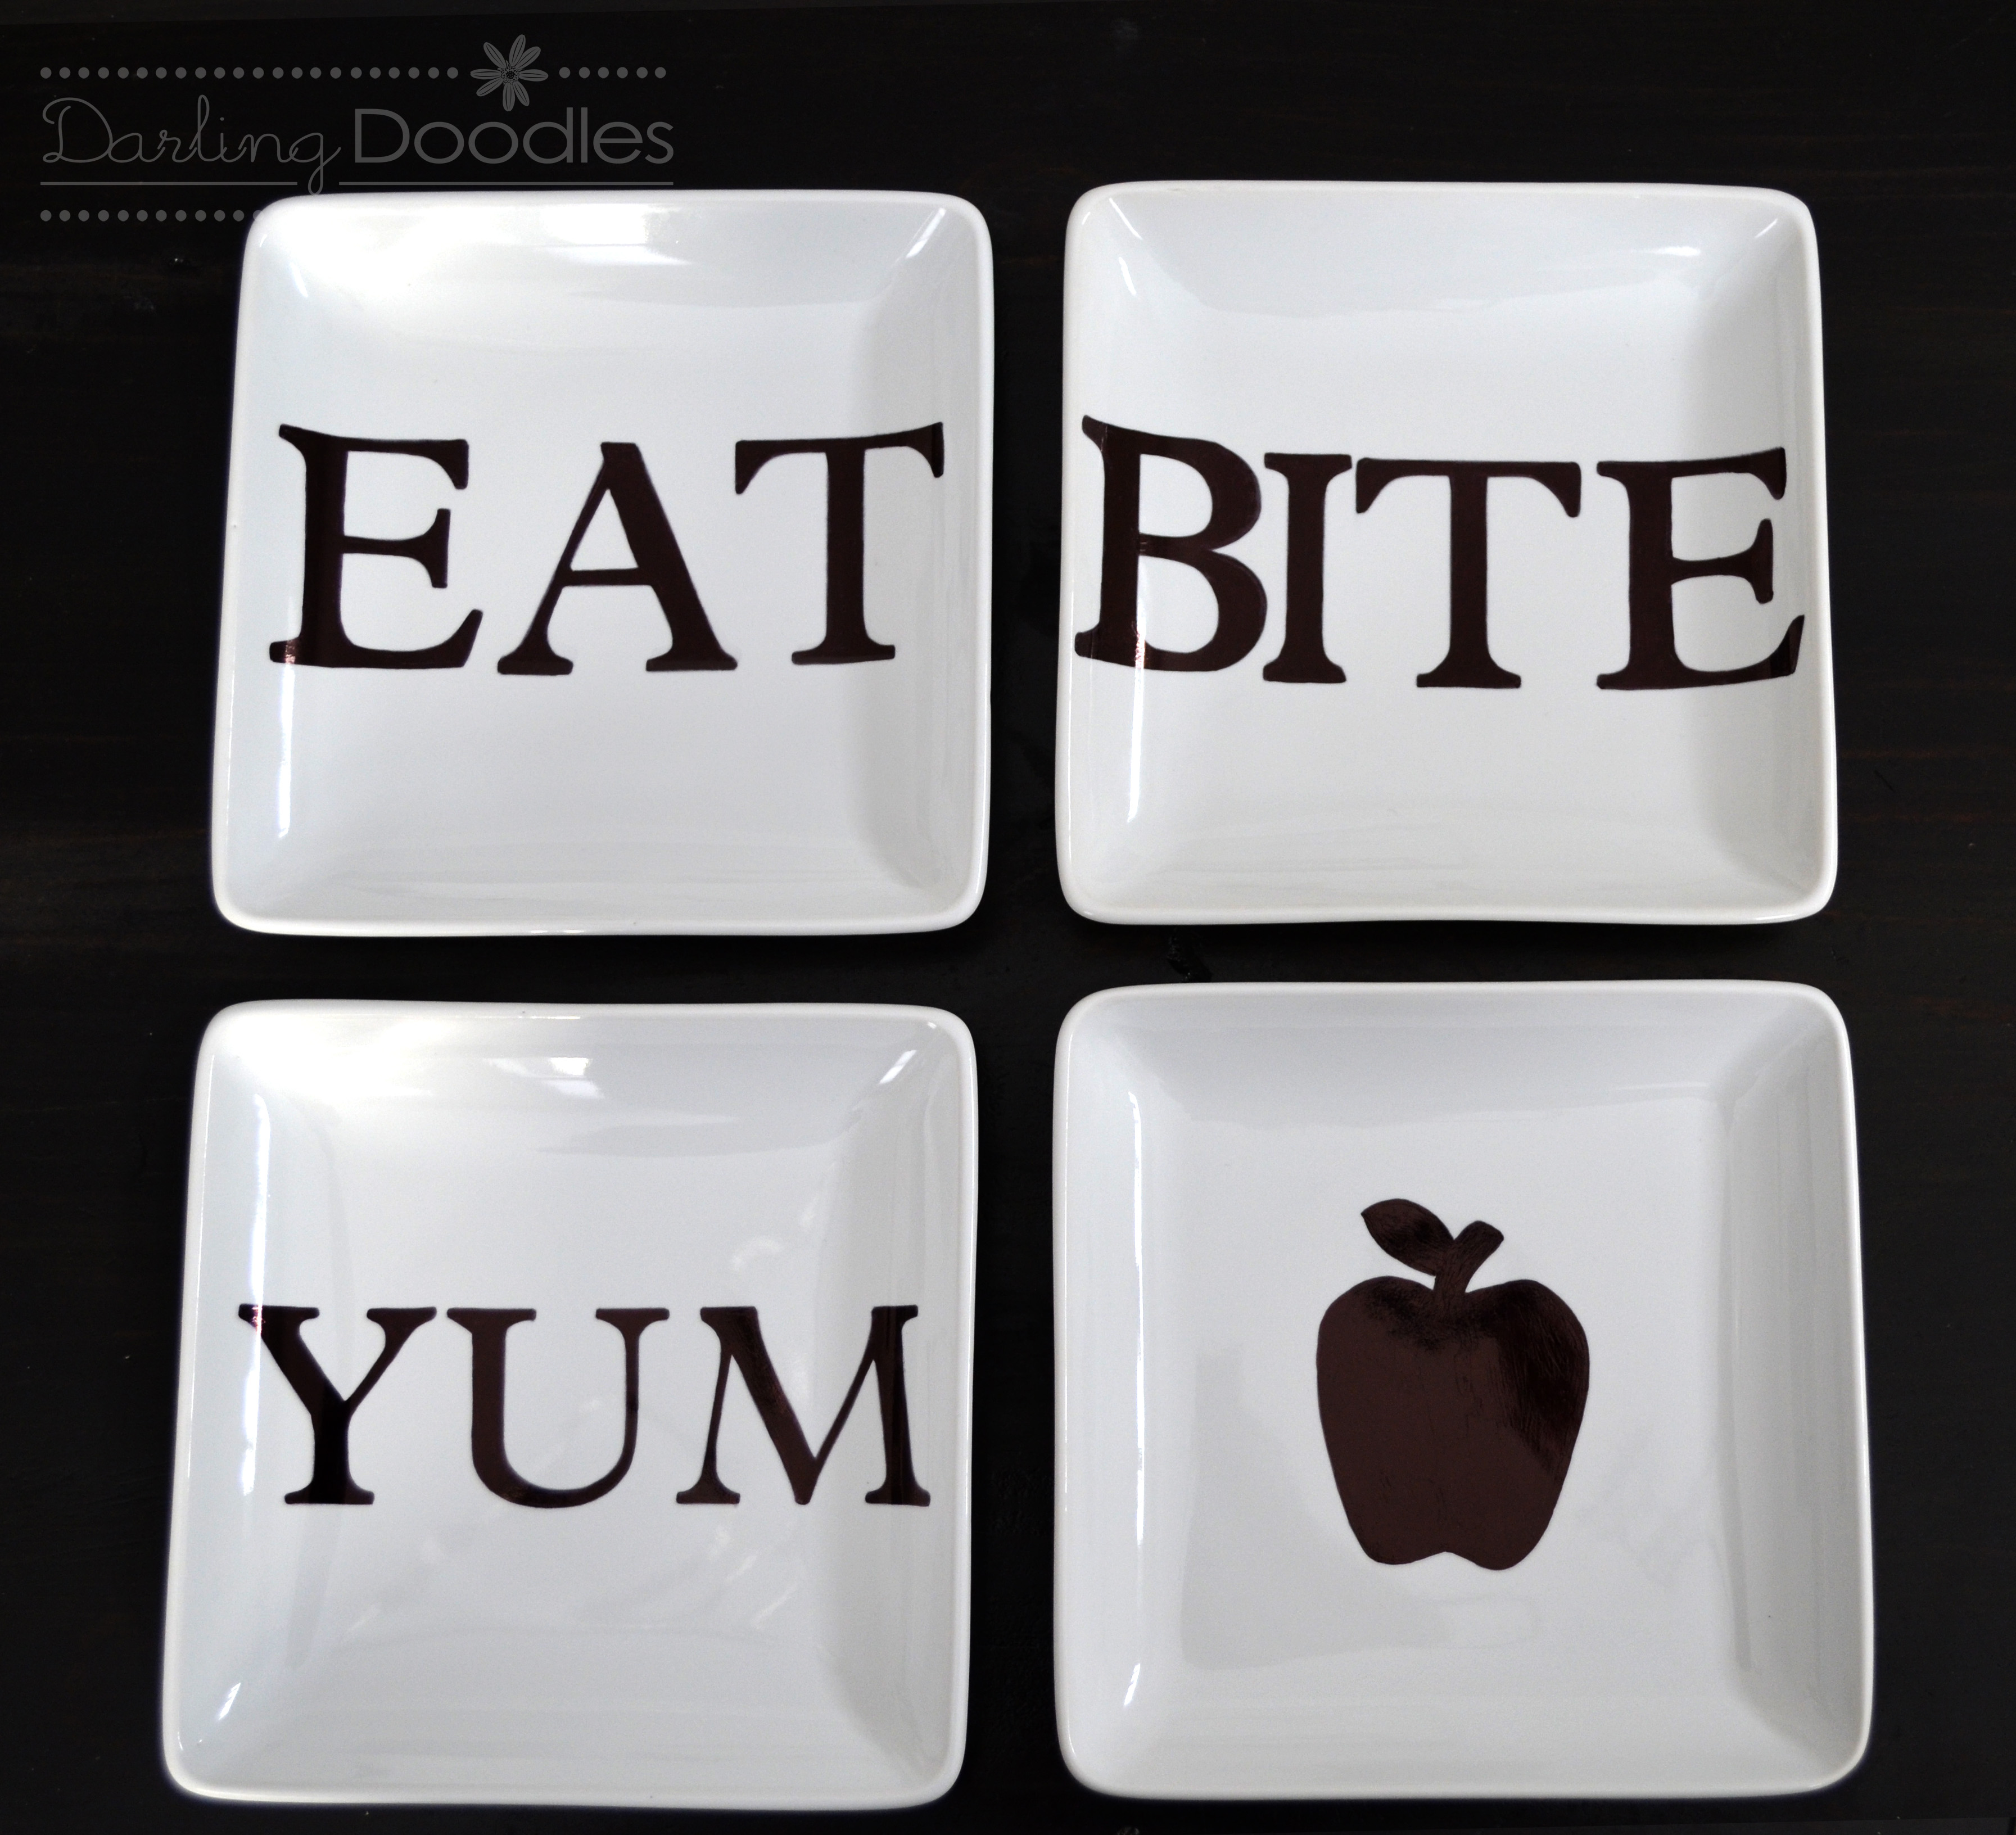
(Photo source: Darling Doodles)
Let us know how your custom Sharpie dishes turn out in the comments section!