Not knowing how to sew doesn’t mean you have to avoid DIY projects that involve fabric! You might have difficulty finding patterns for no-sew clothing, but there are plenty of other projects that will let you skip the needle and thread.
At this time of year, the weather is still cold and it still gets chilly inside at night. Why not make yourself an easy, no-sew blanket for when you’re ready to curl up with a good book? Here’s how!
Step 1:
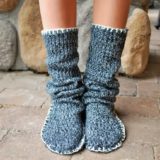
Choose your material. It’s winter, so you’ll want something soft and warm. This particular method works very well with fleece, so have a feel of the options next time you visit the fabric store!
(Photo source: Bulk Fabric)
Step 2:
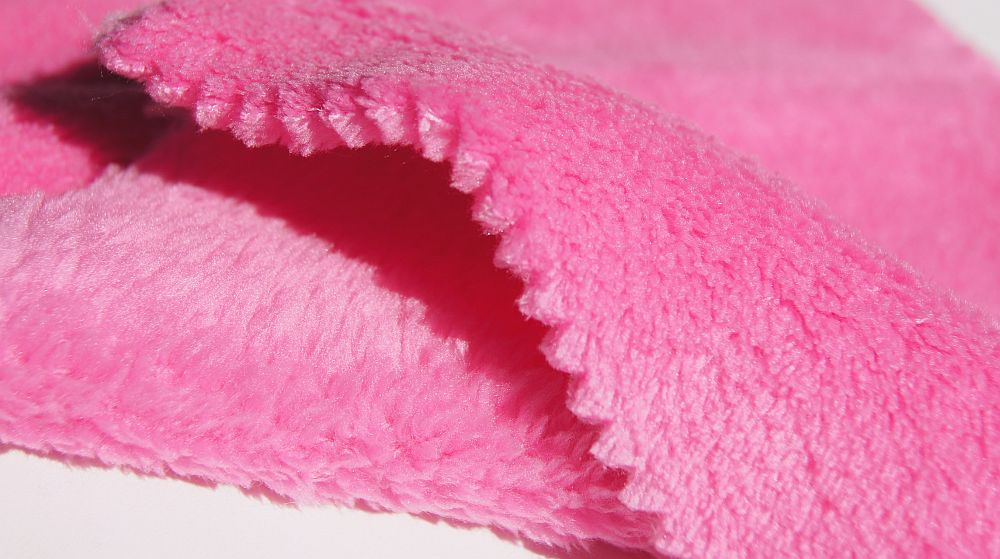
Choose your colours or patterns. This no-sew method is a great opportunity to choose two different kinds of fleece so that your blanket is reversible!
(Photo source: Joann)
Step 3:
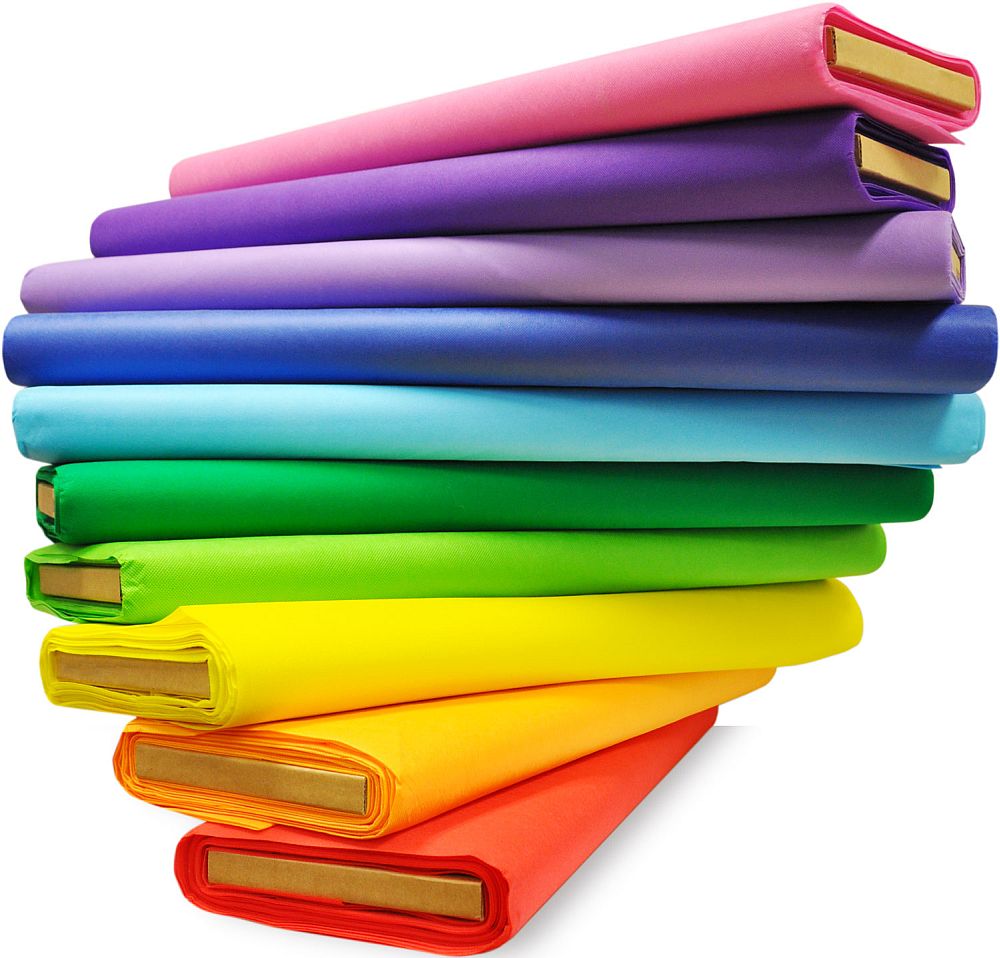
Measure how much fleece you need. For a small throw, baby blanket, or pet bed, you’ll only need about two yards. For adults, have the supplier cut you more, depending on how big you want the blanket to be.
(Photo source: Make it Coats)
Step 4:
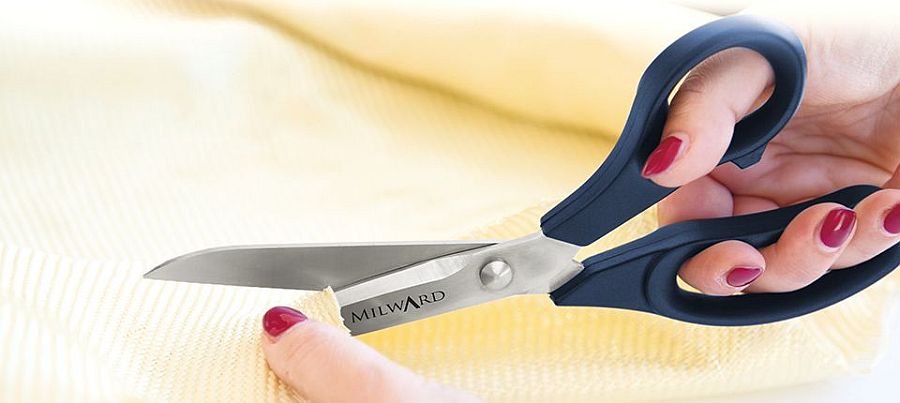
Gather your other supplies. Even though this blanket is no-sew, you’ll still need good fabric scissors and a ruler or a rotary cutter and cutting mat.
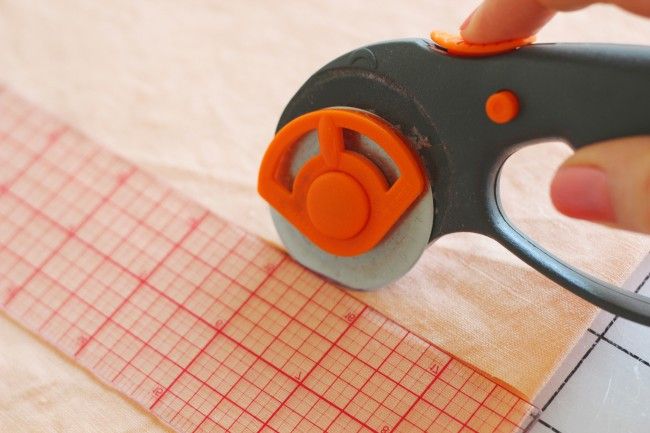
(Photo source: Colette)
Step 5:
Take both pieces of fabric and layer them one of top of the other so the edges line up neatly. Fleece has a “dull” side and a soft side (and so do many other fabrics), so make sure the good side of each piece faces outwards.
Step 6:
IN each of the four corners, cut a 4″ by 4″ square from your layered pieces of fleece. Make sure they stay lined up at the edges.
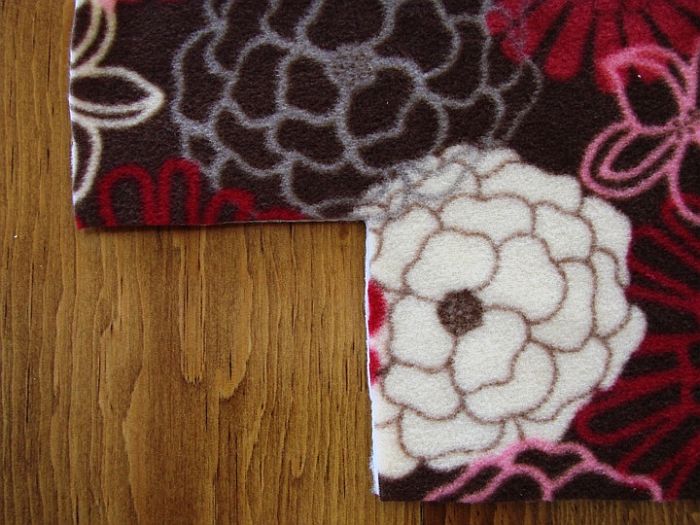
(Photo source: The Frugal Girls)
Step 7:
Cut strips of fringe around the whole blanket, keeping the length of the strips even down each edge. Use your ruler to measure each strip about 1″ wide and 4″ long. Remember: measure twice, cut once! If you want the fringe about the edge of the blanket to be very dangly and move around a lot, you can cut it longer, but remember that this eats into the solid section of blanket in the middle.
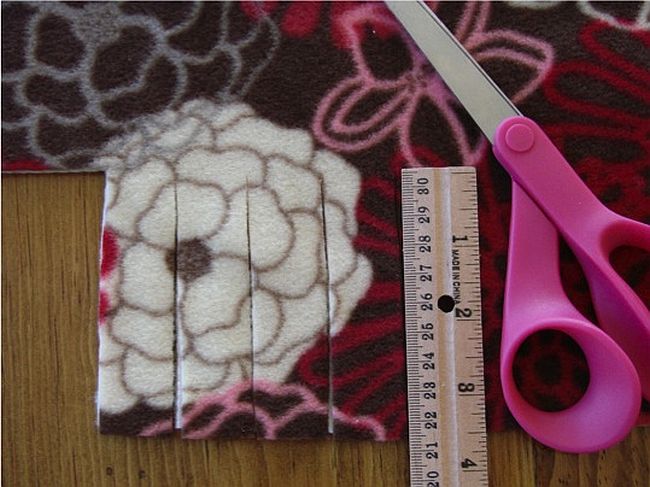
(Photo source: The Frugal Girls)
Step 8:
It’s time to start tying knots! At each fringe, separate the two piece of fleece fringe and tie them together. You can do a simple double know or a solid square know, tying right over left first and then left over right. Whichever type of know you decide to do, pull it nice and tight without yanking so hard that the fleece stretches and thins out.
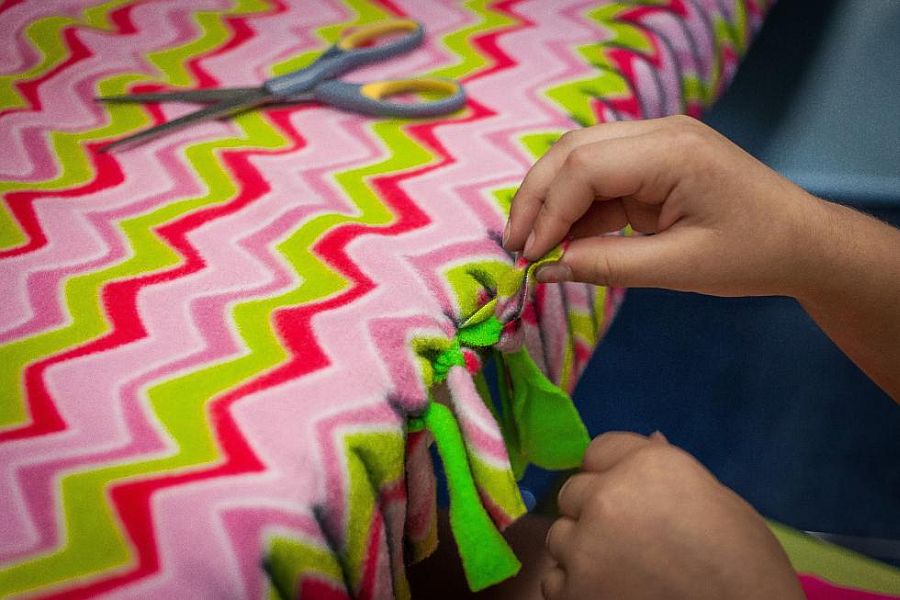
(Photo source: Concord Monitor)
Step 9:
You’re all finished! All you have to do now is decide whether you’ll make the blanket a gift or curl up with a good book and enjoy it yourself.
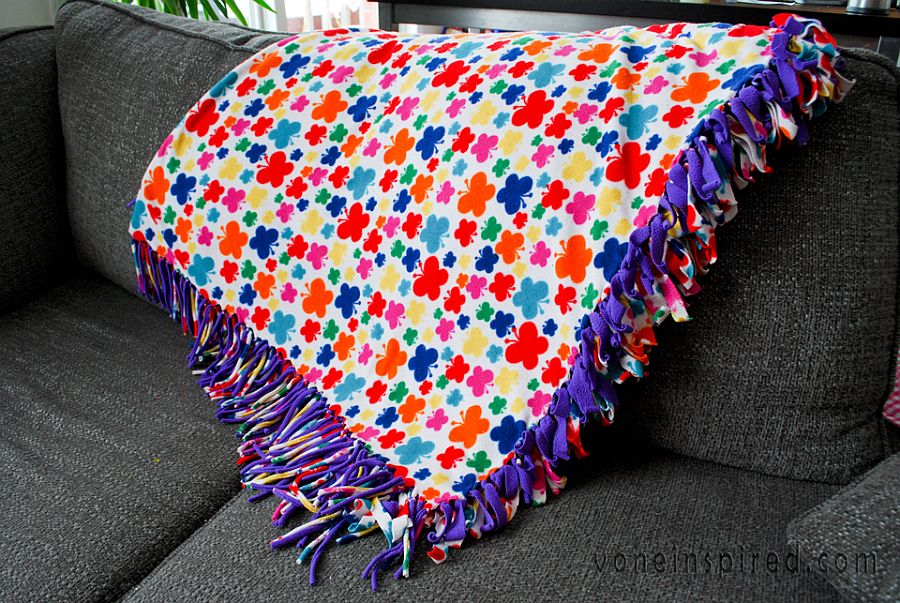
(Photo source: Vone Inspired)
If you found this pattern too easy, why not get a little fancier with the next one? Most no-sew blankets are very similar, but there are some ways to switch things up a little!
Rolled fringe
Giving the fringe on your blanket a slight tug will turn the strips into little rolls of material rather than flat strips. Don’t pull too hard though! Fleece stretches.
Looped knots
Instead of tying each strip of fringe in knots, try making them into a loop! Cut the strips like normal but then fold both pieces in each strip upwards. Make a very small cut at the base of the strips, near where you’ve folded them. Take the ends of the two strips and push them together through the cut at their base. Each fringe will look like a loop!
(Photo source: Sandi Crafts)
Braided Fringe
Perhaps you’d rather not tie your fringe in knots at all! If you have a crochet hook handy, consider “braiding” your fringe instead. Go around the edge of the blanket and fold each strip of fringe upward, making a small cut at the half way mark. Start in the centre of one side. Slide the crochet hook through the hole in one strip and hook then end into the hole of the next one. Keeping it hooked, pull the second strip through the hole in the first. Now, repeat the process starting with your second strip and moving onto a third.
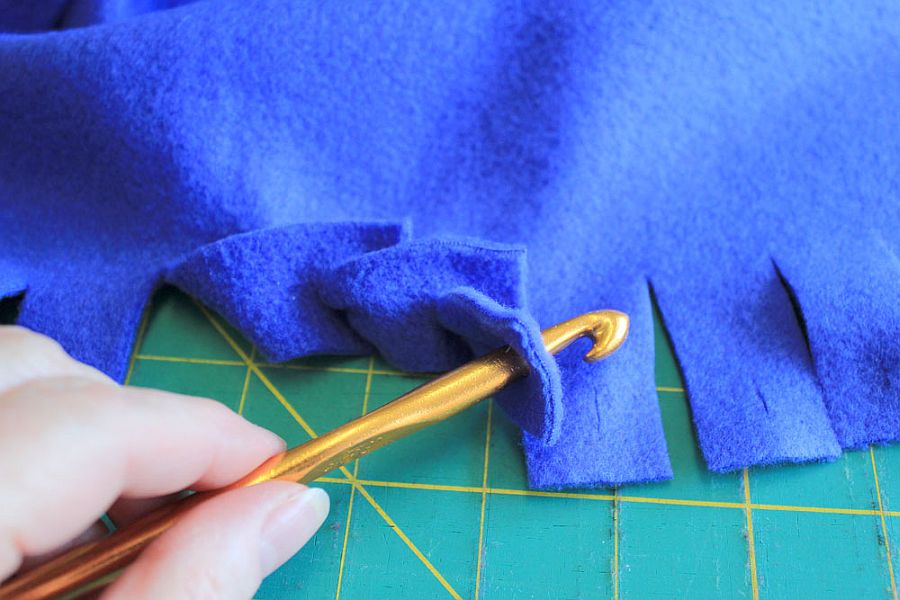
(Photo source: Nebraska Views)
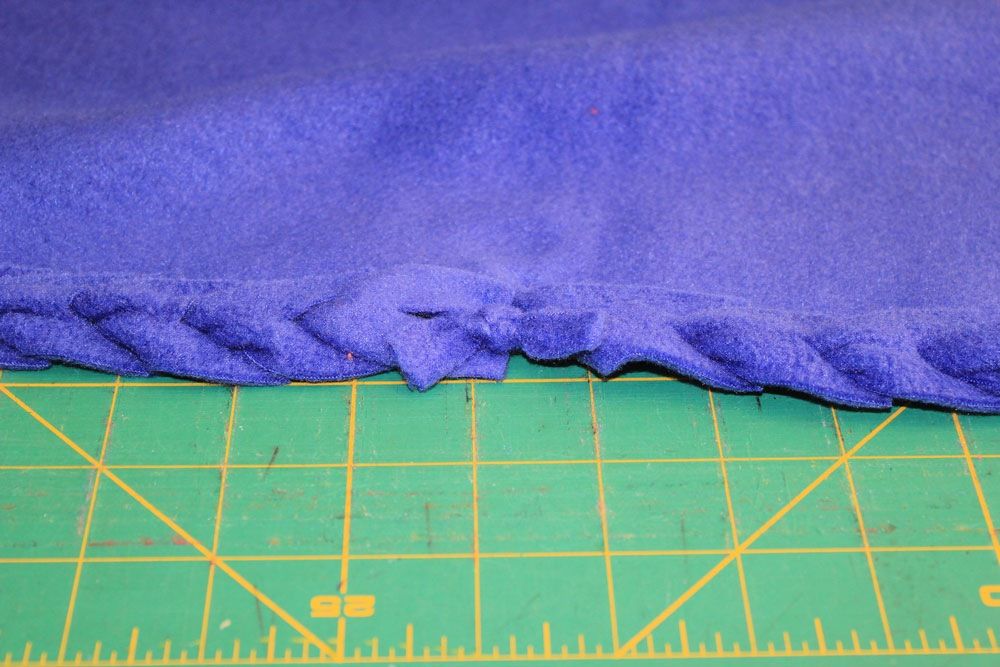
Don’t worry about the corners! Just keep looping the strips through the holes. The edge should start to look like this:

(Photo source: Nebraska Views)
Once you’ve braided all the way around, you’ll find you have two strips left. Knot them tightly together to hold the braid in place. Trim the ends of the knot so make it less noticeable.
(Photo source: Nebraska Views)
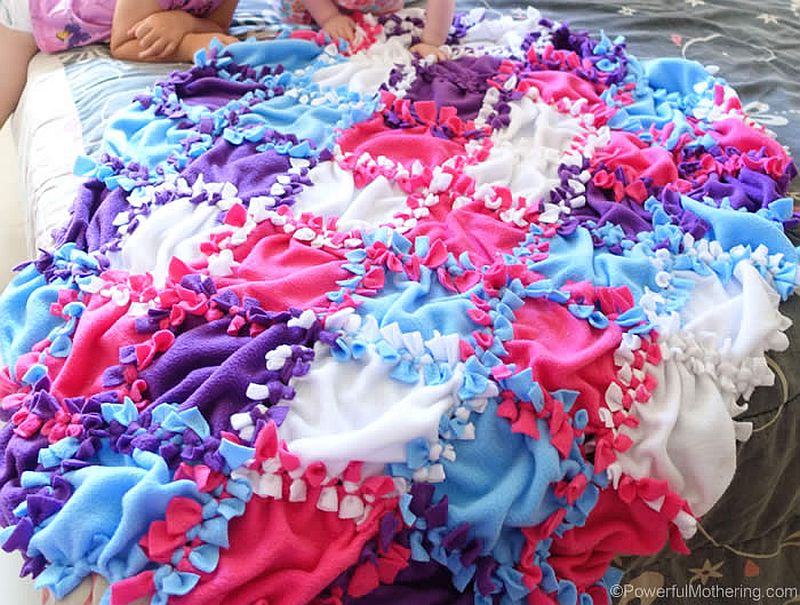
Are these variations still too easy for you? Try a more challenging no-sew pattern! Check out Powerful Mothering‘s tutorial for an adorable patchwork version of this blanket!
Tell us how your blankets turned out in the comments section!