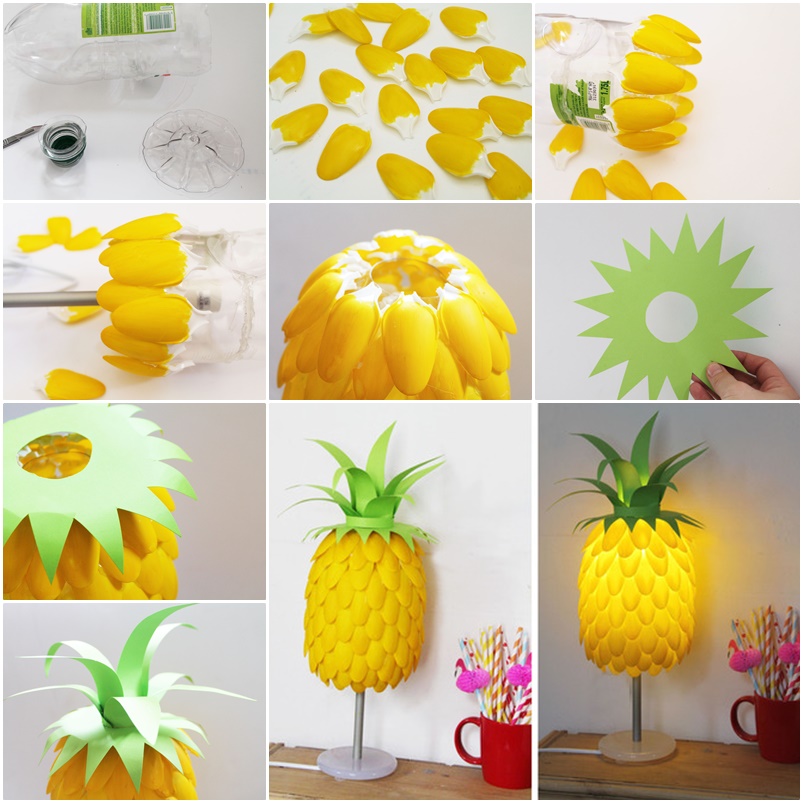
We personally think there’s no such thing as being too creative – especially when it comes to the kinds of simple and satisfying craft projects that produce awesome results like these. There’s really no way you’d ever guess this amazing pineapple lampshade was actually made with a bunch of plastic spoons and a water bottle – an amazing accessory you can whip up at home with a few bits and pieces you may already have lying around.
Making Your Own Pineapple Lampshade
In terms of putting this fabulously fruity feature together, you’ll need the following:
- Any small table lamp
- One plastic bottle (wide soda bottle)
- Around 125 plastic spoons
- Paint for the spoons (yellow)
- Green cardboard
- Glue gun
- Craft knife
- Sharp scissors
Directions:
- Make sure the lamp is unplugged before removing the current shade. Do not plug the lamp in again until the project is fully finished.
- Use a craft knife to remove the bottom of the bottle and the spout, as seen in the illustrations.
- Carefully cut or snap the ends of the spoons away from the handles being sure not to leave any sharp edges or cracks.
- Paint the spoons with the yellow paint, applying as many coasts as necessary for a bright and even finish.
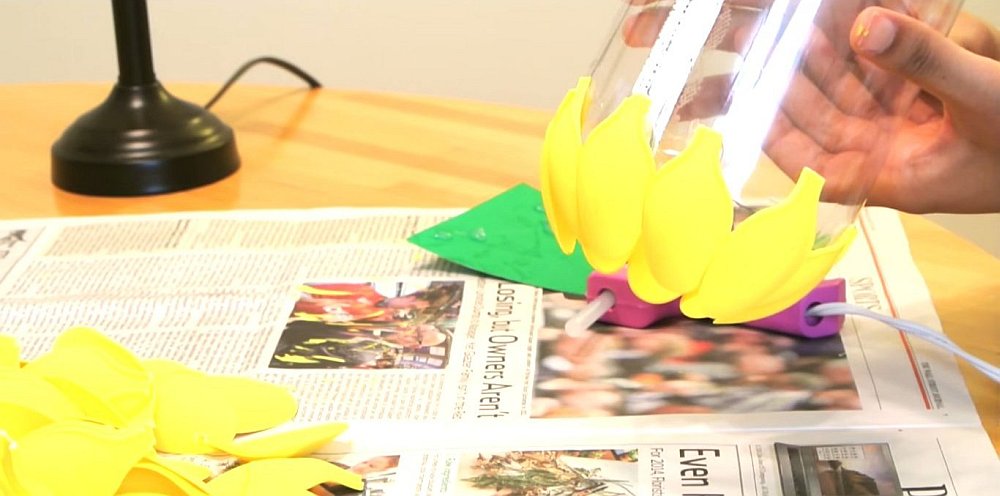
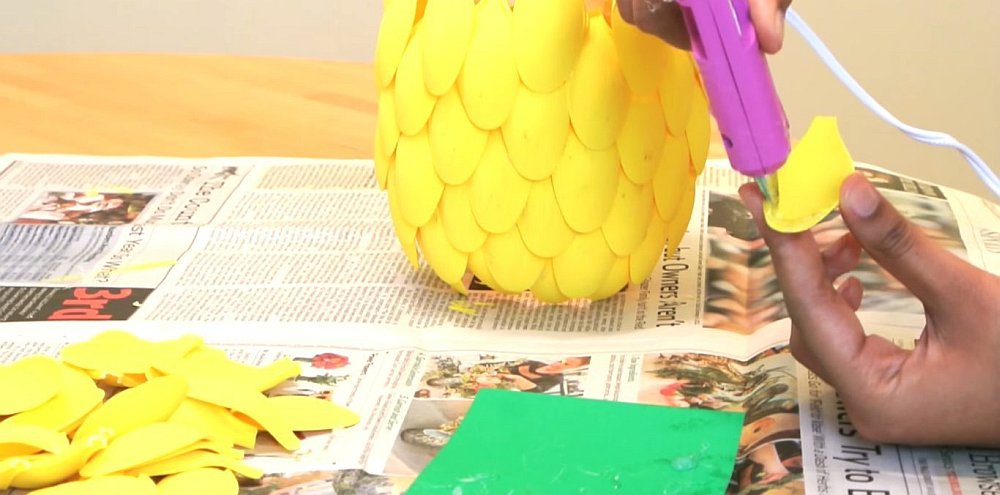
- Use a glue gun to attach the first layer of yellow spoon ends to the bottom of the bottle as pictured.
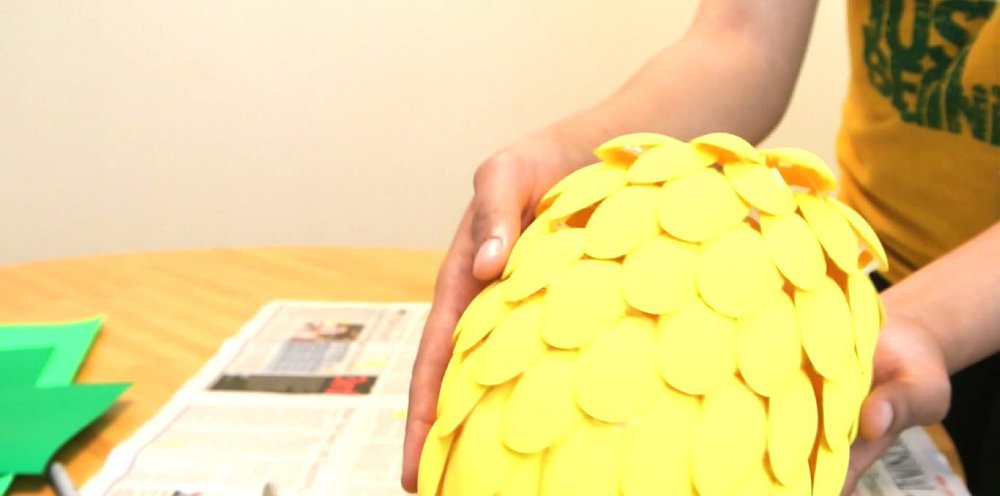
- Continue by adding additional layers of spoons on top of the first layer.
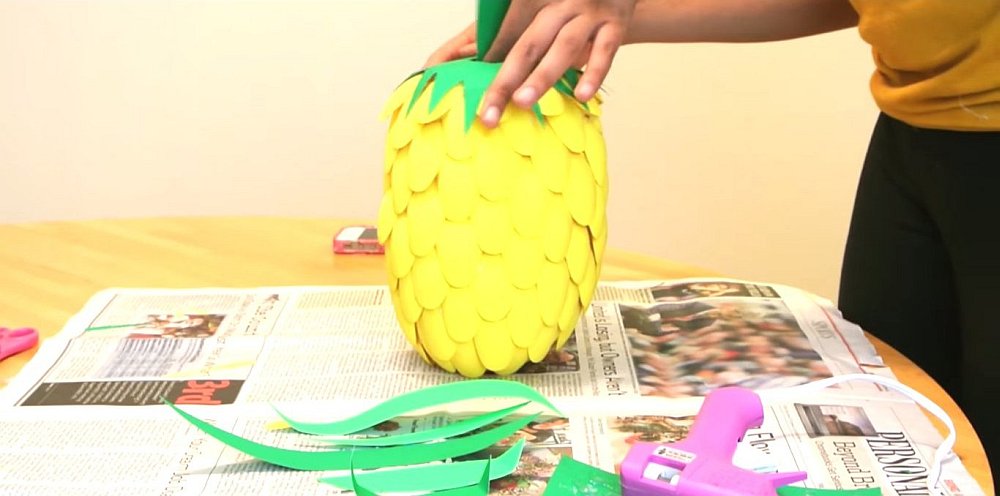
- Use green card to cut the spikey top to the pineapple, being sure to leave a hole in the middle to avoid overheating.
- Make a series of green spines using the same green card to be bent and glued in place at the top.
- Add any final touches as necessary and give the new shade as much time as needed to dry before plugging it back in.

Then it’s just a case of switching it on and marveling at your work – we guarantee you’ll be blown away by the results!
More details on Sydney Jones’ channel on YouTube.