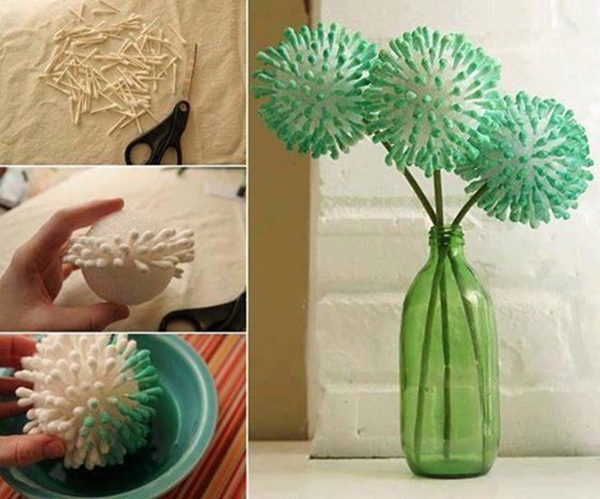

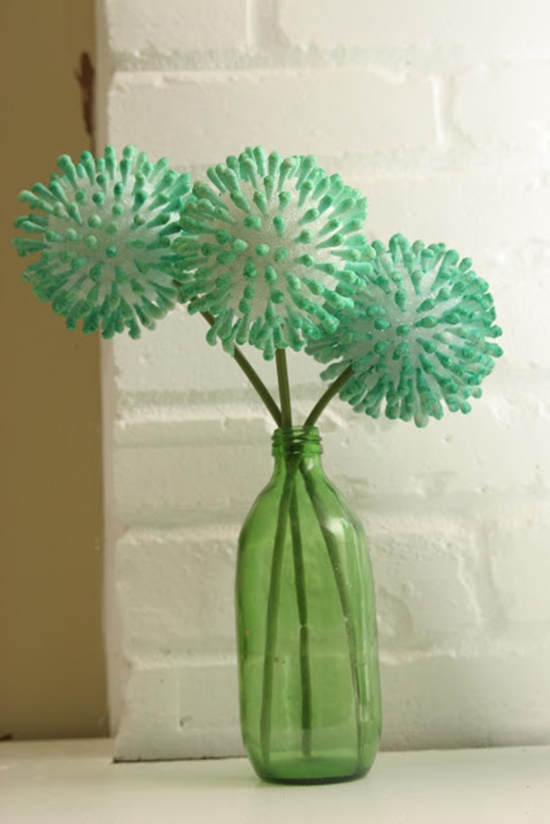

Try making your own pretty blooms. One of the perks of decorating in spring is the abundance of fresh flowers, but allergies and expense can be prohibitive. By crafting your flowers, you save yourself the spending, sneezing, and wilting of real ones. There are tons of great paper and fabric tutorials out there, but these unique Q-Tip flowers are easy to make .
You’ll need :
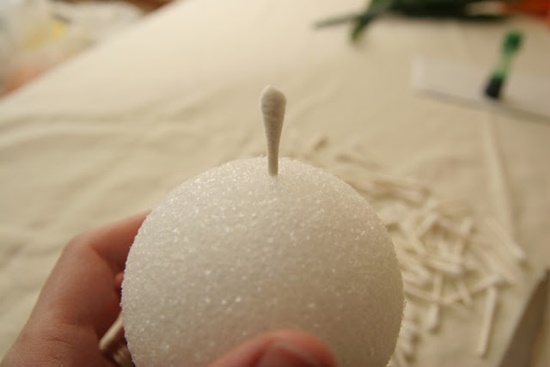
.small Styrofoam balls (one per flower),
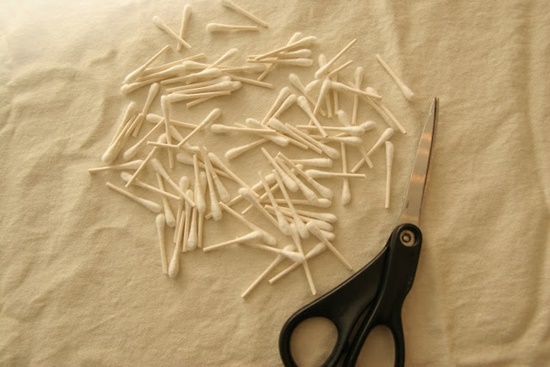
.lots of Q-tips,
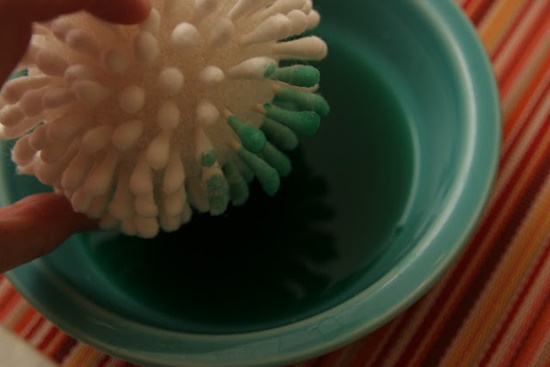
.food coloring,
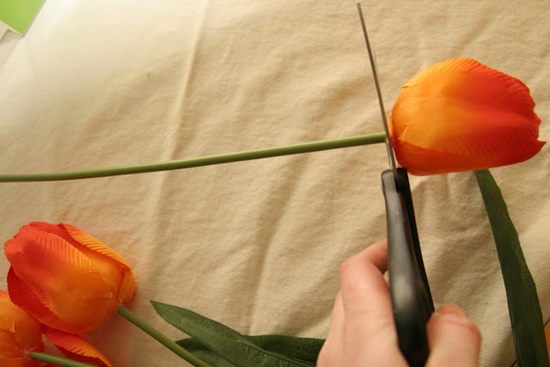
.and the plastic stems of artificial flowers.
Instructions:
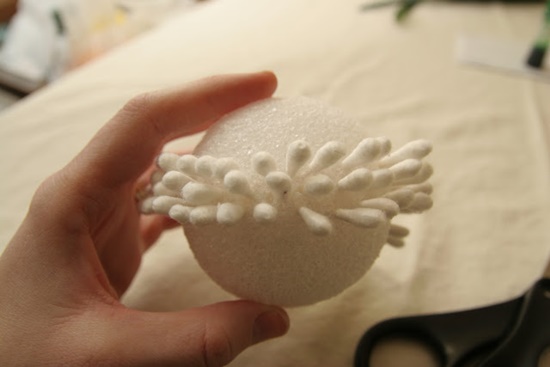
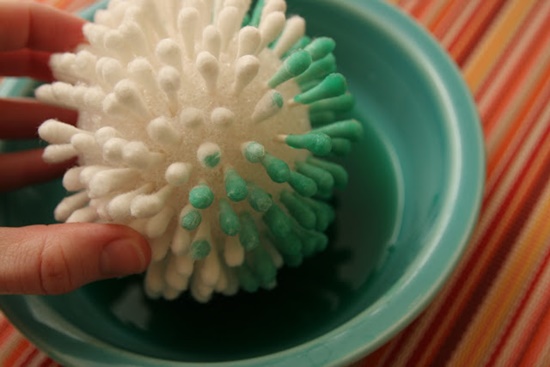
First, cut your Q-Tips in half and stick them into the Styrofoam ball until the whole surface is covered. You want them to be pretty close together, but not right on top of each other. Then put a few drops of your desired food coloring in a bowl and mix with water (keep in mind the color will dry lighter than it first appears). Dip the Q-tip covered ball in the bowl and rotate it around until all the cotton tips are covered. Once it’s all dyed, let it dry overnight. Last but not least, stick the plastic flower stem into the Styrofoam. You can hot glue around it for extra enforcement.
Source:https://bit.ly/1turlq5