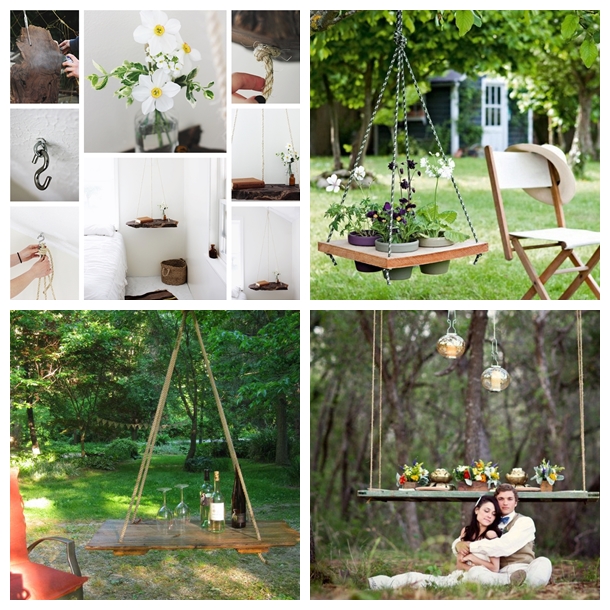

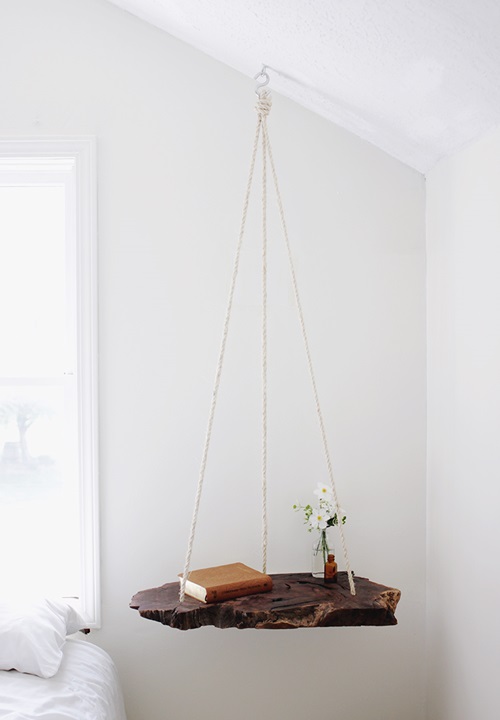
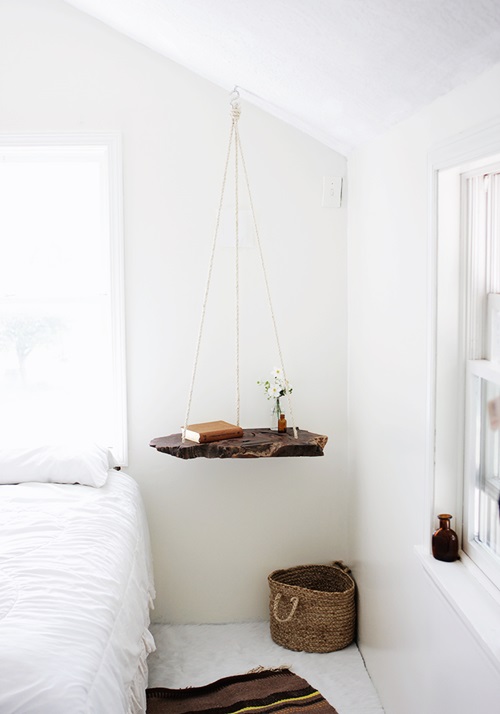
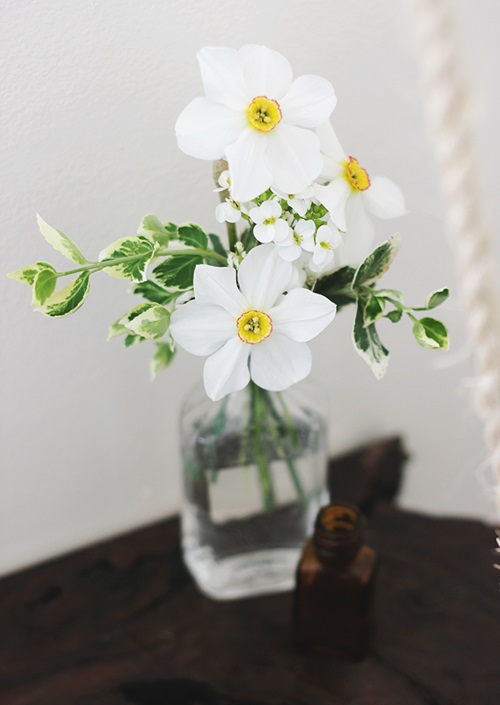

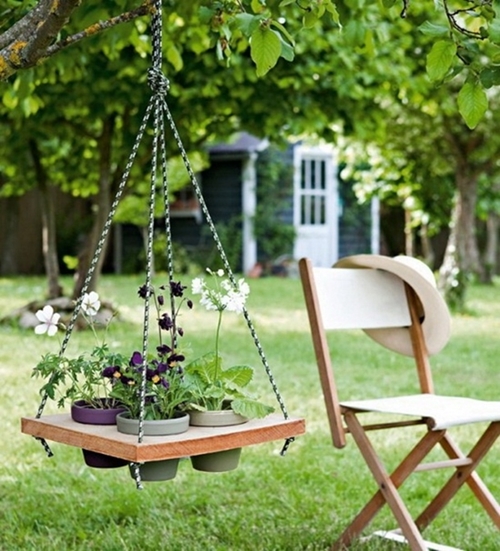

What a gorgeous idea! Refresh your garden or living room with DIY Hanging Table! Be inspired and try something bold and vivid.The hanging table is not only cool looking but an awesome space saver! … The tables are adorable, especially hung from a tree branch, or old bed, etc …They are so beautiful, so functional and so original ,and easy , fun to make it. If you like the idea you can follow the steps to make one for yourself.
What you need:
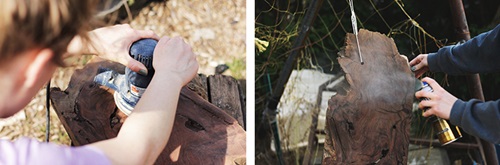
-Cross Section of Wood
-Saw
-Orbital Sander
-Spray Polyurethane
-Drill
-Felt
-Hot Glue Gun
-Rope
-Toggle Lock – that will fit your eye screw
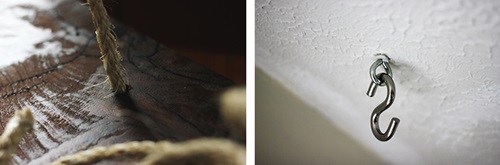
-Eye Screw
-S-Hook
Here is one of instructions:
-Cut a flat side in your wood – this will be the side that rests against the wall.
-Sand your cross cut down into a smooth surface.
-Drill three holes (the width of your rope) on your piece of wood. One centered in the back and the other two, equal distance from the first, towards the front of the wood.
-Coat the wood in a few coats of polyurethane. Let it dry in between coats.
-Cut a piece of felt slightly smaller than the edge that will rest against the wall and hot glue it in place. This will help prevent scratching up you wall but you can skip this step if you want!
-Lace your rope through the holes. Started at the left side tied a loose knot at one end of the rope and threaded the other end up through the hole. Leave enough rope to reach up to the height you want the table to hang at and back down. Thread down through the second hole and then up through the third hole. Leave untied until you are ready to hang it.
-Measure how far out your ropes will have to be from the wall for the back of your table to hang so that it’s resting right up against the wall. Make a mark at that spot.
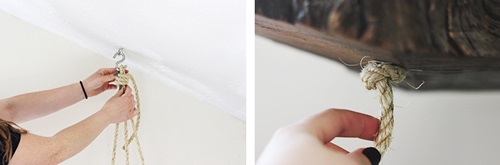
-Drill a hole that will fit your toggle lock.
-Insert the toggle lock according to instructions on the package.
-Screw in eye screw and then hook s-hook through it.
-Put the first loop and the rest of the rope coming up from the third hole over the s-hook. Make sure the table is level by adjusting the rope. Take the long remainder of rope (coming up from the third hole) and wrap it around the three strands a few times, tuck the end down through what you wrapped and then pull tight and trim excess rope.
-If it is not completely level you can loose the knot tied below the first hole and adjust the knot up or down until the table is level. Make sure the knot is secured tightly and then trim excess rope.
Source : https://bit.ly/R0gc3r