If you’ve ever had the corner of a cupboard door start to lift, you know the feeling. Nothing dramatic at first. Just a thin edge of the shiny coating that stops lying flat, and no matter how hard you press, it never really goes back down.
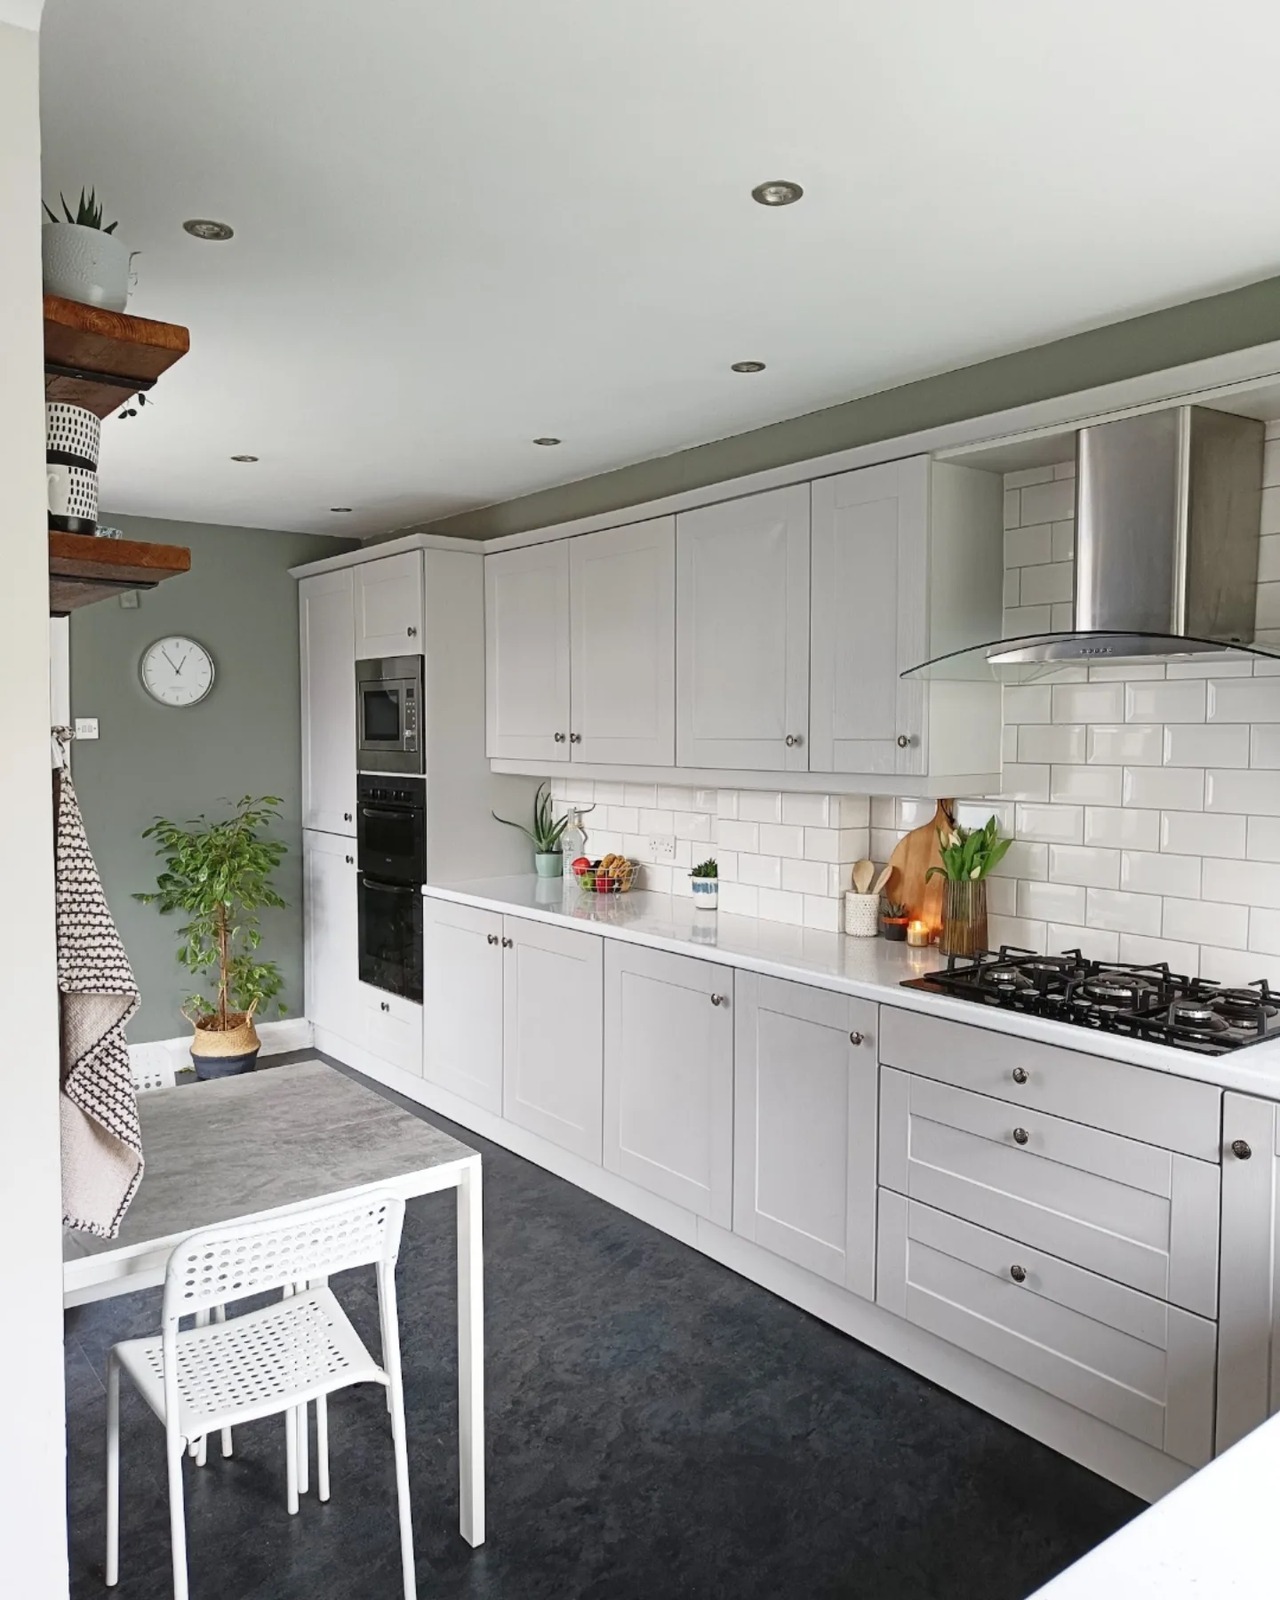
That was Anna’s kitchen. One cupboard. Then the one next to it. Then the strip above the hob. Within a few months she wasn’t looking at a small repair anymore, she was looking at a whole run of cabinets quietly giving up on her, and she couldn’t justify ripping it all out for a brand new kitchen.
What she did next is the part most people miss. She borrowed a heat gun from her friend Claire, and instead of fighting the coating, she took the rest of it off on purpose.
The thing nobody tells you about peeling cabinets
A lot of builder-grade kitchens, especially the ones installed in the early 2010s, aren’t really wood. The doors are medium density fibreboard with a printed vinyl skin stuck on top. From a few feet away they look painted. They aren’t. The color you see is a wrap glued down over the board, and the glue is doing every bit of the work.
Steam from the kettle, heat off the stove, oil near the pan. It all chips away at that glue over the years. Once it starts lifting, you can’t really talk it back down. Repair kits buy you a week. The little vinyl patches never quite match. You already know how the story ends.
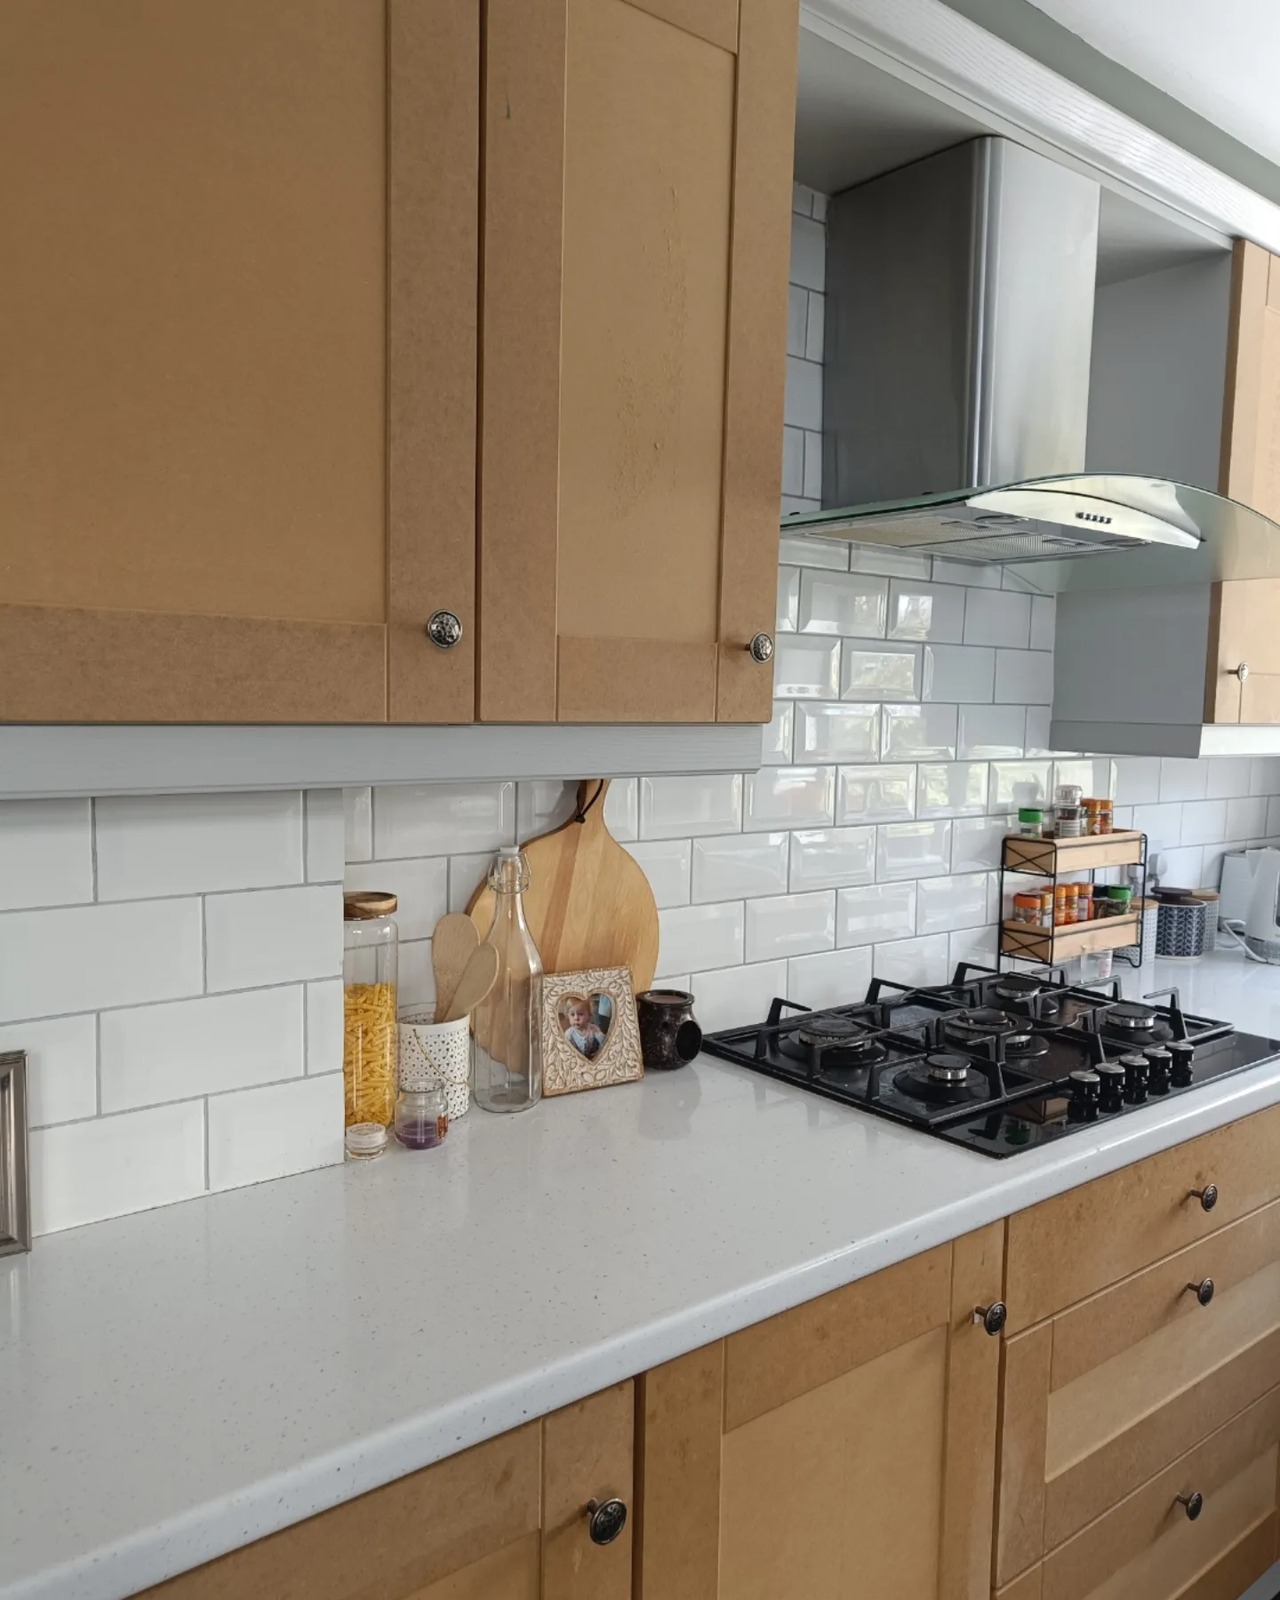
Here is the surprise. When Anna pulled the rest of the vinyl off, the board underneath wasn’t a disaster. It was flat. Even. No wood grain to fight with. If you’ve ever tried to paint actual oak cabinets, you know how much the grain pushes through no matter what primer you use. MDF doesn’t do that. It just sits there and drinks paint like it was built for it.
Which, honestly, it kind of was.
Same hob, same tile, same floor. One different color.
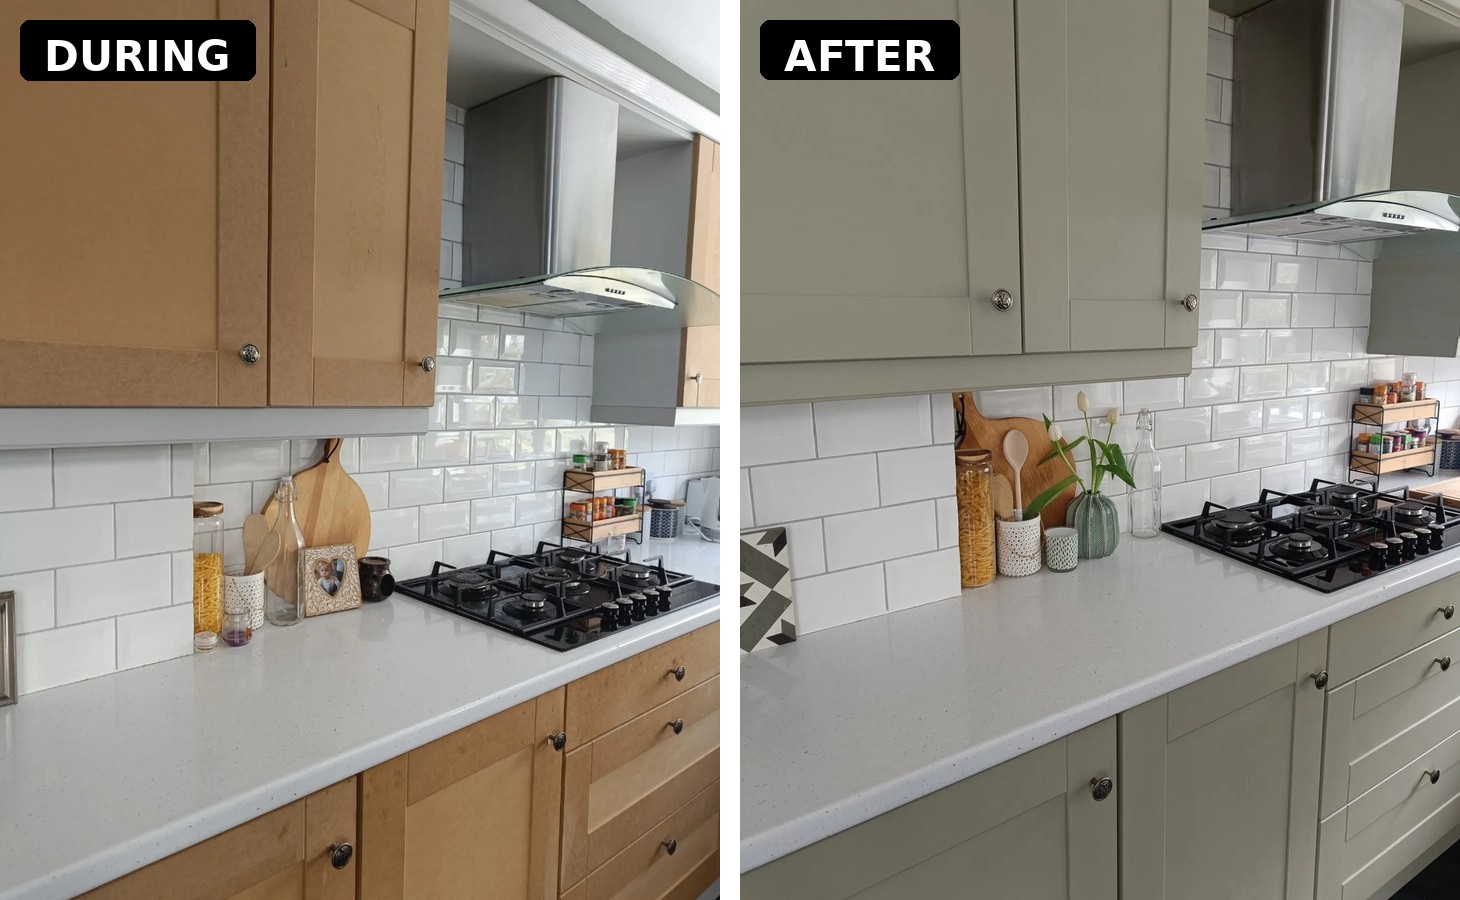
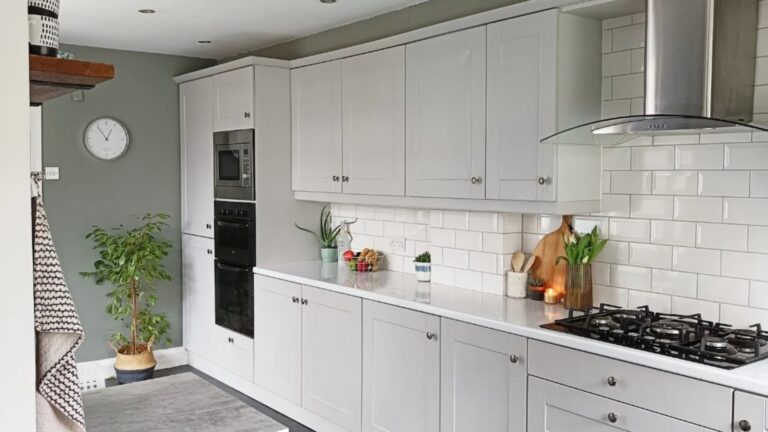
This is the shot that does the work. Zoom into the exact same corner of her kitchen. Same hob. Same white subway tile. Same chimney hood. The spice rack still parked on the far right. Nothing else moved an inch. Only the color on the doors changed.
Sage green is one of those colors that doesn’t ask for much. It’s deep enough to feel chosen and soft enough to live with every morning. Against white counters and plain white subway tile, it reads like something a designer picked for a magazine feature, not a save for a kitchen on its last legs.
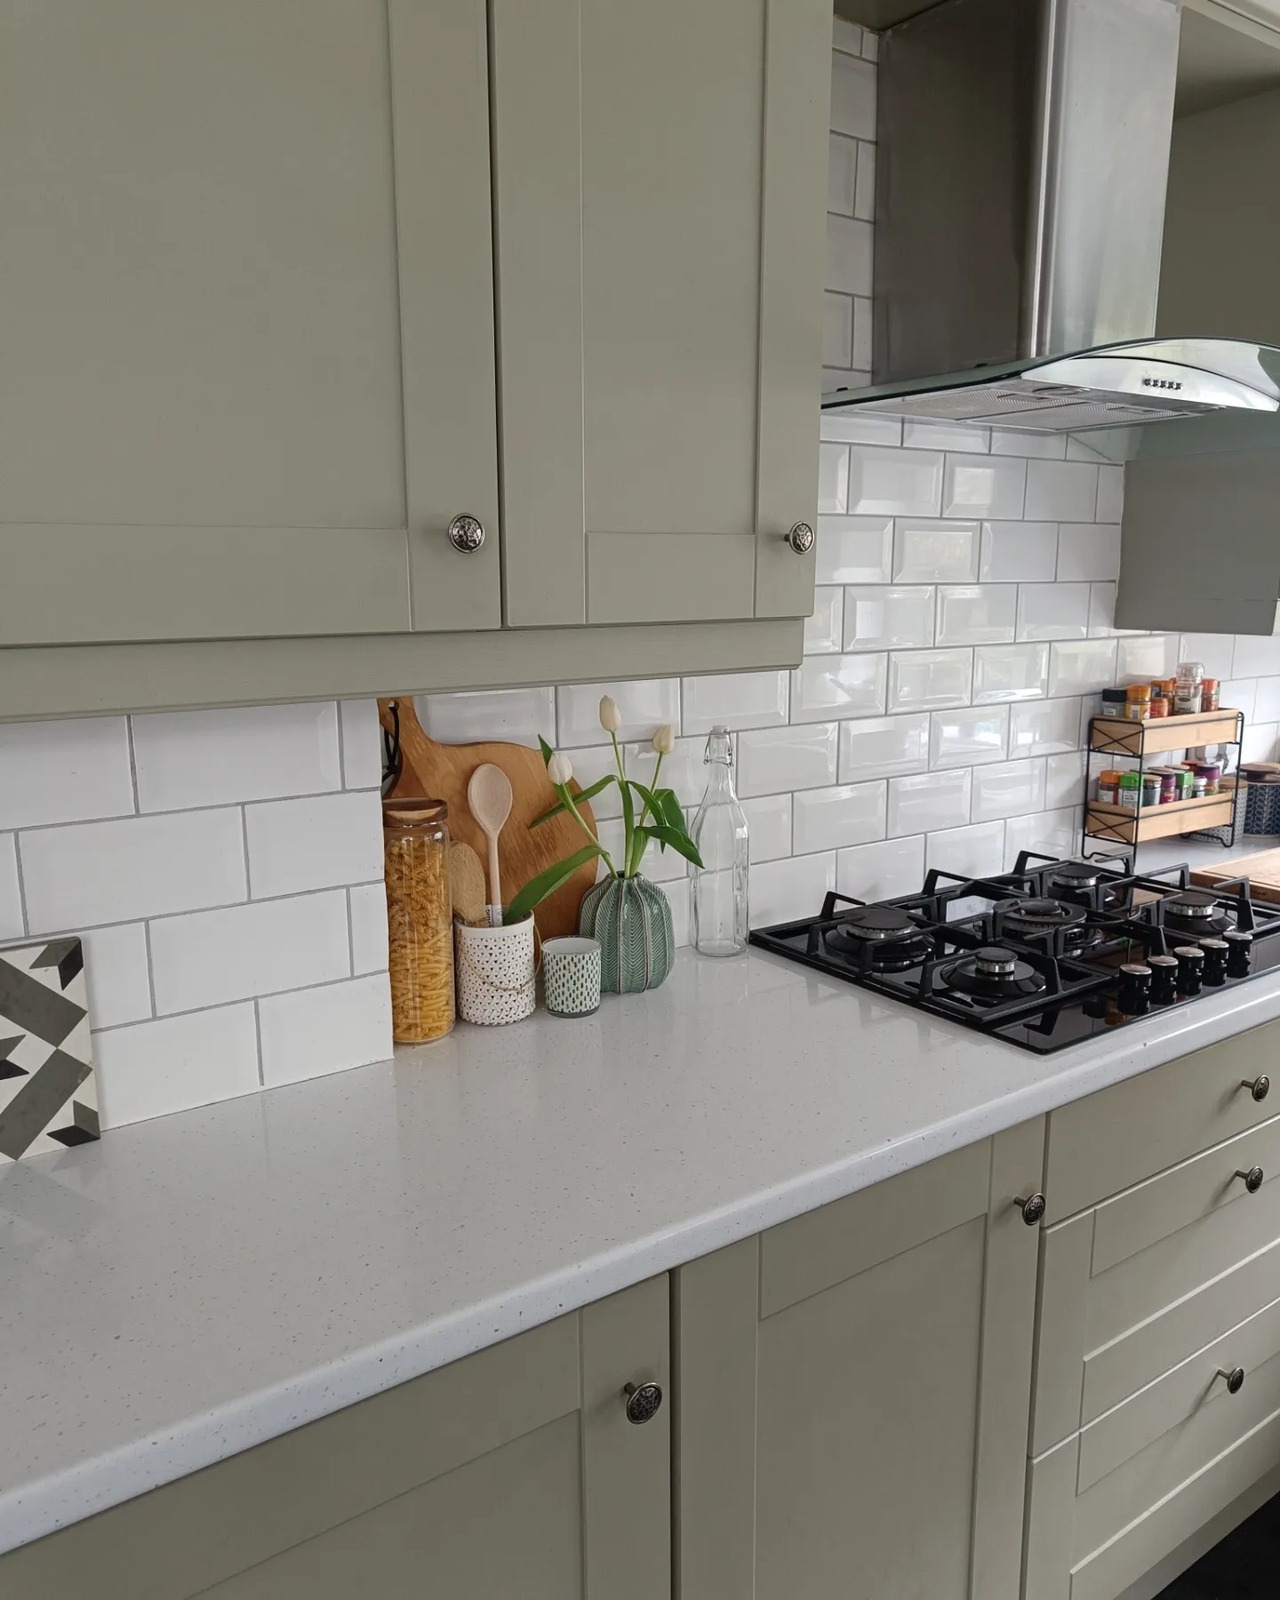
She didn’t touch the counter. Didn’t rip out the tile. Didn’t swap the chimney hood or the appliances. New knobs went on because the old ones no longer went with the color, and that was pretty much it.
The honest part
Anna’s own caption admits she’s still saving for her dream kitchen. The one she’ll put in whenever the budget finally stretches. What’s funny is that after this paint job, you don’t look at her kitchen and see a placeholder. You see a kitchen she actually likes being in.
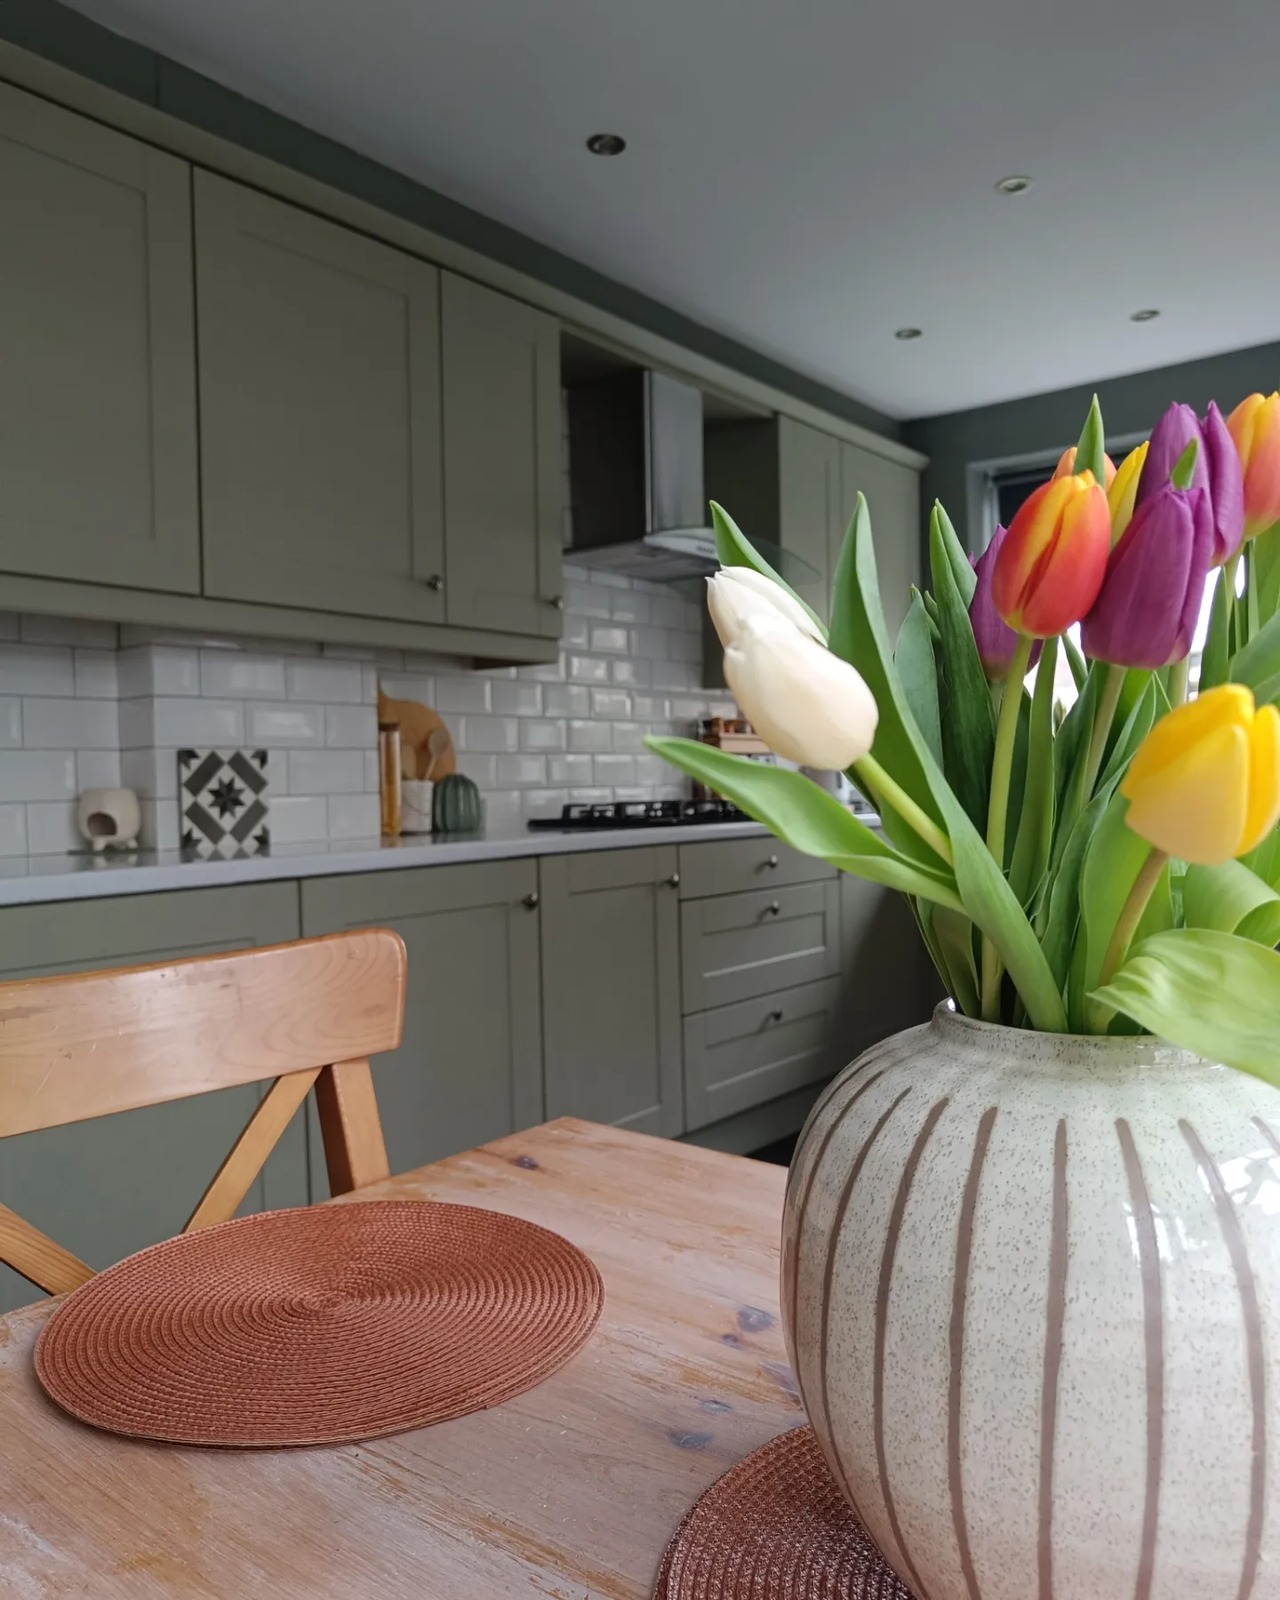
Tulips on the dining table. Spice rack stocked. Chairs pulled in. It’s clearly a kitchen that got used that morning, not one holding its breath for a new install.
That might be the most useful thing to take from this whole story. The paint job didn’t just fix the lifting coating. It gave Anna a kitchen she stopped apologizing for. And that bought her the one thing nobody mentions when they talk renovations: patience. She can save for the real thing now without rushing, because the stop-gap stopped looking like a stop-gap.
If this sounds like your kitchen
If a cupboard door in your house is starting to bubble, or a corner has lifted and you’ve been pretending you don’t see it, don’t jump straight to the quote for a new kitchen just yet. Pick one door you’d happily replace anyway. Pull a heat gun to its edge and see what you’ve actually got under there.
A lot of the time, it’s just MDF. Flat, thirsty for paint, a weekend or two of work. The damage you’ve been dreading might be the easiest permission slip you’ll ever get to finally pick a color you actually want to live with.