You’ve saved the photos for months: hand-painted tiles in blue and white, little patterns repeating behind the stove. Then you priced them. The plain white tile at the home store costs pennies, and the patterned kind costs enough to make you close the browser tab. So the bare wall stays bare.
This is not your fault. Patterned tile simply costs far more than plain tile. But the pattern itself doesn’t have to come from the factory, and one DIYer found a way to print it at home.
How the printer hack works
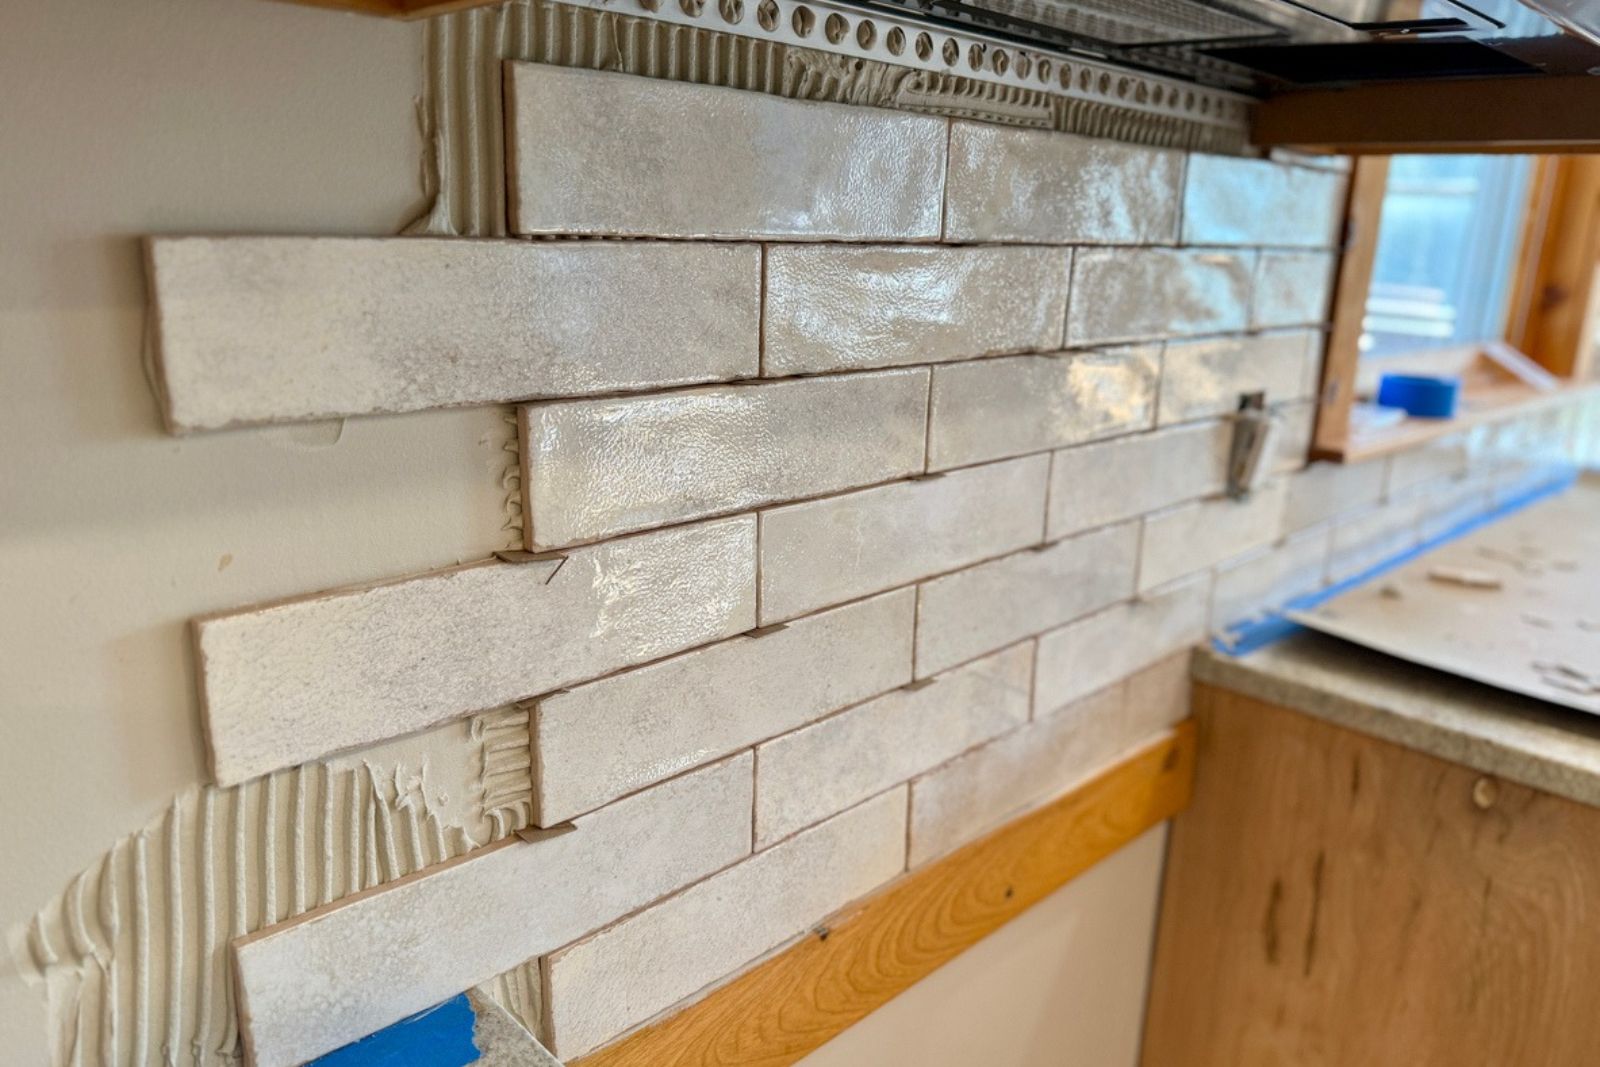
As House Digest reported, an Instagram creator known as @thehandyhalf turned plain ceramic tiles that cost 11 cents each into a patterned backsplash using waterslide decal paper. The creator reportedly spent $107 in total. House Digest says a similar look can easily cost $4,000 to build, though it doesn’t say where that figure comes from.
The idea is simple. You print on waterslide decal paper, and once it’s soaked, the printed layer slides off its backing onto the tile. A sealer protects the ink, and a short bake helps set the decal.
One detail matters before you buy anything: get the right paper for your printer. House Digest’s example is a pack made for inkjet printers, and the sealing step it describes is for inkjet prints only.
The steps, tile by tile
- Print and seal. Print your designs. In a ventilated area, wearing a mask, spray a couple of coats of Mod Podge Spray Acrylic Sealer, letting the first coat dry about 15 minutes and the second about 30 minutes.
- Number the tiles. Mark each tile on the back so the pattern goes up in the right order.
- Cut to size. Trim each decal to the size of your tile with a paper cutter or box cutter.
- Soak for 60 seconds. Dip a decal in a bowl of water to loosen the backing.
- Slide it on. Line it up with the bottom edge of the tile, slide the backing out, then blot the water and push out bubbles with a felt-edge squeegee or a credit card.
- Rest, then cure. Let the tiles sit on a flat baking sheet for 15 minutes, then cure them in an oven preheated to 230°F for 10 to 15 minutes.
Plan B if you’re nervous about a whole wall: try a few tiles first, or decorate a small accent area behind the coffee station before committing to the full backsplash.
Where it won’t hold up
This is a decorative finish, not a factory glaze. House Digest warns it may not suit bathrooms or other areas with constant moisture, and that moisture or heat can break down the sealer, leaving tiles that look partially melted. That’s a real concern right behind a busy stove.
Clean gently. Wipe up food or chemical splashes promptly, and for grease, use soapy water and a dish rag rather than harsh chemicals.
Then there’s the oven. Some commenters questioned curing sealer-coated tiles in the same oven used for food, and the creator’s answer was simply “please do your own research!” Check the label on your sealer and decal paper before heating them, keep the kitchen well ventilated, or consider a separate oven for craft projects.
If you’d rather spend on stone, one designer paired a marble backsplash with a fresh cabinet color and made her kitchen look completely new without a gut renovation, though for about $18,000.
Plain tile, printed pattern, a low bake. That’s the trick.