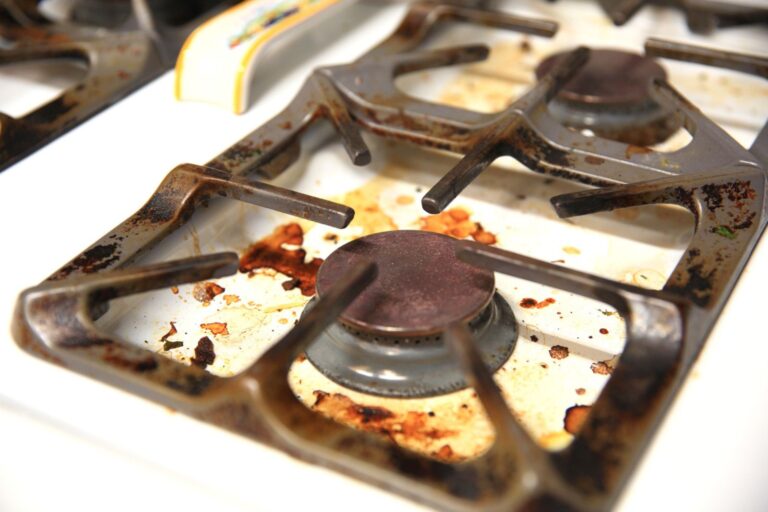
Thanksgiving is on Thursday, Nov. 26, and the stovetop shows every meal since last year. The grates are dull and rough, with black crust baked into every corner. The self-clean button is right there on the oven, and the oven is big enough to hold them. It feels like the obvious move: load them in, press the button, let the heat do the work.
This is not your fault. Plenty of people assume anything that fits in the oven can ride along with self-clean. But several appliance makers say that’s exactly what not to do with grates, and the rules aren’t the same for every range.
Why the self-clean shortcut can backfire
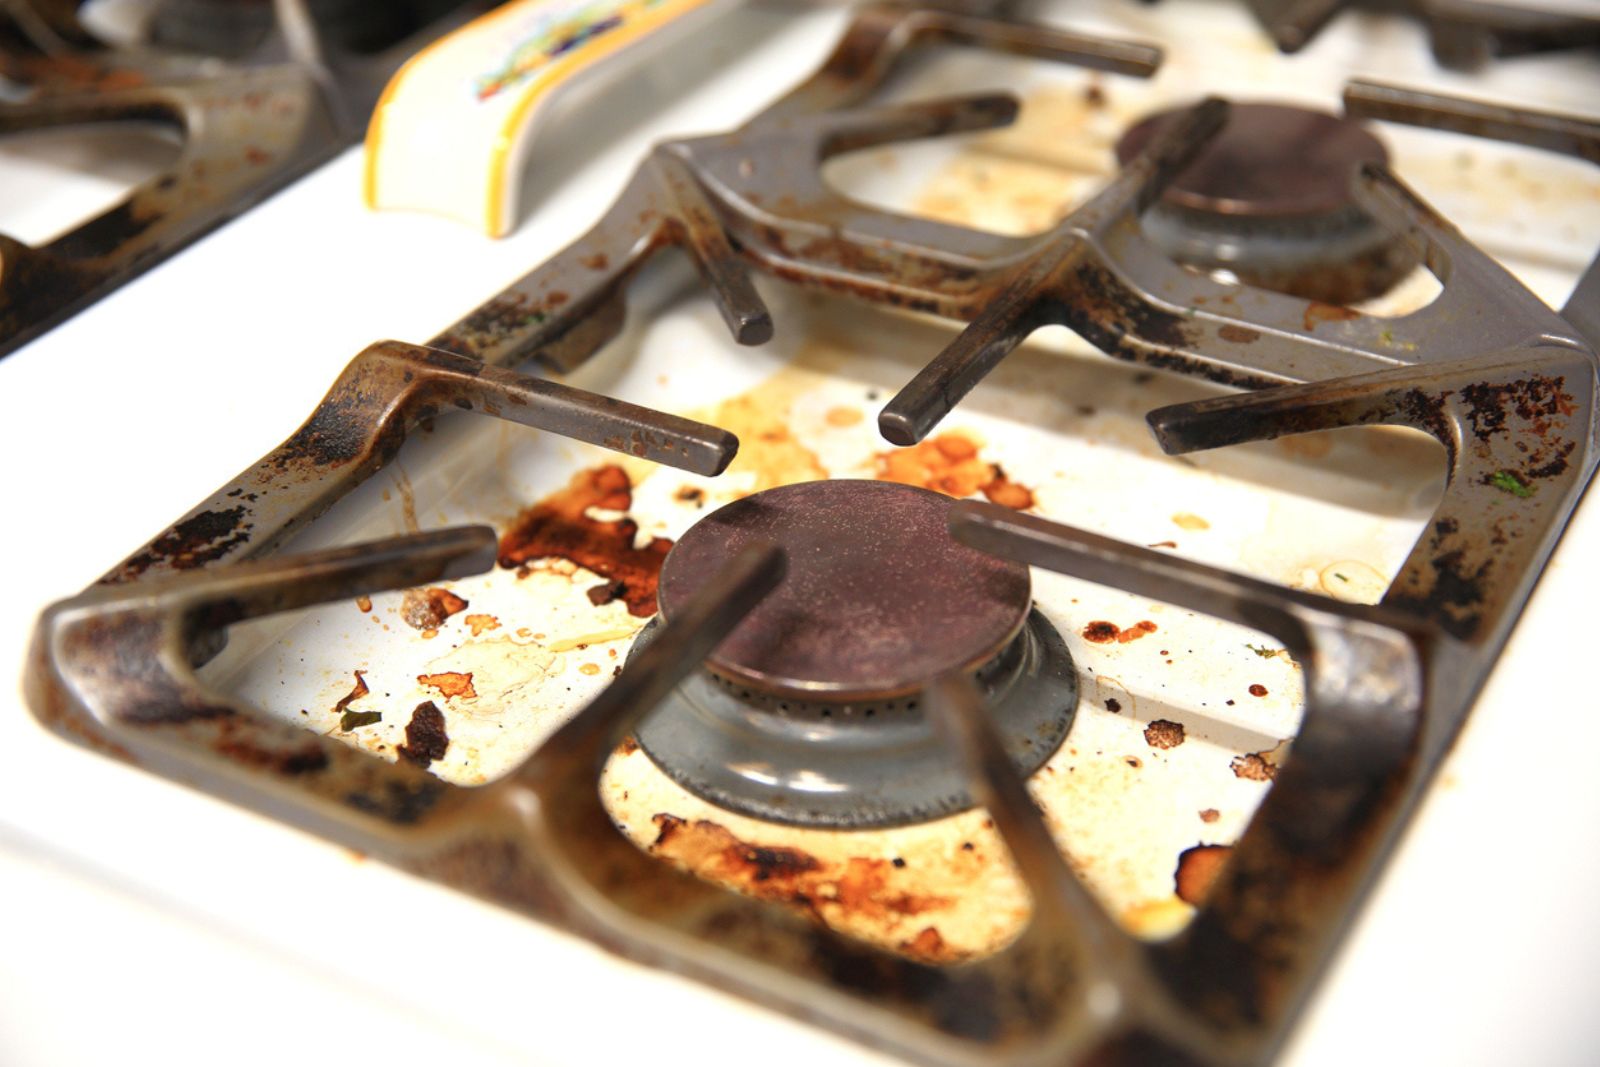
Whirlpool’s help pages are blunt: during a self-cleaning cycle, do not clean burner caps or grates in the oven. Wolf, the professional-style range maker, says the same thing in its care guide: don’t clean grates by heating them in the oven or by leaving them inside during self-clean mode.
Neither brand spells out the reason, so don’t count on the cycle being safe just because nothing seems to happen. And here’s the catch: the rules differ by model. One GE owner’s manual says its grates may go through the self-clean cycle, as long as they’re placed carefully and not slid across the racks, which could damage the rack enamel. That’s why the only answer that holds for every stove is the one in your own manual.
Grates also have other weak spots. Whirlpool warns that acidic spills like vinegar and tomato may affect the finish, so wipe them up once the cooktop is cool. It also says not to bang grates against each other or against cast iron cookware, which can chip them.
The cleaning routine makers actually recommend
- Wait until everything is cool. Whirlpool says to clean only when the controls are off and the grates and caps are cool to the touch.
- Start gentle. Whirlpool suggests soap, water and a soft cloth or sponge first. Wolf recommends hot water, a mild detergent and a no-scratch cleaning pad.
- Step up for baked-on crust. Whirlpool’s next step is a nonabrasive plastic scrubbing pad with a mildly abrasive cleaner. Wolf also allows a paste of baking soda and water.
- Check before using the dishwasher. Whirlpool says some grates can go in the dishwasher on the most aggressive cycle, after burned-on soil is soaked or scrubbed off, but its burner caps never should. Wolf says its grates are not dishwasher safe at all.
- Dry completely. Wolf warns that surface rust can form if grates are soaked for long periods or not dried thoroughly. Whirlpool says not to put caps back on the burners while they’re wet.
- Put caps back where they belong. Whirlpool says each cap should sit flush on its matching burner base, with the alignment pins lined up.
Plan B for stubborn spots: Wolf says degreasers or a fume-free oven cleaner can be used sparingly with a non-scratch scrub pad, and that fine steel wool is only for removing rust.
When to stop scrubbing
If the coating on your grates is chipped or flaking, more scrubbing won’t bring it back. Contact the manufacturer about replacement grates for your model instead of grinding at the damage.
Keep the burner parts in mind while you’re at it. Whirlpool notes that a clean burner cap helps avoid poor ignition and uneven flames, so the holiday clean-up is a good moment to check the caps, too.
And if the oven itself needs attention before the big meal, self-clean isn’t a cure-all there either. The haze trapped inside a glass door is a separate job, and this oven door fix shows how to reach it.
Cool grates, a gentle pad and a quick look at the manual. That’s the trick.