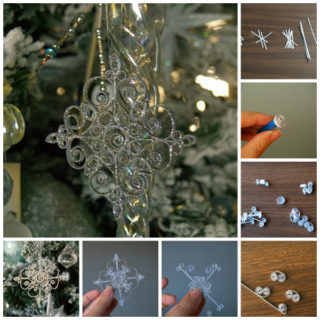
Swirly marbled manicures have been trending, but the simplest Google search will show you countless pictures of people who tried to get the perfect effect and just made a mess. Check out this simple guide for doing a marbled manicure that looks sensationally swirled rather than smeared!
(Source: Salon Addict)
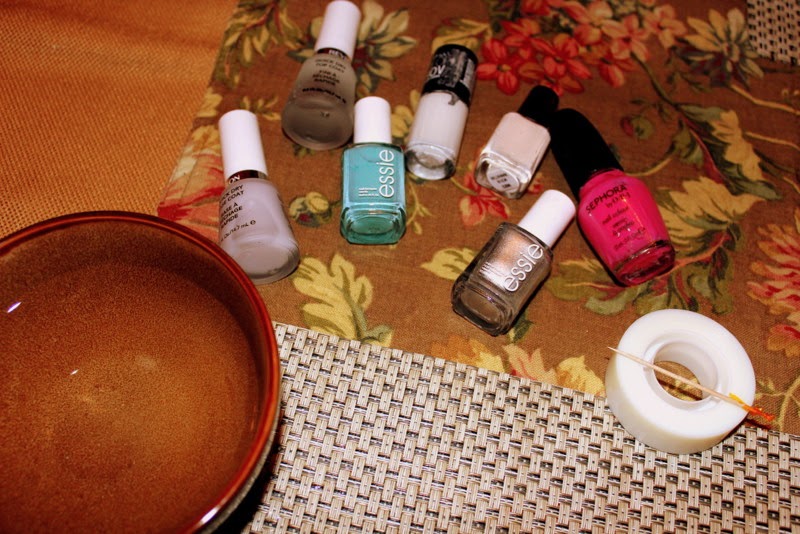
Step 1:
Gather your materials. You’ll need:
- A cup of water
- A light coloured base polish
- two or more contrast colours to swirl
- Clear base and top coat polish
- A toothpick
- Tape
- Nail polish remover
(Source: Myriad Musings)
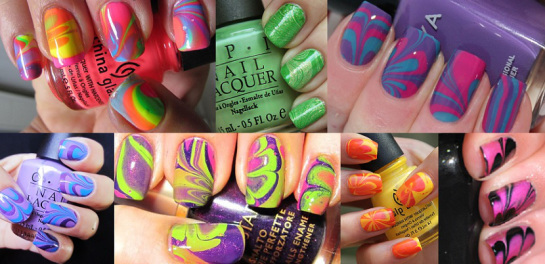
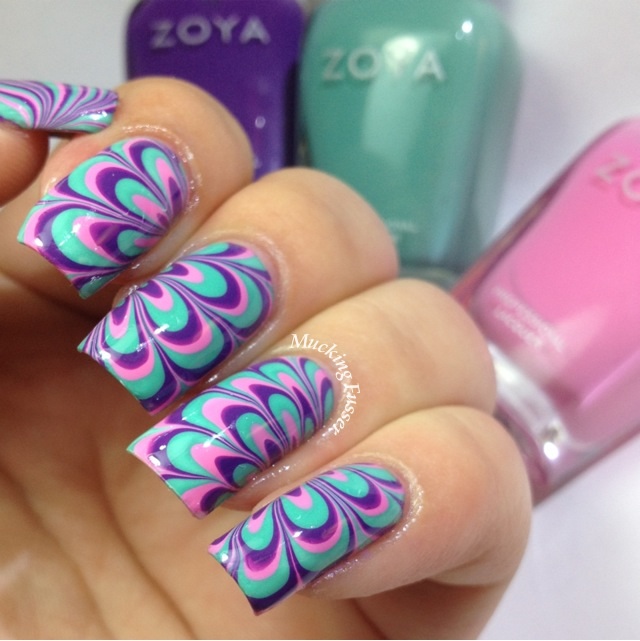
Step 2:
Choose your colours. Go for a bright look with many different colours, or keep things soft and neutral by choosing different shades of the same colour.

(Source: Eye Masq)
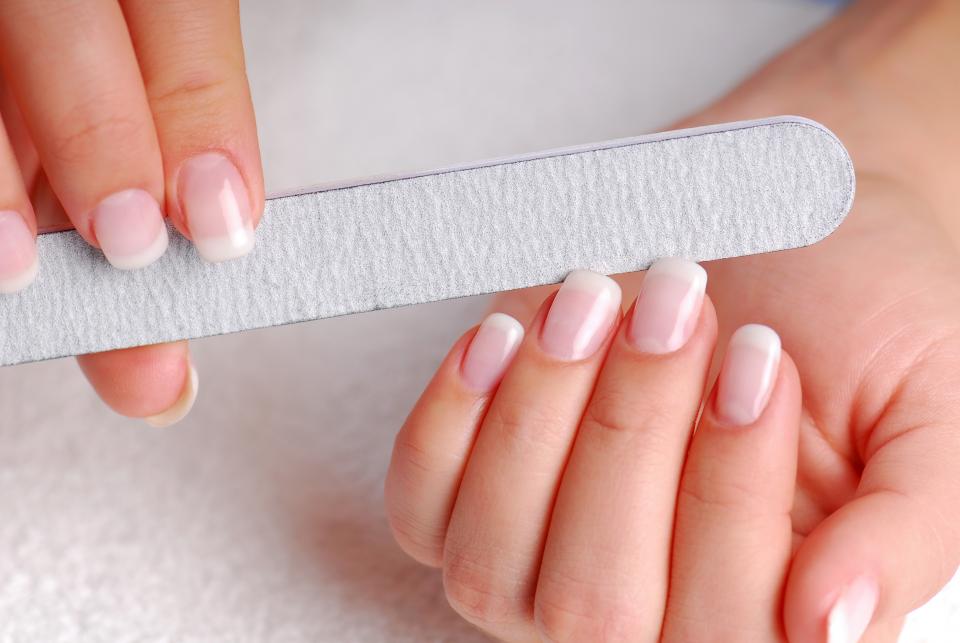
Step 3:
Cut and file your nails. If you cut and file the edges after you marble them, you’ll ruin the consistency of the swirled pattern.
(Source: Divine Caroline)
Step 4:
Buff your nails. You want the marbled swirls to look smooth and consistent across your nail, rather than being interrupted by visible cracks and bumps.

(Source: Nicole by OPI)
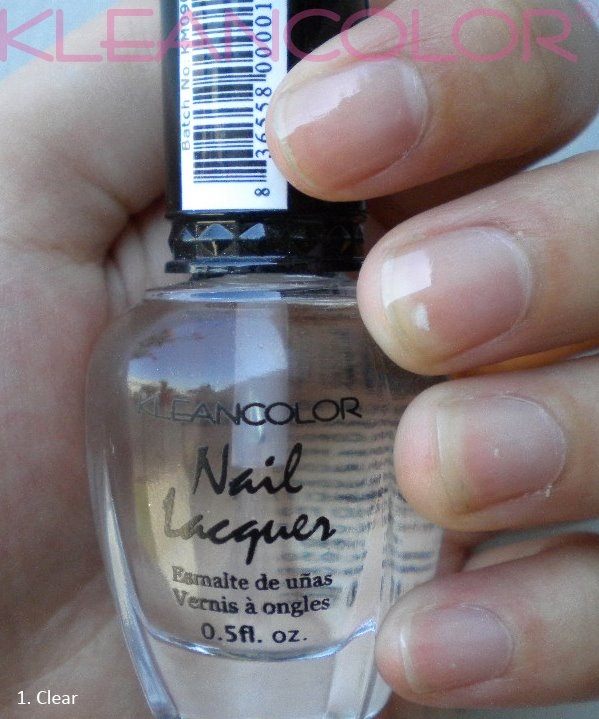
Step 5:
Paint your nails with a smooth, clear base coat. This fills in any remaining bumps or scratches in your nails and gives your light base colour a smooth surface to be painted on.
(Source: Nail Supply Glamour)
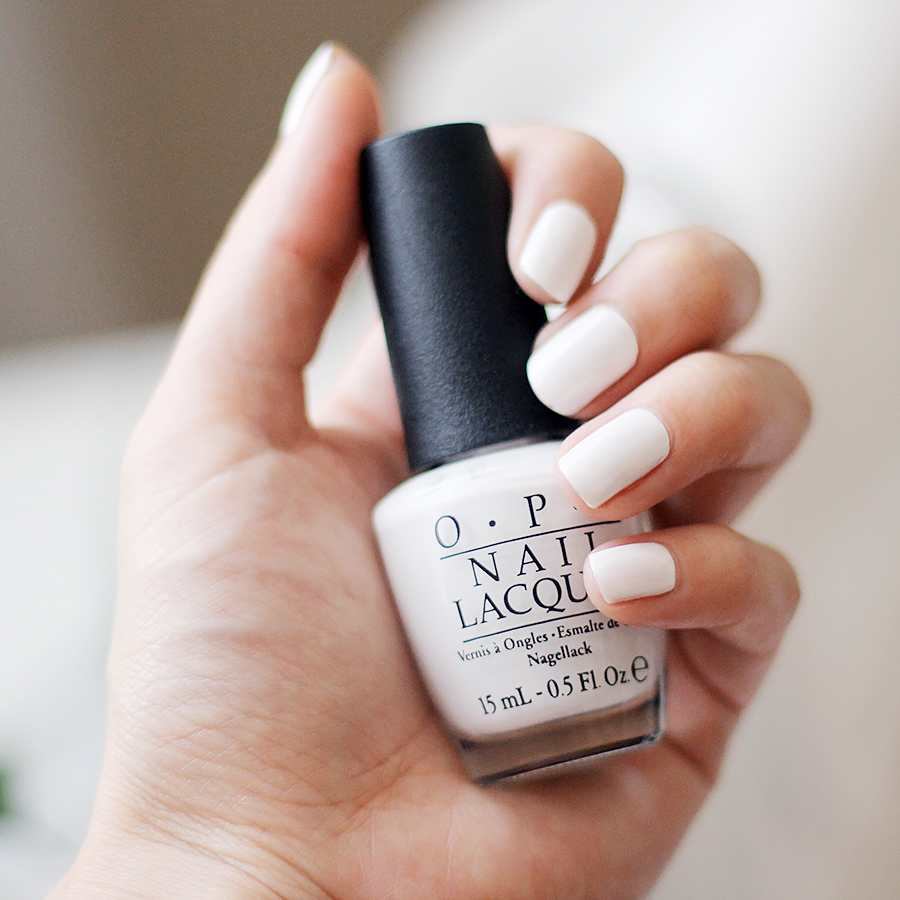
Step 6:
Paint on your light base colour. Do a second coat if necessary. You want the colour to be opaque enough that the marbled effect shows up in stark contrast. Let the base colour dry completely before you move on.
(Source: Fake Leather)
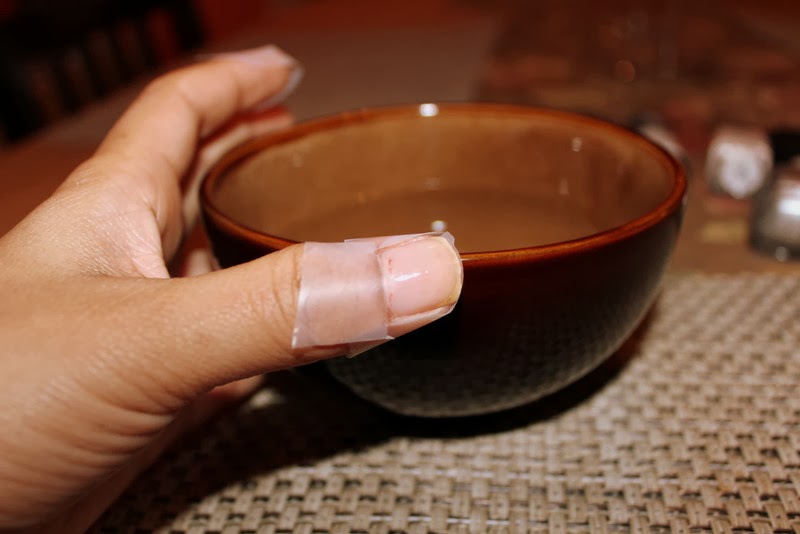
Step 7:
Tape your fingers. Using strips of simple scotch tape, cover the skin around your finger nails so you have less mess to clean up after.
(Source: Myriad Musings)
Step 8:
Fill your cup of water and gently drop in a few drops of each contrast colour. Use your toothpick to swirl the colours together by gently pulling it through the water so they mix slightly.

(Source: My Simple Little Pleasures)
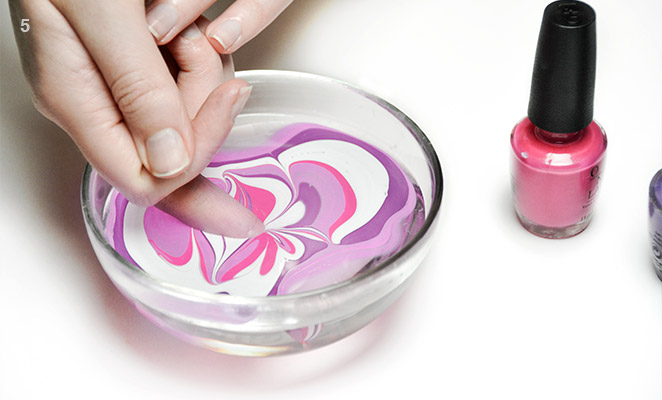
Step 9:
Dip your finger in the water where the polish sits on the surface. Angle it so your nail hits the water as flat as possible in order to get the best swirl pattern.
(Source: Beauty Bay)
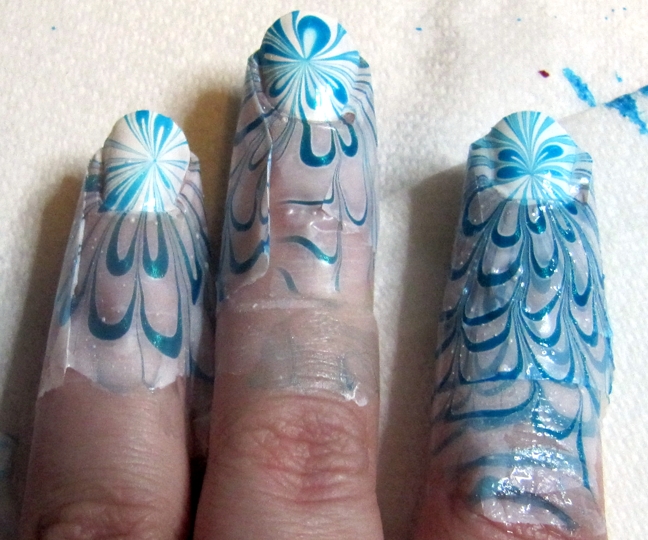
Step 10:
Remove your finger from the water. Have a tissue or paper towel ready to carefully wipe excess water and polish from around your nail and on your finger tip. The polish on the surface of the water will slowly begin to dry and might lift off on your finger.
(Source: Makeups)
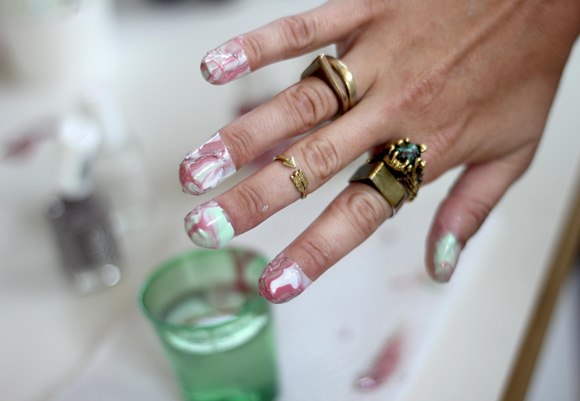
Step 11:
Once your marbled pattern has dried, carefully remove the tape around your finger. Do it slowly so the edges of your pattern on the nail don’t lift.
(Source: Eye Masq)
Step 12:
Before you prepare to dip the next finger, use another toothpick to lift any excess polish off the surface of the water. Leaving it and adding more polish will cause lumps in your marble. If you have a lot of excess, consider changing the water all together.

(Source: Go Social)
Step 13:
Repeat the steps for marbling. tape each finger, drop each colour, swirl, and dip.

(Source: Magalie)
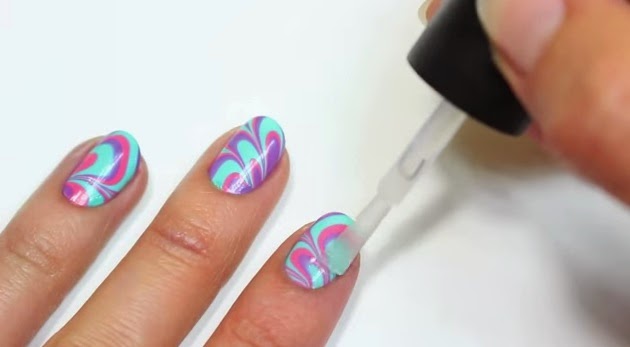
Step 14:
Seal your marbles manicure with a smooth, clear top coat on each nail.
(Source: My Nails Creation)
step 15:
Enjoy your unique, custom swirls!
(Source: Lacquer Heads of Oz)
If you really want to get creative, try taping off geometric shapes or lines on your nails so the marbled effect only appears in certain sections. Once you’re finished, link us to a picture of your nails in the comments!