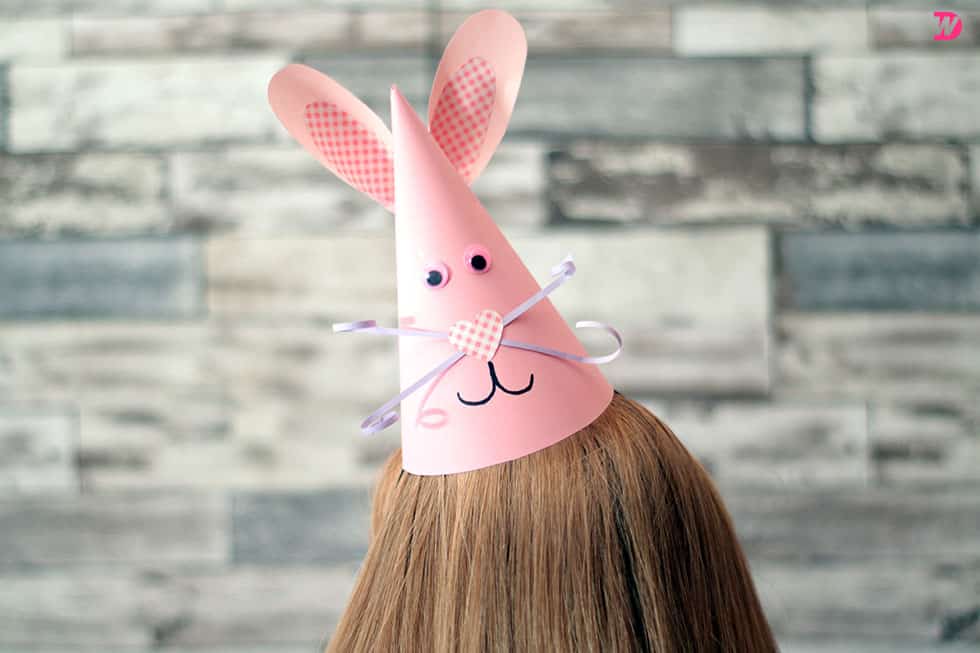
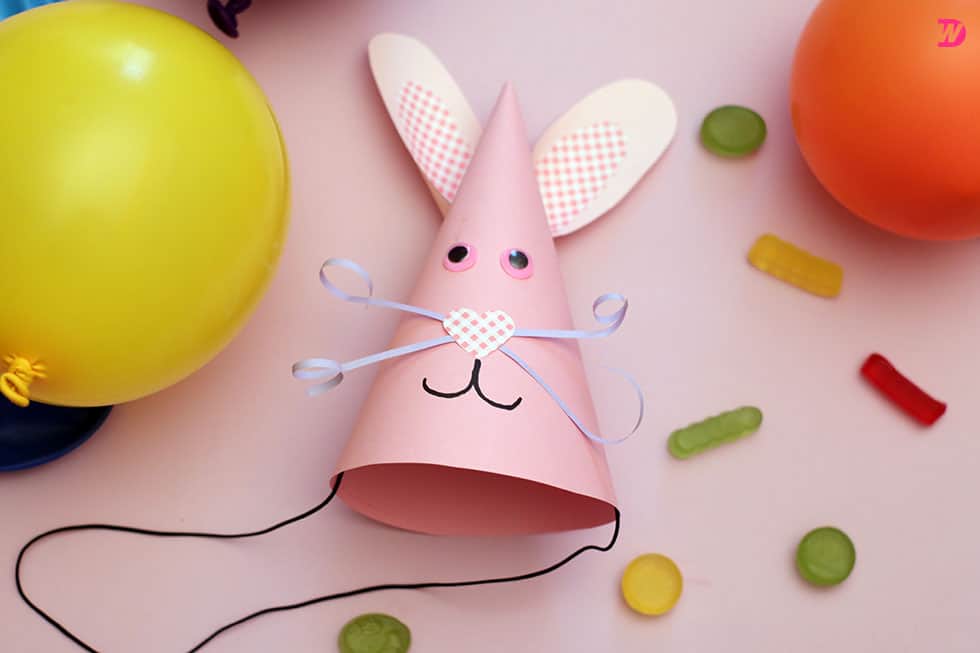
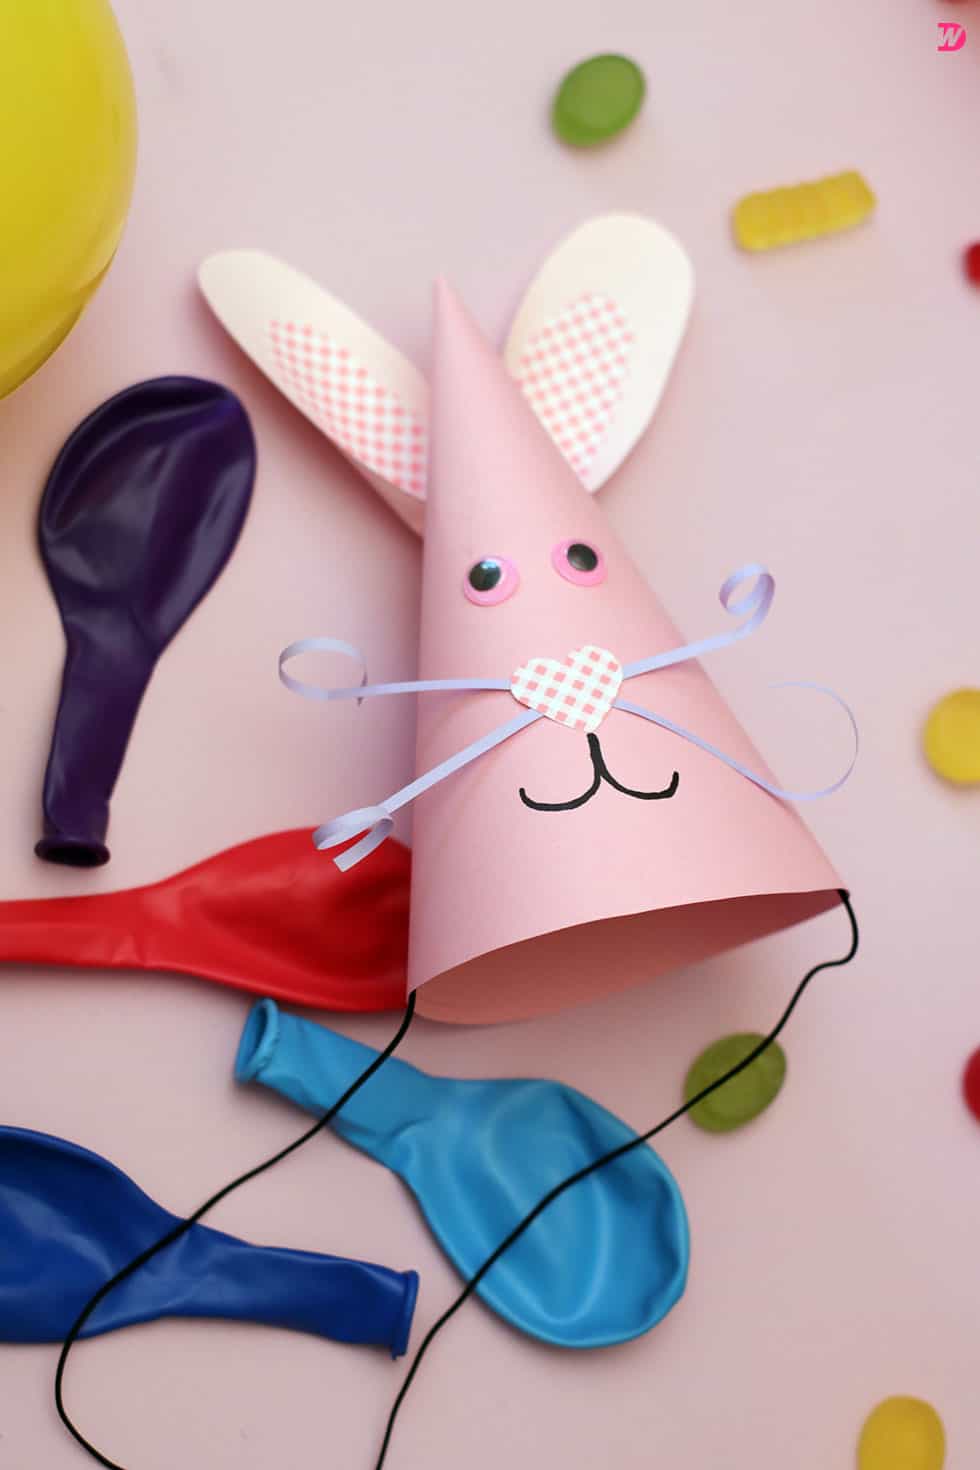
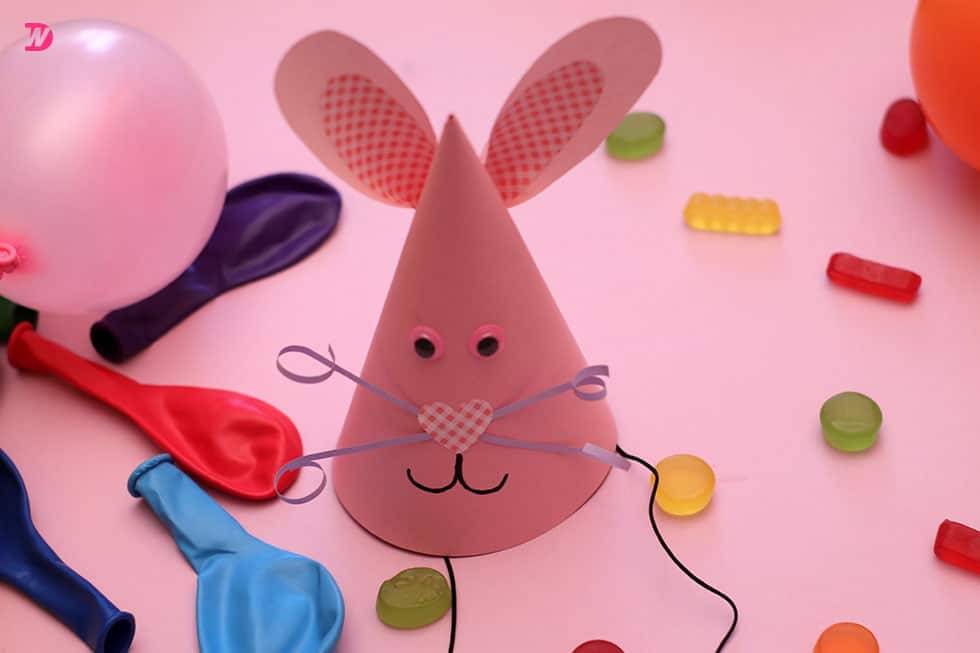
In my house, literally any holiday is a great excuse for the kids to play a little bit of dress-up! If I’m being totally honest, they don’t actually even need an excuse, but things are always a little extra fun when there’s a seasonal theme to work within their regular, rather crafty costuming endeavors.
That’s why I love coming up with ways to help them make their own pieces to celebrate different holidays, changes in season, and so on, and Easter is no exception.
One of my children actually has a birthday just before Easter arrives and making all kinds of fun things for the party, including birthday hats, got us all talking about how much fun it would be if there was a funny party hat to wear for every occasion. That’s how these adorable little Easter bunny-themed party hats came to be!
Naturally, I knew I just had to document the process of making these the moment I finished the first one and saw how much my kids loved it. That’s why I decided to create a tutorial for other crafters to follow along with when the kids started begging me to make more! Now we’ve made enough for everyone who will be coming to our Easter dinner.
Check out these step by step instructions complete with photos! If you’d rather follow along with a video tutorial instead of written words, scroll to the bottom of this post to find just what you’re looking for.
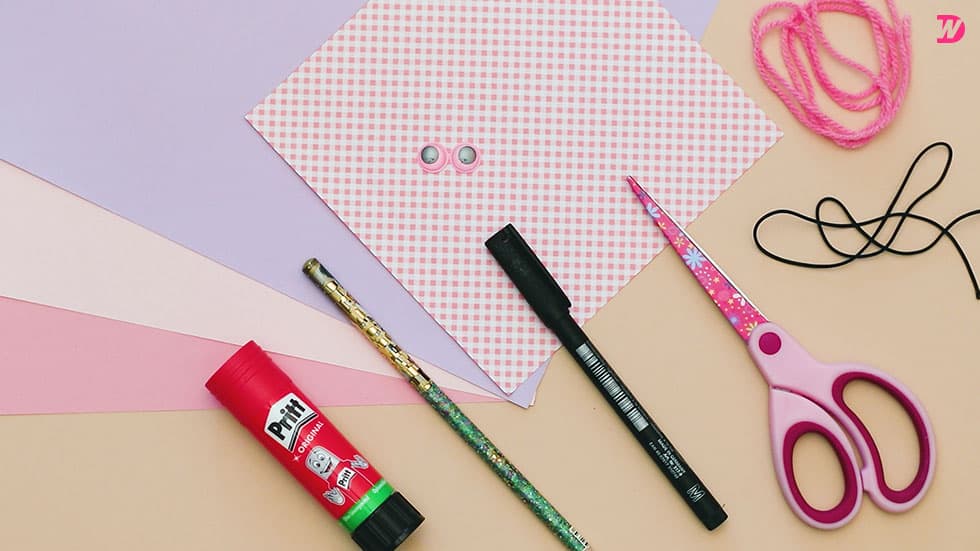
For this project, you’ll need:
- Cardstock (pastel pink)
- Construction paper (white, checkered pink, and pastel purple)
- A glue stick
- Scissors
- A pencil
- Googly eyes
- Elastic string
- Yarn
- A black marker
Step 1:
Gather your materials!
Step 2:
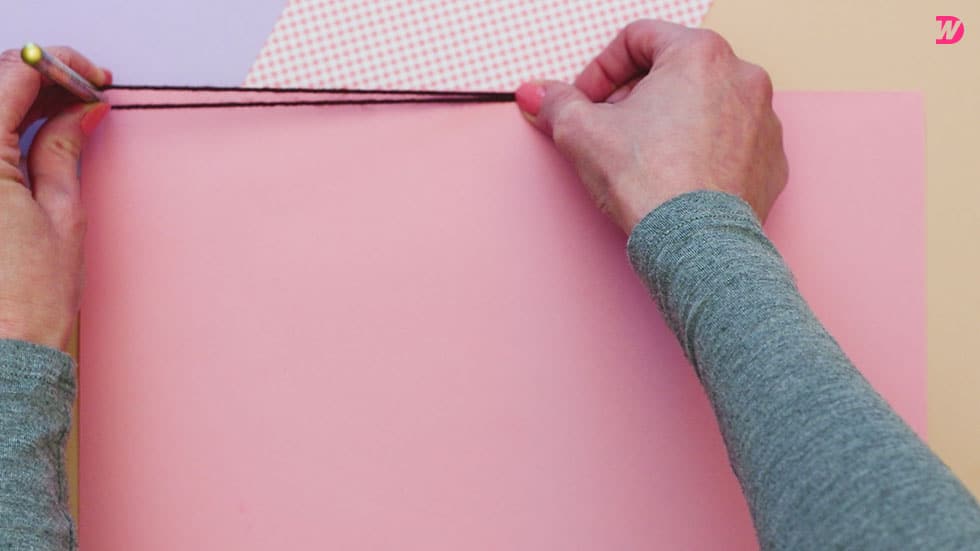
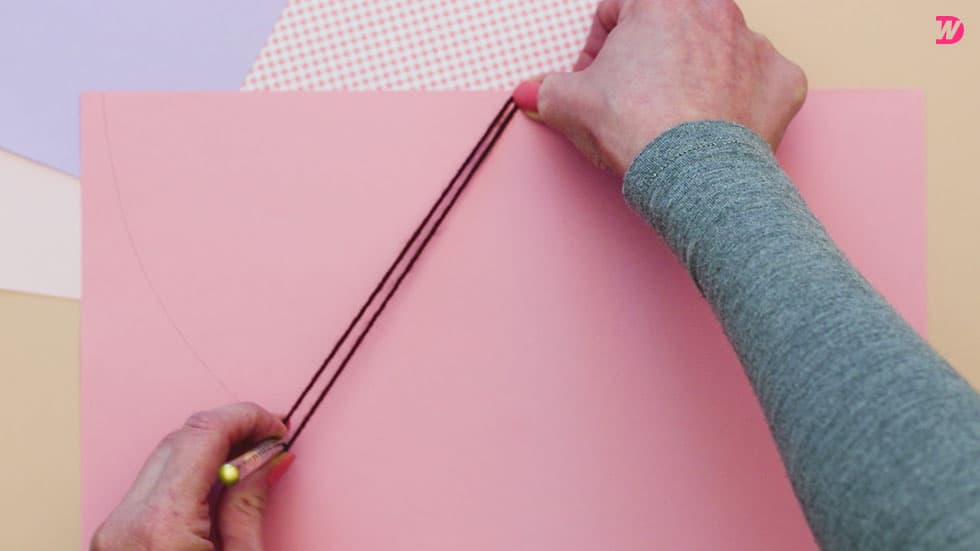
First, turn your piece of pink cardstock landscape-wise so its long edges are the top and bottom and its short edges are the sides. Now, cut a piece of yarn that’s the same length as the long edge of your pink card page. Fold it in half so the two ends meet evenly and a loop form at the string’s halfway point. Hold those two ends tightly together, hold your pencil in your other hand and place it in the looped end, and stretch the yarn straight and taught between your hands.
Now, place the tip of your pencil in the top lefthand corner of your pink page and use your thumb to pin the yarn ends at the centre point along the page’s top edge (which should measure halfway between the corners). Carefully arc your pencil downwards, across the page in an arcing motion, and back up to the opposite corner; the tension and control of the piece of yarn will help you draw a well-measured and even semi-circle.
Step 3:
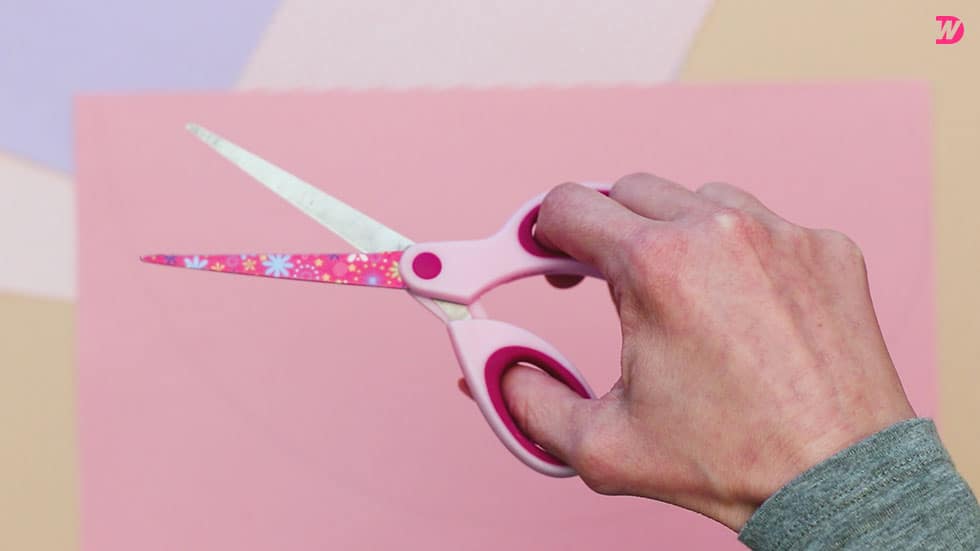
Cut the pink semi-circle out along the pencil line you just drew across your cardstock. This will be the base of your actual hat.
Step 4:
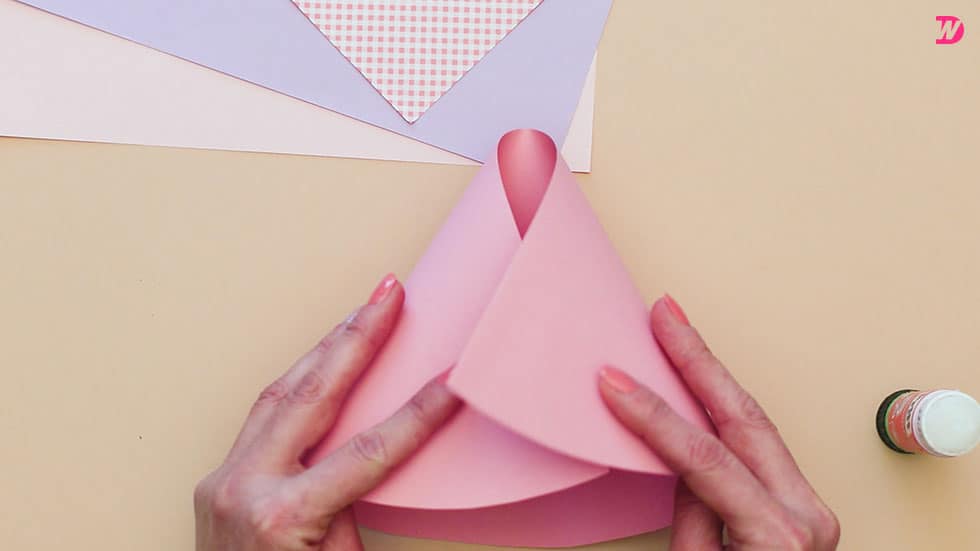
Holding your pink semi-circle so that the straight edge is at the top and the rounded edge is at the bottom, curl the corners towrds yourself, in towards each other, and down so that they meet up even with each other and the rounded edge at the bottom and make an open point at the top.
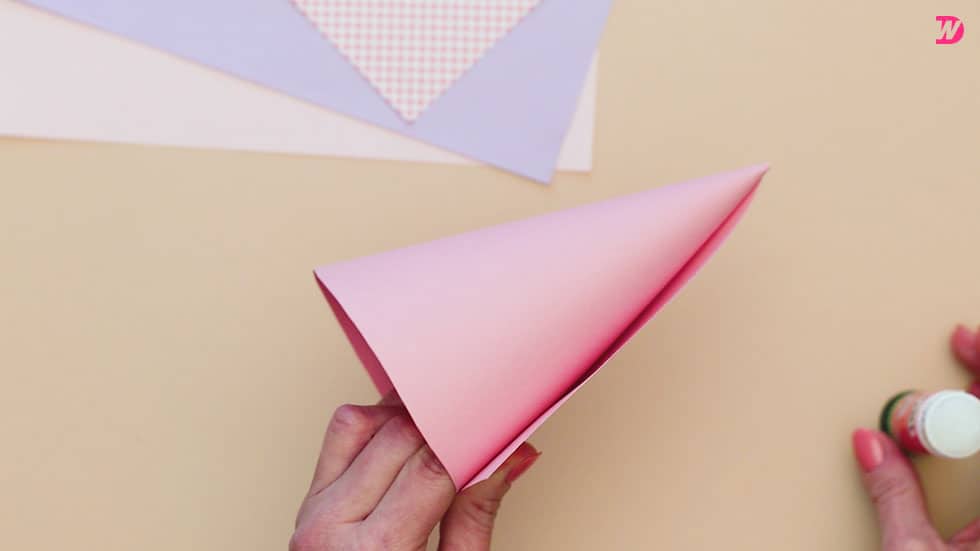
Then pass one corner over the other and start overlapping them, pulling one corner further along the bottom edge on the inside and one on the outside. This will close the opening in the top and make an actual point, while the bottom becomes a circular opening.
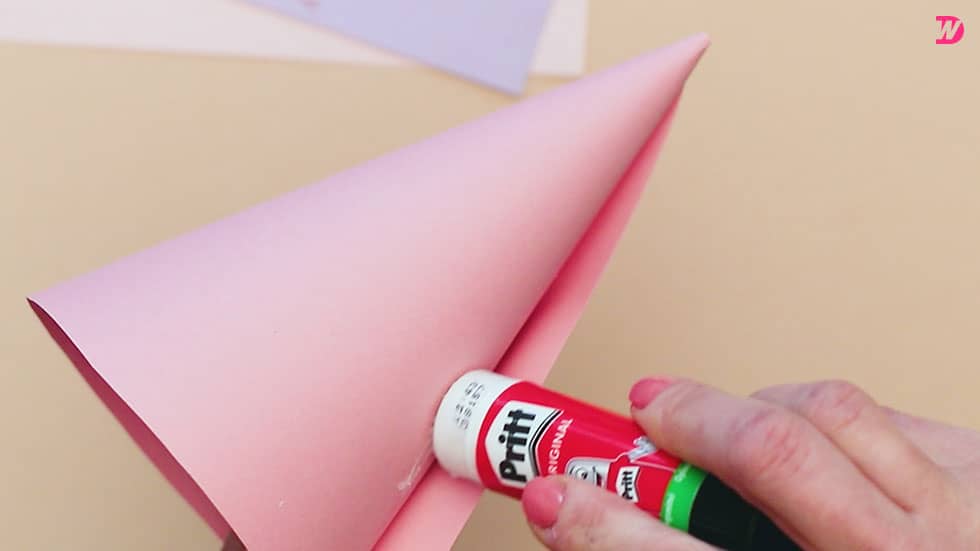
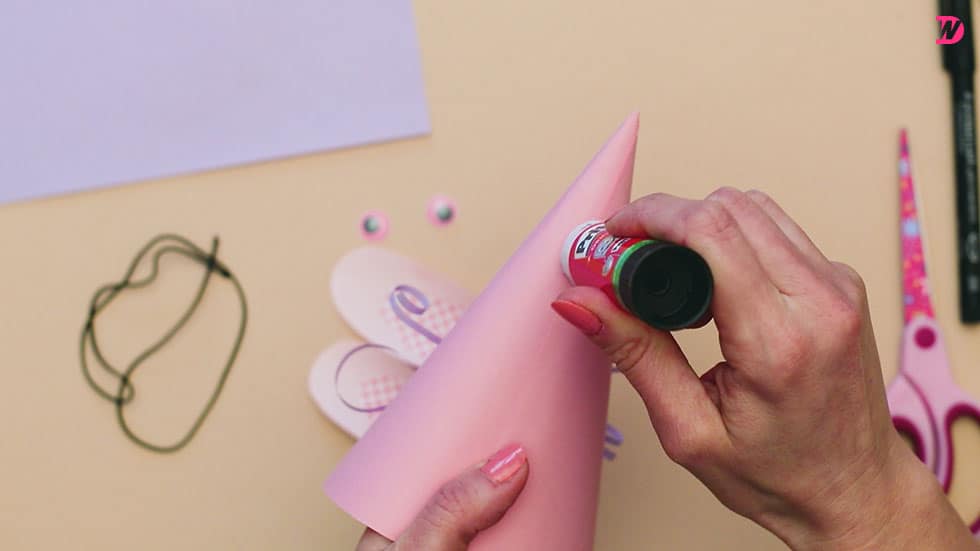
You now have a plain pink cone shaped party hat! Use your glue stick to apply glue to the outer corner and up its vertical edge to keep the cone shaped hat curled into place properly. Set it aside for a moment.
Step 5:
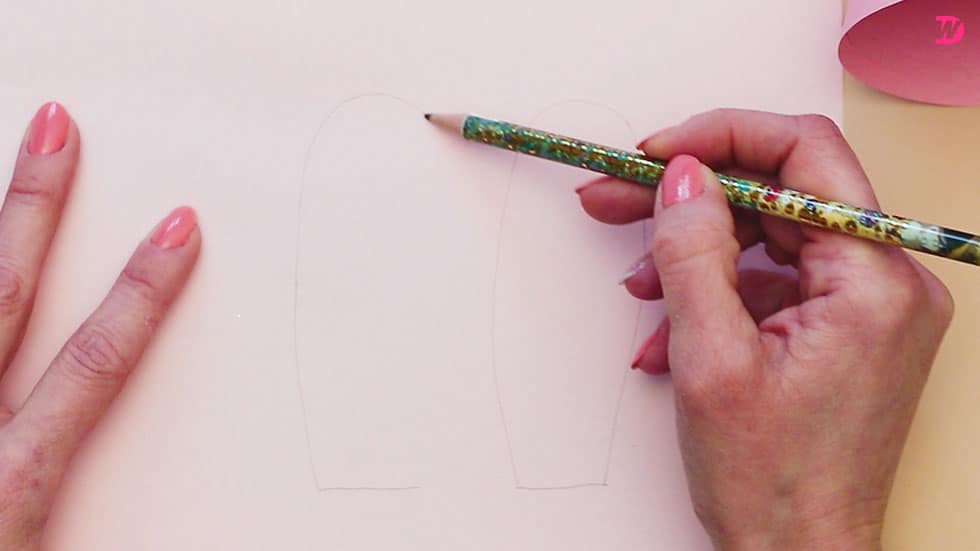
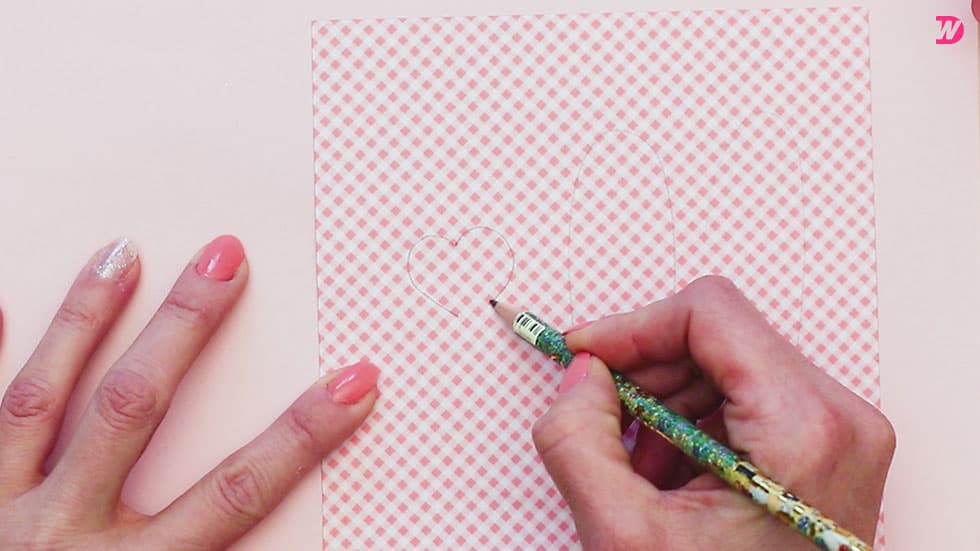
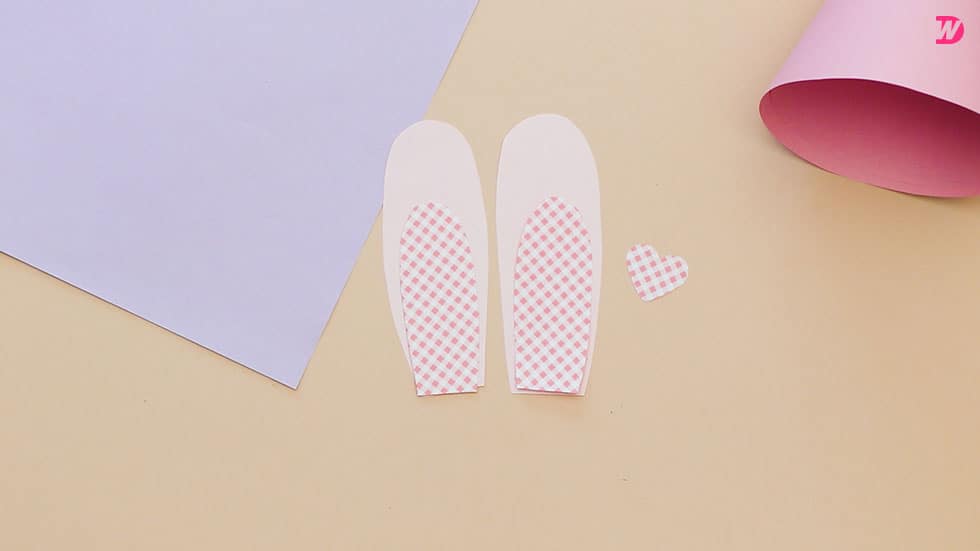
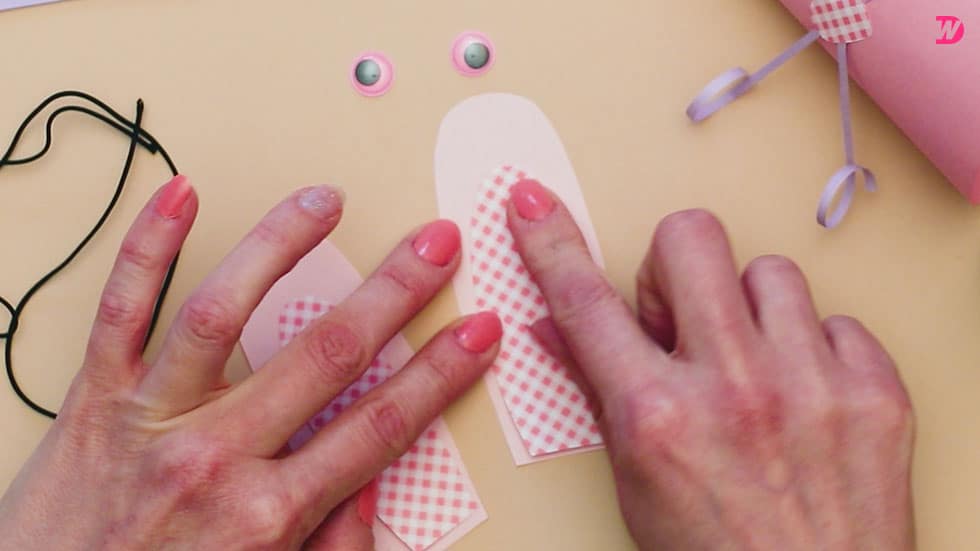
On your piece of white paper, draw the shape of a rabbit ear with a narrow, flat bottom edge and tall sides that widen towards a rounded top. Draw a second ear the same side. Now, take your piece of pink and white checkered paper and draw two more ears that are the same shape as your white ones, but this time smaller. These will layer on top of the first ones to make the pink inner ear of your Easter bunny. Finally, draw a heart shape about half an inch tall by half an inch wide on your pink and white checkered paper as well. Cut all of these shapes out.
Step 6:
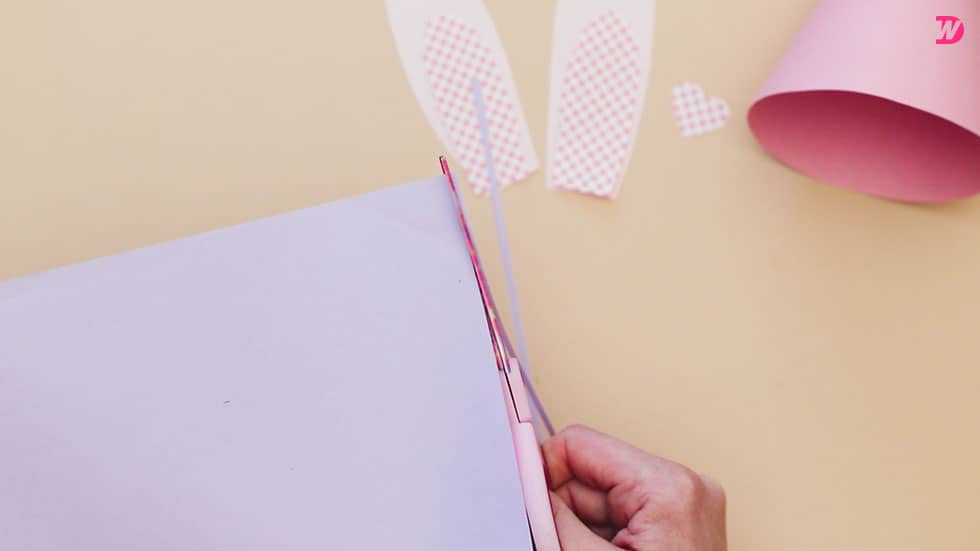
From one of the short edges of your purple paper, cut two very thin strips from bottom to top, less than a centimetre wide each. Curl the ends of each strip by holding the paper tight between your fingers on one hand about an inch from the end and running your thumb nail down towards the tip, pressing hard enough to get the effect but not so hard that you just rip the end of the strip off. These two curled strips will be your Easter bunny’s whiskers!
Step 7:
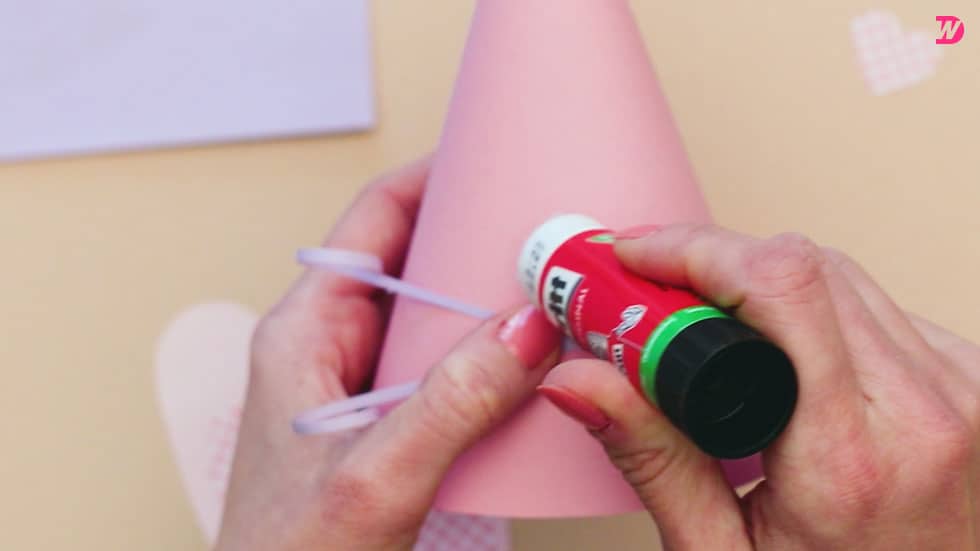
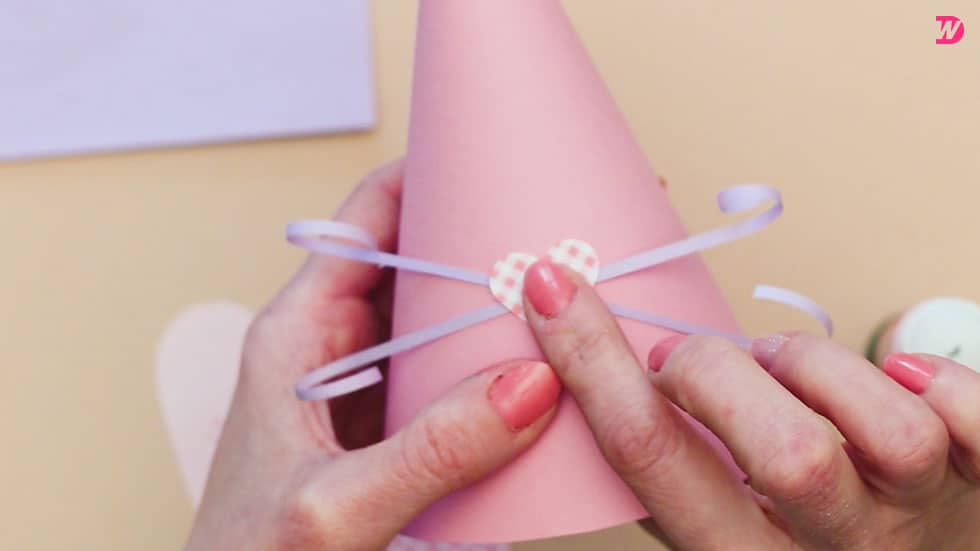
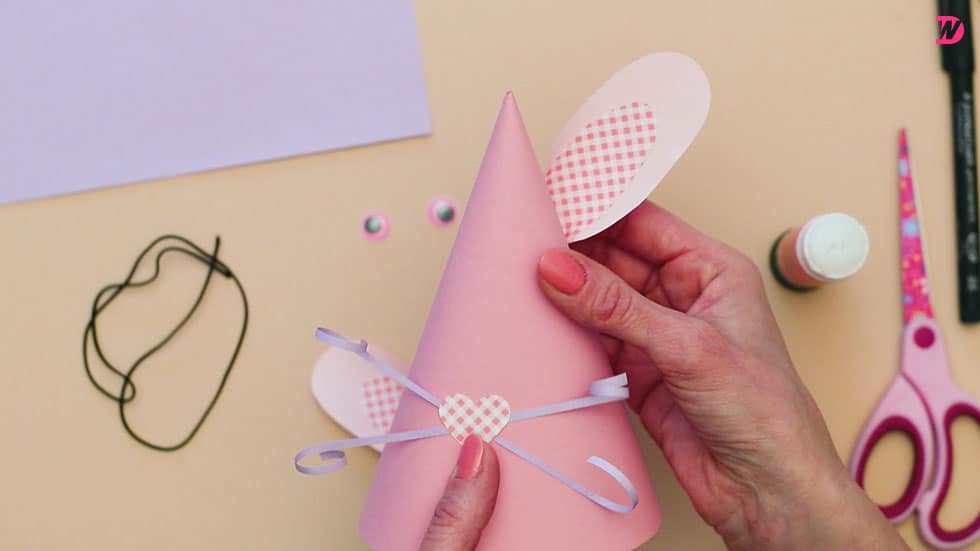
Pick a central spot to anchor your Easter bunny’s face around and use your glue stick to apply a dot of glue there. Stick your whiskers down at their central point, crossing them slightly over each other like a small X so the curled ends stick out at cute angles on each side. Then stick your heart shaped nose down right on top of that central point where the whiskers overlap.
Step 8:
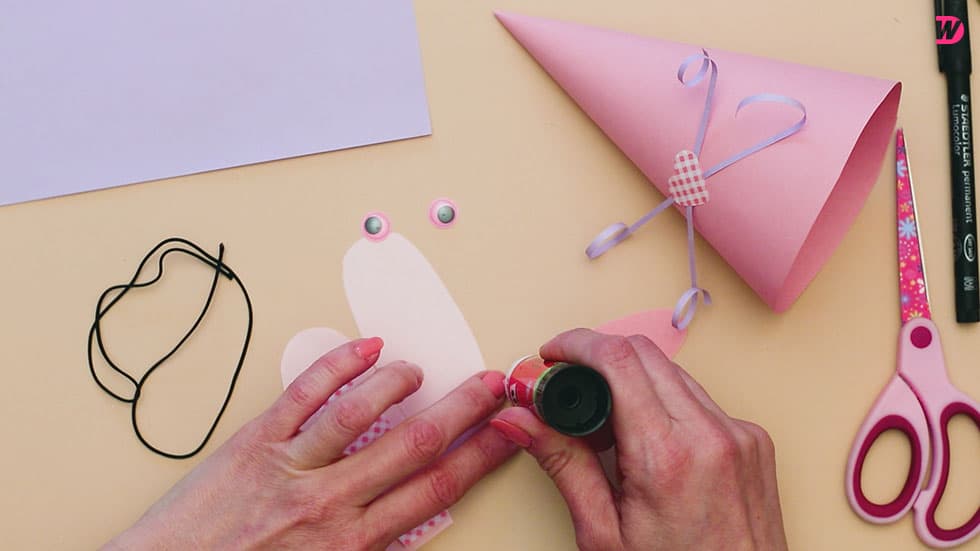
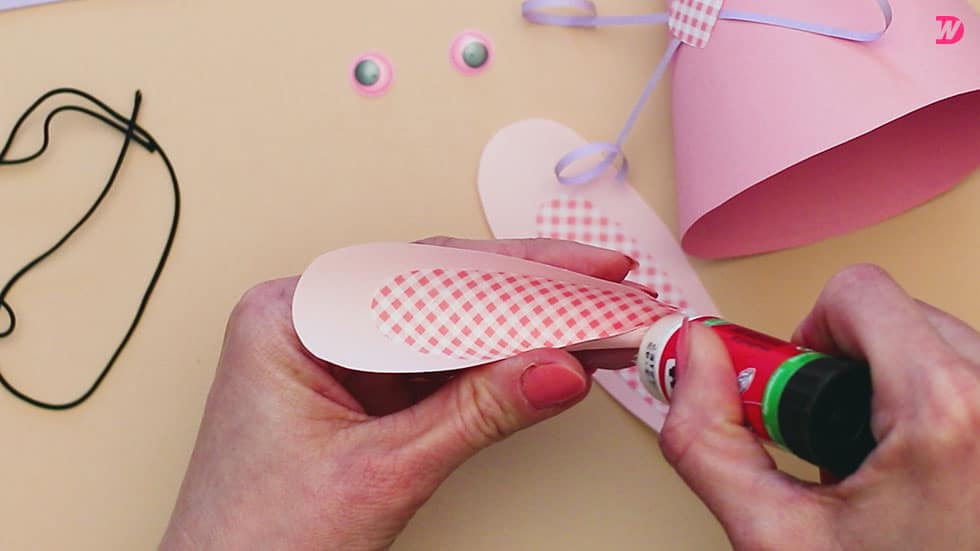
Apply glue to the backs of your pink and white checked inner ear pieces and stick them down in the centre of your larger white ear pieces, so the white peeks out around the pink edges like a border. Then curl the bottom corners of each newly layered ear in towards each other to make a point kind of like you did earlier with the pink hat, gluing them into place overlapping on each one. Your ears now have pointed bottoms instead of flat bottom edges.
Step 9:
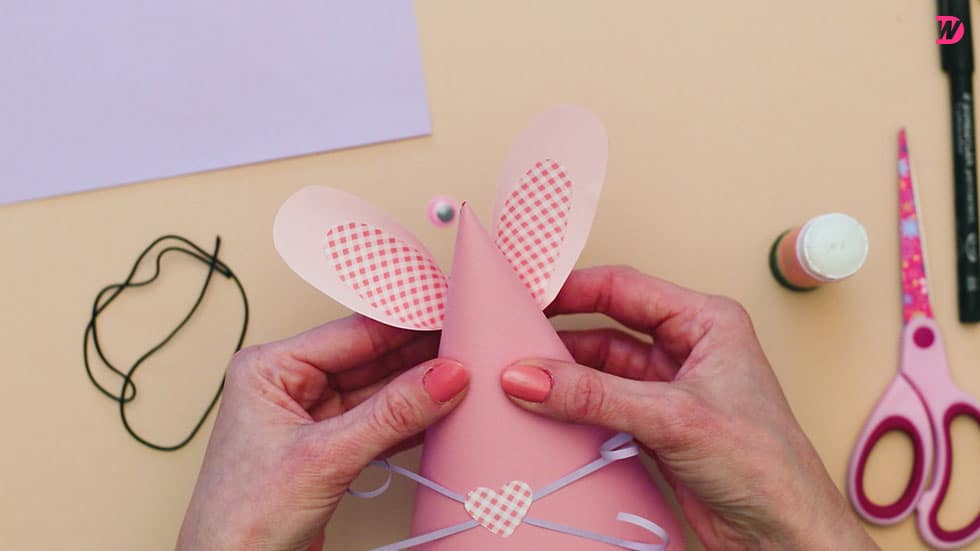
Turn your pink hat around so you’re looking at the back, on the side with the seam opposite to where you just glued your nose and whiskers down. Apply a decently sized patch of glue closer to the top of the hat, just above the halfway point in its height. Glue your ears down here by sticking the front of each curled bottom into the glue with the pink inner ears facing the other direction, away from you and towards the other side of the hat. Angle them slightly diagonally so that they stick out the other side at a cute angle, like the bunny is very happy indeed.
Step 10:
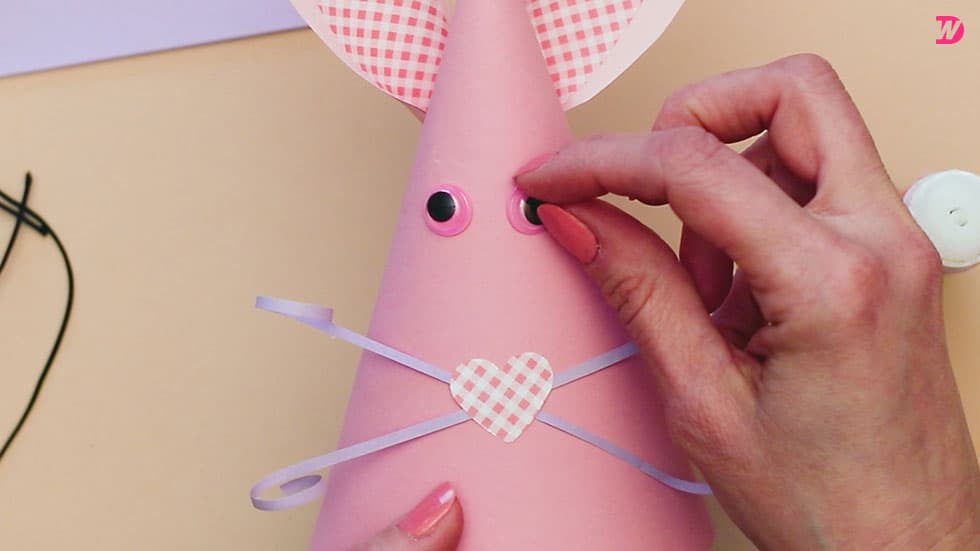
Turn the hat back around and then apply glue to the backs of your googly eyes and stick them down above the nose but below the ears.
Step 11:
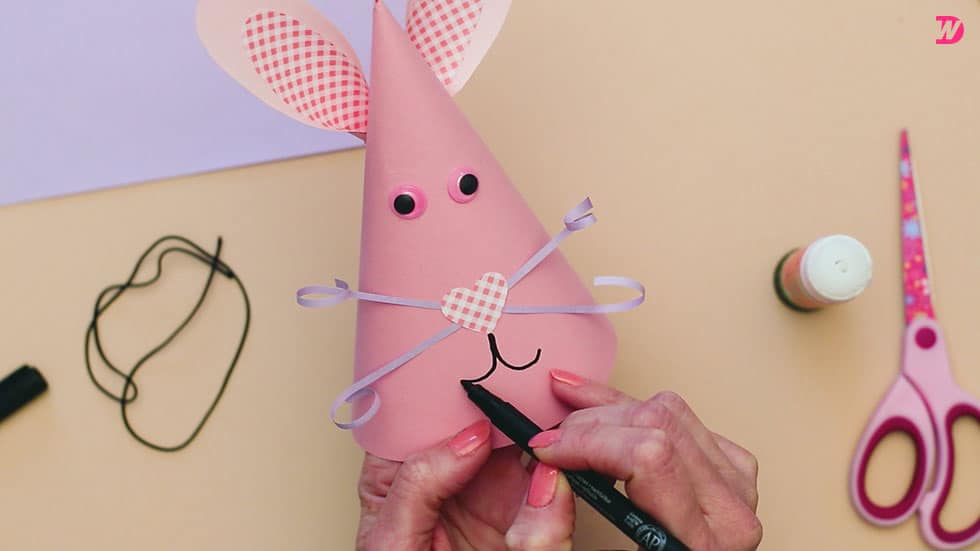
Starting at the tip of the heart shaped nose and drawing downwards to then curve outwards, use your black marker to draw the rabbit’s mouth, like a smile.
Step 12:
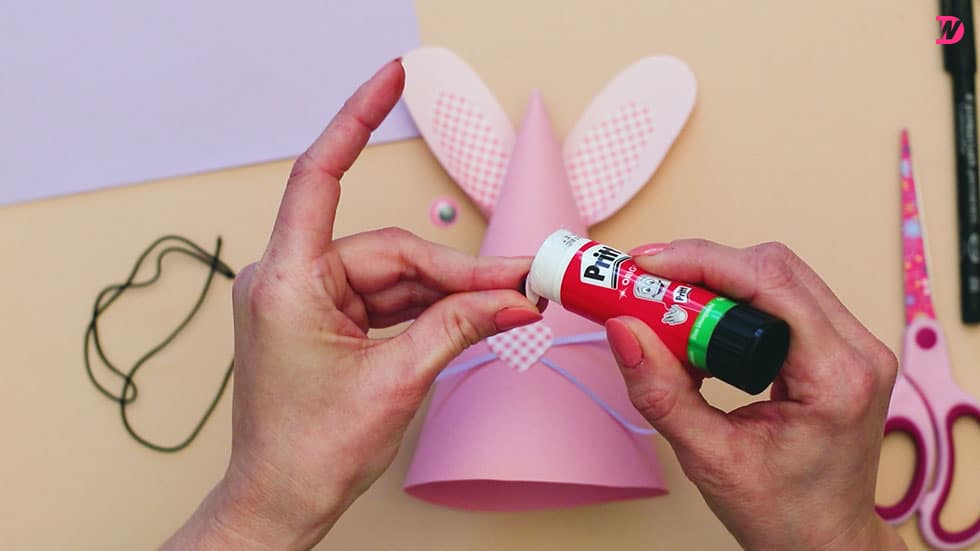
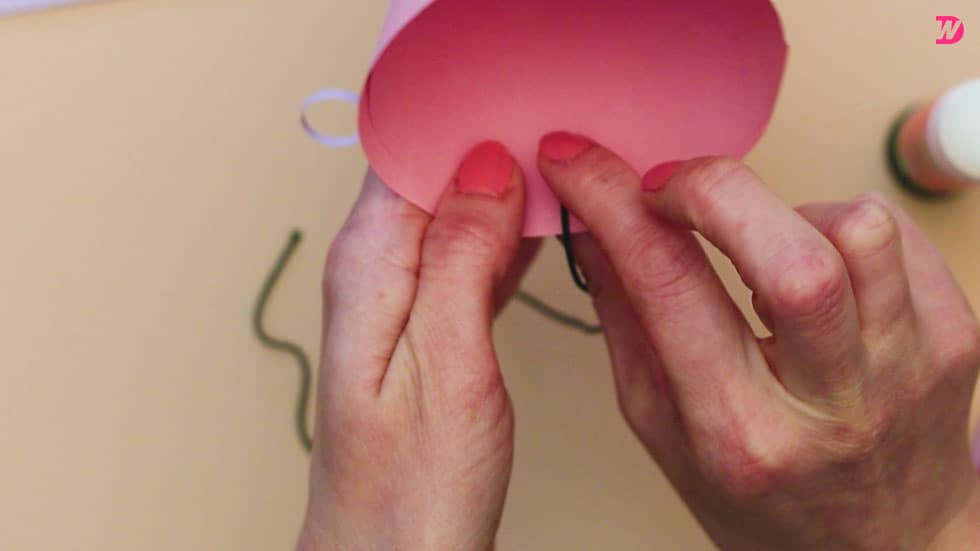
Cut a piece of elastic string that’s however long it needs to be to loop from the side of your child’s head (or your own, if you’re getting in on the fun too), down underneath their chin, and back up the other side to about their temple. Then turn the Easter bunny hat over so you can see inside the cone and apply glue on each side, about an inch or so higher than the circular bottom edge. Stick the two ends of your elastic string down there so it arcs downwards and can fit over a face easily but without being too loose.
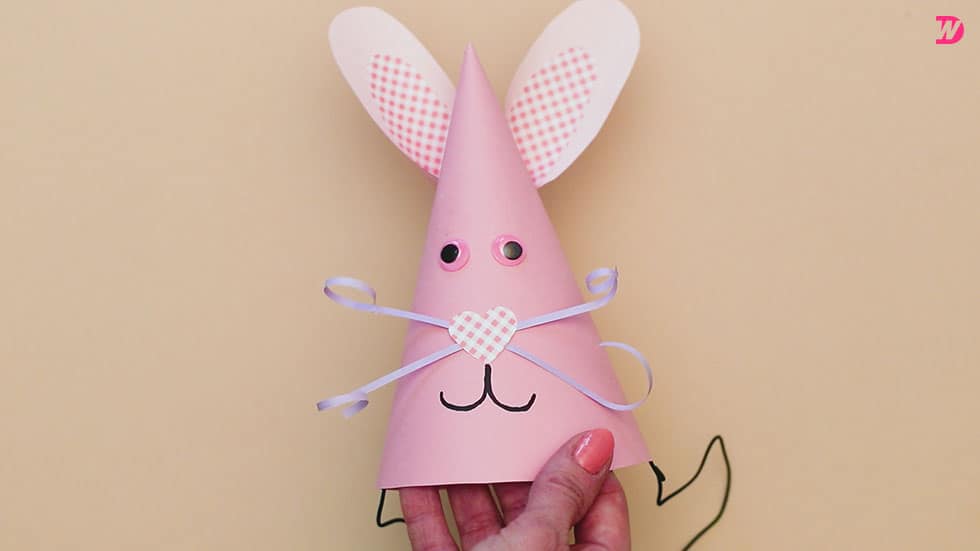
Your Easter bunny party hat is officially ready to wear! Of course, you can feel free to play with colours, details, and embellishments if the pastel theme I opted for isn’t quite spring-like or bright enough for your tastes.
Just in case you’d like to try this project out for yourself, here’s a fantastic tutorial video to help you!
Easter Bunny Party Hat [Video Tutorial]

