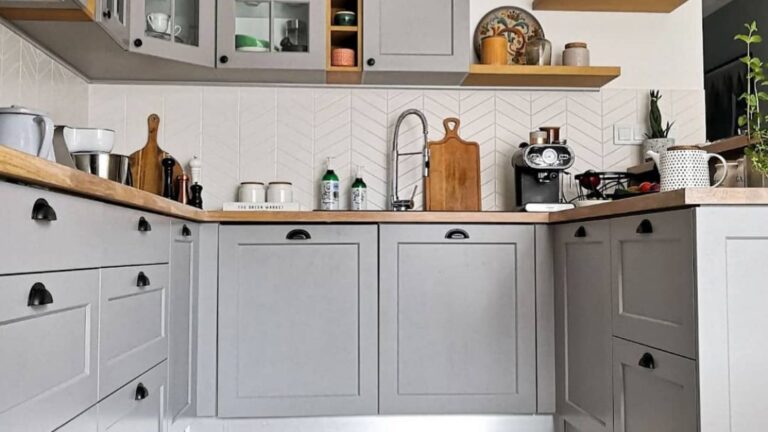
Two people put up the same peel-and-stick backsplash. Same box off the shelf, same wall, same tools. Six months later, one kitchen still looks like a $2,000 tile job. The other looks like a rushed rental patch, corners already peeling.
Same product. Same effort. Wildly different result.
It isn’t the brand. It isn’t the paint. It isn’t even how hard they pressed the tiles down. It comes down to one small choice made in the first ten minutes, before a single tile leaves the box. Most YouTube tutorials skip it. Manufacturers hide it in step five. And it’s the whole reason your corners will either stay locked to the wall for years or curl up by next summer.

The one sign that gives it away
Walk into any kitchen with a peel-and-stick backsplash and look at the two ends of the wall, where the tile stops at a cabinet, window, or inside corner.
You’ll spot the giveaway in two seconds. On one side there’s a full tile. On the other side, a thin, awkward sliver is jammed in to fill the gap. Maybe an inch wide (2.5 cm). Maybe less. That sliver is the mark of an install about to fail, and your eye picks it up from across the room.
A pro tile setter would never leave that. In real tile work, layouts are planned so both ends get cuts of the same size, wide enough to look intentional. When one end is a full tile and the other is a scrap the width of a pencil, the eye reads amateur before your brain catches up.
But the sliver isn’t just ugly. It’s the piece most likely to peel off first. These tiles use a sticky adhesive that needs full, even contact with a clean wall to hold long-term, per install advice from Bob Vila. (1) A sliver barely has surface area to grip. Cut it rough with a utility knife, easy to do on soft vinyl, and the edge lifts within weeks.
Why that sliver keeps showing up
Almost every DIY guide tells you to start in a corner and work across the wall. Feels logical: straight edge, press a tile, keep going. That instinct is where the trouble starts. Two things go wrong at the same time.

- The first: the corner in your kitchen is almost never truly square or perfectly straight up and down. Homes shift. Drywall gets hung by hand. If you press your first tile flat into the corner and use it as your guide, every tile after copies the wall’s tilt. By the time you reach the other end, the top of your row is visibly drifting. Install guides now warn against using the corner as your starting point: a crooked start guarantees a crooked finish. (2)
- The second: the corner is the hottest, wettest spot on the wall. Steam from a kettle. Rising heat from the stove. Splashes from the sink. Humidity that hangs around when the exhaust fan isn’t on. The sticky backing on these tiles softens with heat and gives up its grip when moisture sneaks under any edge that’s already loose. One install guide puts it plainly: water is one of the biggest enemies of tile seams, and weak spots near heat and moisture are where peeling starts. (3)
Now stack those two problems. Starting from the corner puts your seams right in the hot zone and drops a razor-thin, barely-glued sliver exactly where steam and heat hit hardest. Once it lifts even a little, moisture wicks under, the glue lets go further, and by fall you’re staring at a curled corner that won’t stay down.
The same wall, done the right way
Now picture the second kitchen. Same box, same wall. But before peeling a single tile, the installer did one extra thing.
They grabbed a tape measure, found the wall’s full length, and marked the exact middle with a pencil. Then drew a straight up-and-down line at that mark using a level. That first full tile went dead center on the line. From there, they worked outward toward both ends of the wall at the same time.
That one move changes everything:
- Both ends get matching cuts of the same size. No slivers.
- The tiles right behind the stove, sink, and kettle are full tiles with maximum glue contact. Seams end up in cooler, safer spots off to the sides.
- Every tile lines up with a truly straight vertical line instead of a crooked corner, so the top of the row stays visually straight all the way across.
This isn’t a random tip. It’s in the actual manufacturer instructions. Stickgoo tells DIYers to use a level or chalk line to create at least one vertical reference line before placing any tile. (4) Commomy is more direct: begin at the center of the wall, or a focal point like above the stove, because it helps you avoid small, uneven pieces at the edges. (5) Family Handyman warns that with cheaper products, expect curling and lifting over time. (6) Smart layout keeps that from happening.
The 10-minute fix that costs nothing
Do all of this before you peel a single tile.
- Measure the full length of your backsplash wall with a tape measure. Say it’s 60 inches (152 cm).
- Divide by two to find the middle. Here, 30 inches (76 cm). Mark that spot with a pencil at the top edge of the counter.
- Draw a truly straight up-and-down line from that mark using a bubble level, laser level, or chalk line. Your wall may be crooked. Your line cannot be.
- Do a dry-fit. Hold your first tile centered on the line, without peeling anything, and check both ends will get cuts of roughly the same width. If one side leaves a sliver under 2 inches (5 cm), shift your first tile by half a tile-width and check again.
- Peel the backing off that first tile and press it into place, lined up on your vertical mark. This is your anchor.
- Work outward from the center in both directions, one tile at a time. Push each new tile snug against the last without stretching it. Stretched tiles shrink back and gaps open up.
- At each end, measure and cut the last tile to fit with a sharp utility knife and a straight edge. Score two or three light passes rather than one hard cut, then snap. A cleaner cut sticks way better at the edge.
- Once every tile is up, run a rolling pin or seam roller firmly across every one, especially edges and corners. HGTV’s vinyl backsplash guide calls out the rolling pin because the extra pressure makes the adhesive grab better. (7)
One small extra move that seals it
Even a perfect layout will lift over time if you skip this last step. Once all your tiles are up and rolled, run a thin bead of clear 100% silicone caulk along the top edge where the tile meets your cabinets, along the bottom where it meets the countertop, and into any inside corner. Smooth it with a wet fingertip. That keeps water and steam from reaching the back of a tile edge, which is where the glue gives up first. (3)
Sources: (1) Bob Vila; (2) Stickwoll installation guide; (3) Yipscazo Tiles installation guide; (4) Stickgoo installation instructions; (5) Commomy installation guide; (6) Family Handyman; (7) HGTV vinyl backsplash tile guide.