

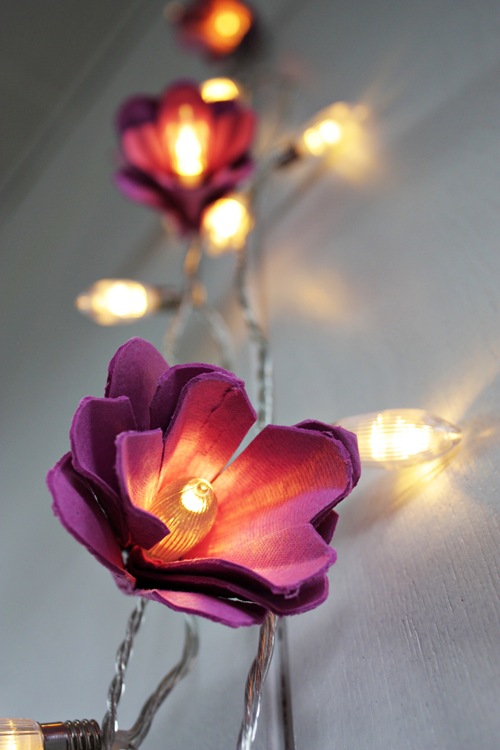
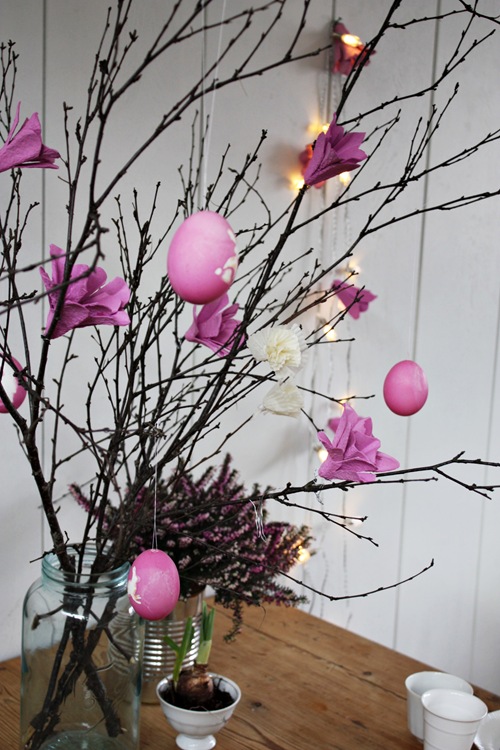
How to make flower lights out of empty egg cartons ? This project is pretty simple. We love how the lights reflect off the egg cartons and make the flower appear multi-colored. And you can paint the egg cartons any hues to match the rest of your decor. Or experiment and try a multi-colored flower for an extra pop.
What you will need:
Egg Cartons (Cardboard or Styrofoam)
Acrylic Craft Paint
Sharp Utility Knife
Foam Paintbrush
Hot Glue Gun
String of Lights
Cutting Mat
Instructions:
1 .Cut Your Cartons . Save up your cartons or ask your friends and family to donate theirs to your project. Using the utility knife cut the egg cartons along the lines you drawed .
2. Shape Your Flowers.
3. Paint your Flowers .
Now it’s time to paint your blossoms! Sponge paint brushes work best to cover the irregular surfaces and works the paint into the little creases and dimples well, We recommen painting the insides of all the flowers first. By the time you’ve painted the last flower, the first should be dry and you can then begin painting the outsides.
4. Assemble Lights
Once all the paint has thoroughly dried, use the utility knife to cut a small X shaped slit in the bottom of your flower. This slit is where you will insert the light bulbs.
Insert one of the light bulbs through one of the flower just far enough that you can remove the bulb and change it if it burns out.
On the back side of the flower, hot glue the flower in place. It helps to hold the flower in position until the glues is set. Repeat this step for each flower, making sure the glue is cool before moving onto the next light.