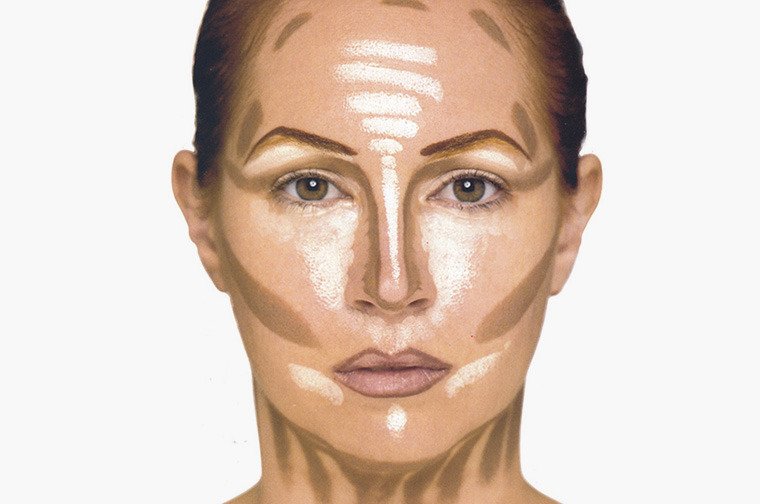
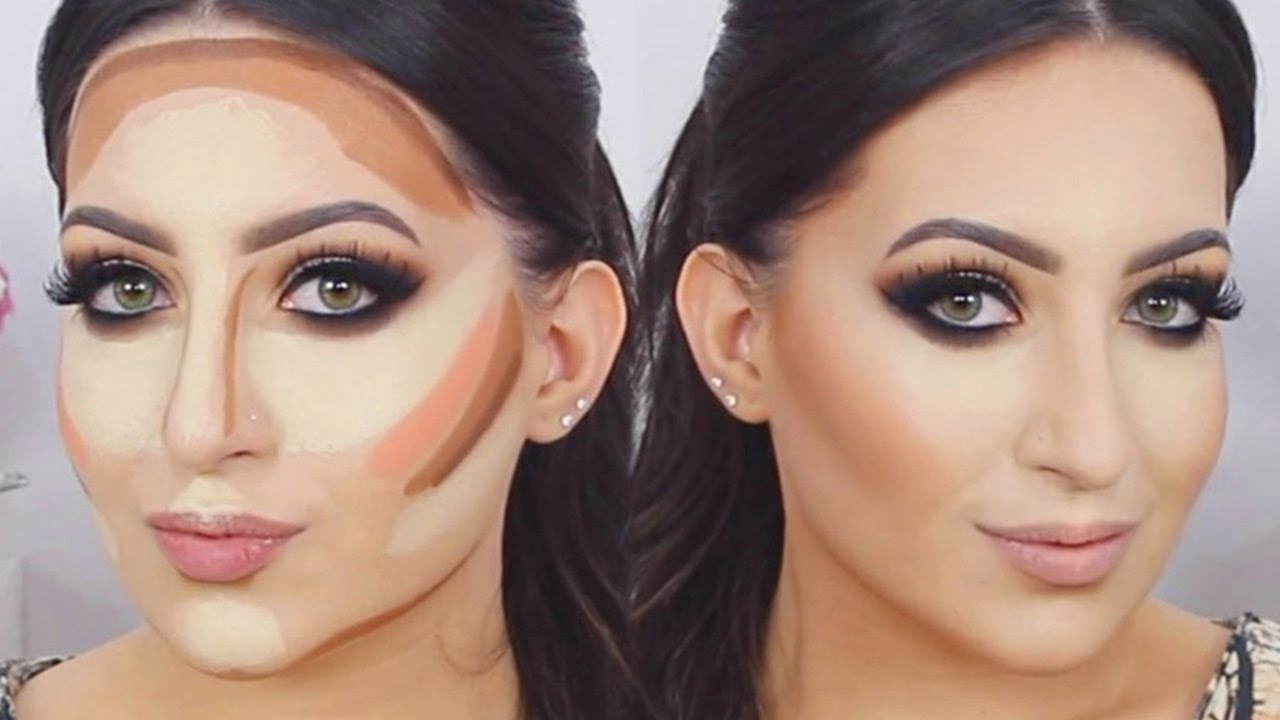
Have you ever wondered how makeup artists change the structure of their face so dramatically just using makeup? You’ve probably seen pictures of celebrities like Kim Kardashian with their highlight and contour painted on before their makeup has been blended. It might look a little bit like war paint, but it’s majorly effective when you do it right!
(Source: Beautylish)
Check out this simple guide to basic contouring. Practice these techniques first and adjust the shapes according to what works for your own facial structure.
Step 1:
Gather your tools. You’ll need:
- A foundation brush
- A contouring brush
- A powder brush
- A blending brush or sponge
(Source: Nanshy)
Step 2:
Choose whether you’d prefer to contour with cream or liquid foundation for a more dramatic and noticeable effect, or whether you’d prefer to contour with powders for a subtler look.
(Source: Beautezine)
Step 3:
Gather your makeup products. You’ll need:
- Skin primer
- Your base foundation
- Your highlight foundation
- Your contouring foundation
- Translucent setting powder
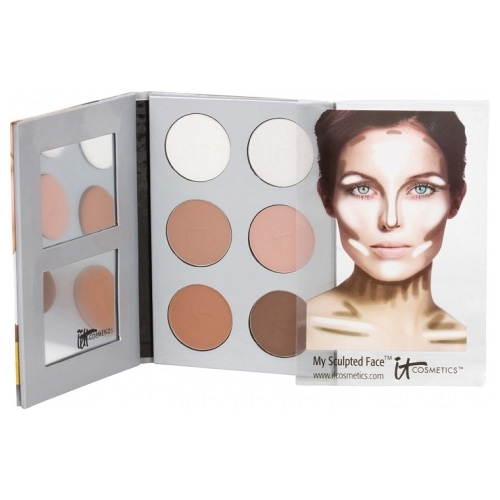
You might consider purchasing all of these products separately, or purchasing a contouring palette that contains highlight and contour colours that work for you.
(Source: Alcone)
Step 4:
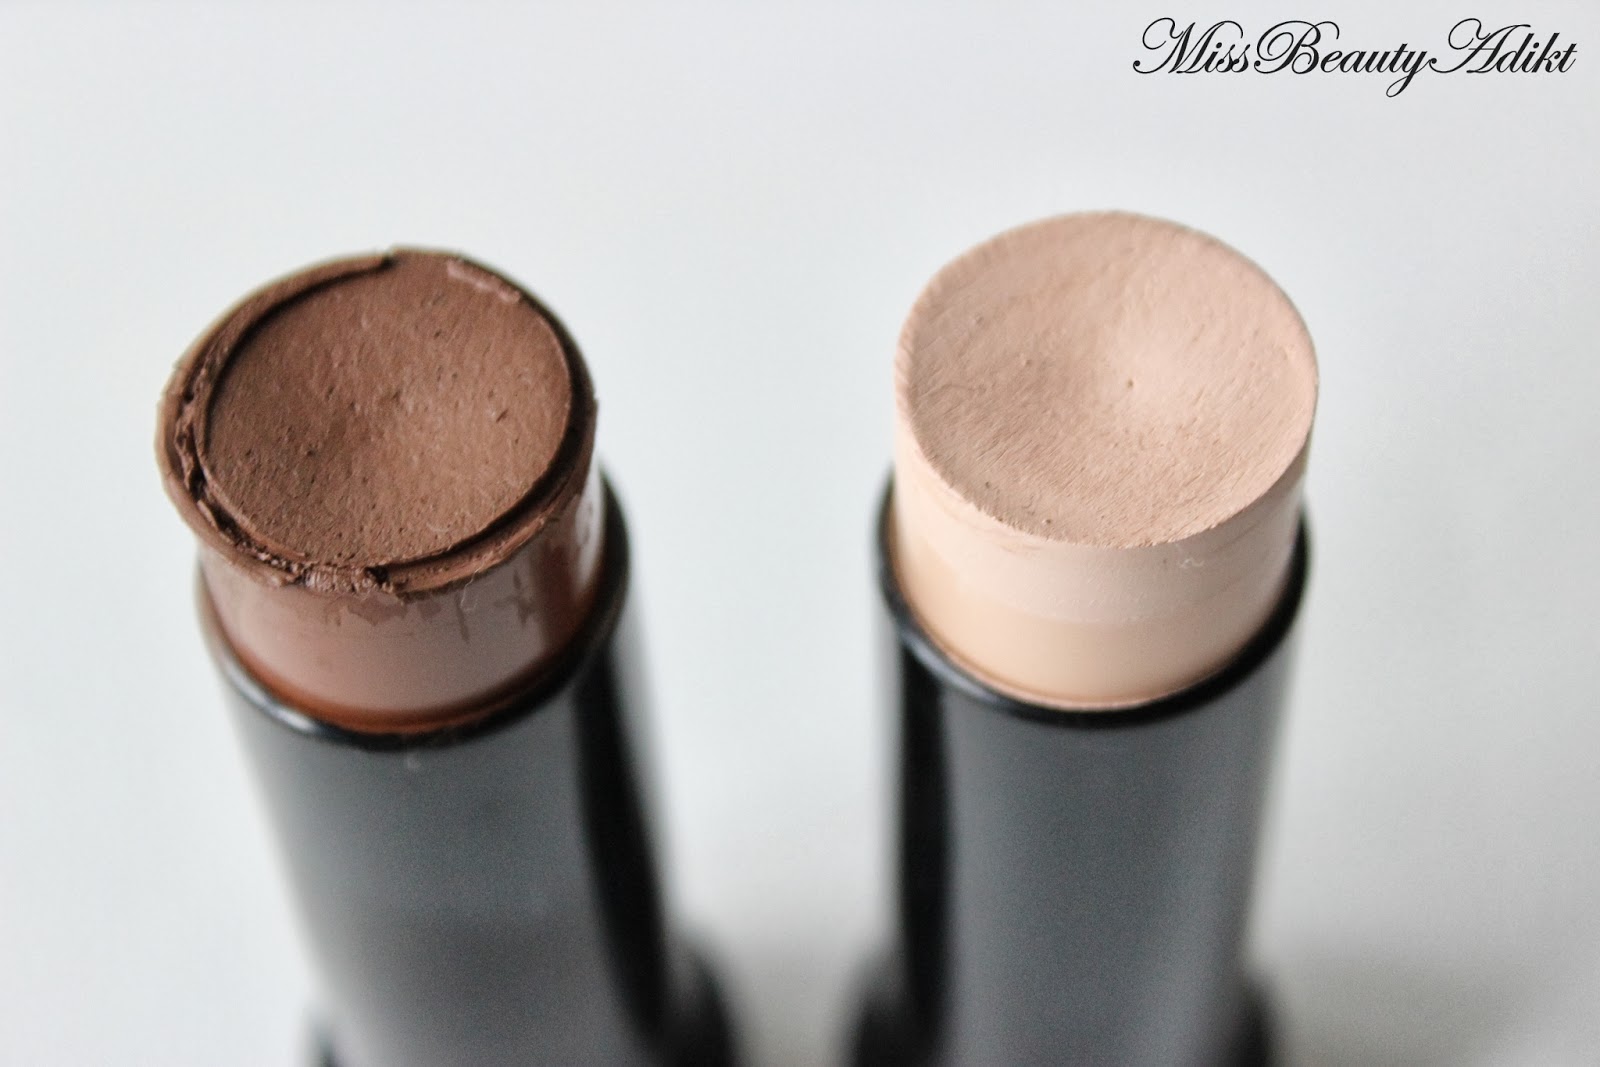
Colour match. Ensure that your base, highlight, and contour shades suit both your skin tone and each other. Ideally, you should have:
- A base foundation that matches your skin tone perfectly. This colour is for full coverage to even out the appearance of your skin.
- A highlight colour. This makeup should be a shade or two lighter than your base foundation. You’ll use it to emphasize certain features to make them stand out.
- A contour colour. This makeup should be a shade or two darker then your base foundation. You’ll use it to shadow around, under, and beneath certain features to draw attention to specific areas of the face.
(Source: Miss Beauty Addikt)
Step 5:
Wash, dry, and moisturize your face and apply skin primer.
(Source: Makeup and Beauty)
Step 6:
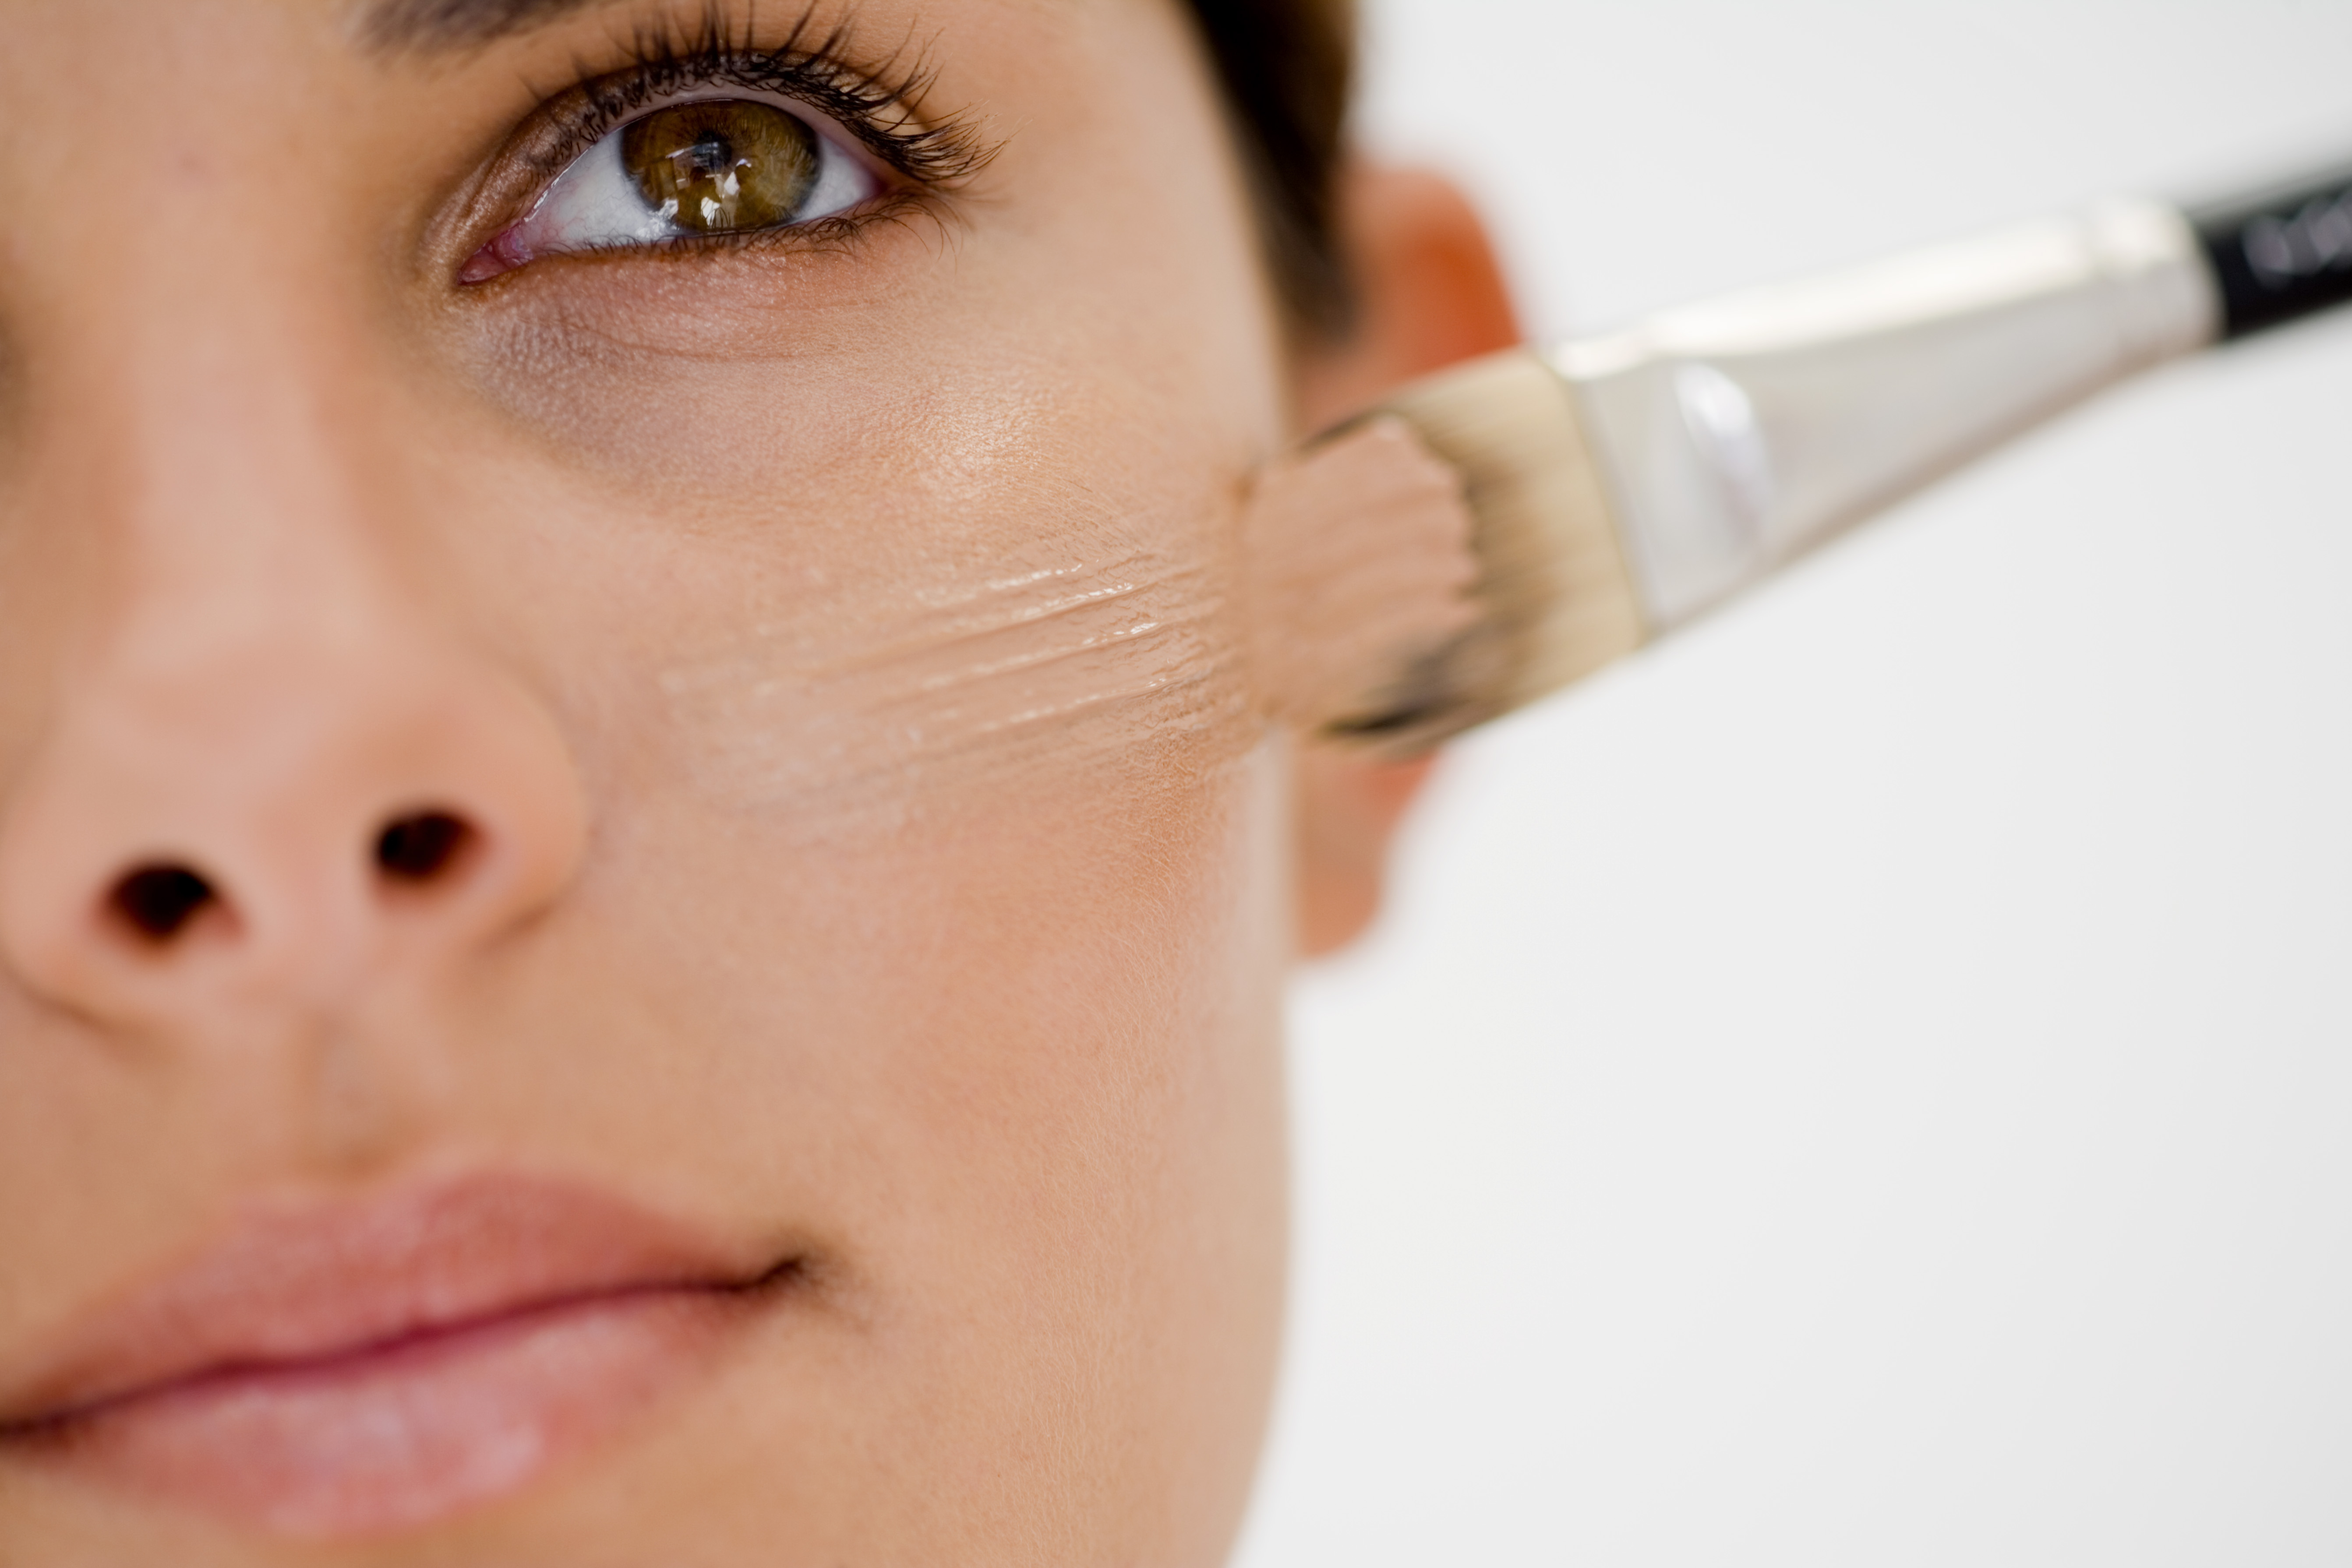
Apply your base foundation. This is the colour that perfectly matches your skin. Make sure you blend the foundation evenly across your face.
(Source: Saffluence)
Step 7:
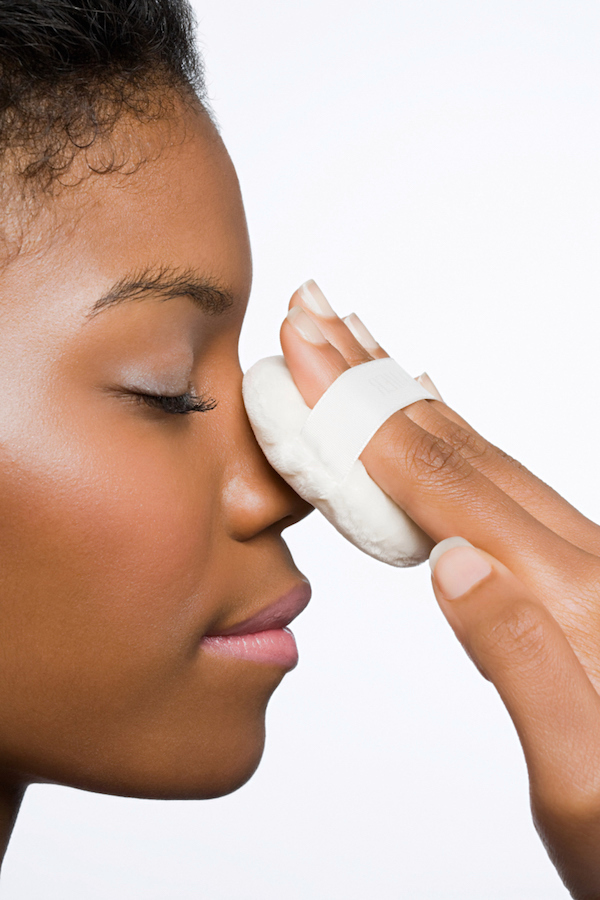
Set your foundation with translucent powder. This stops your foundation from shifting on the skin as you highlight and contour.
(Source: Stylecaster)
Step 8:
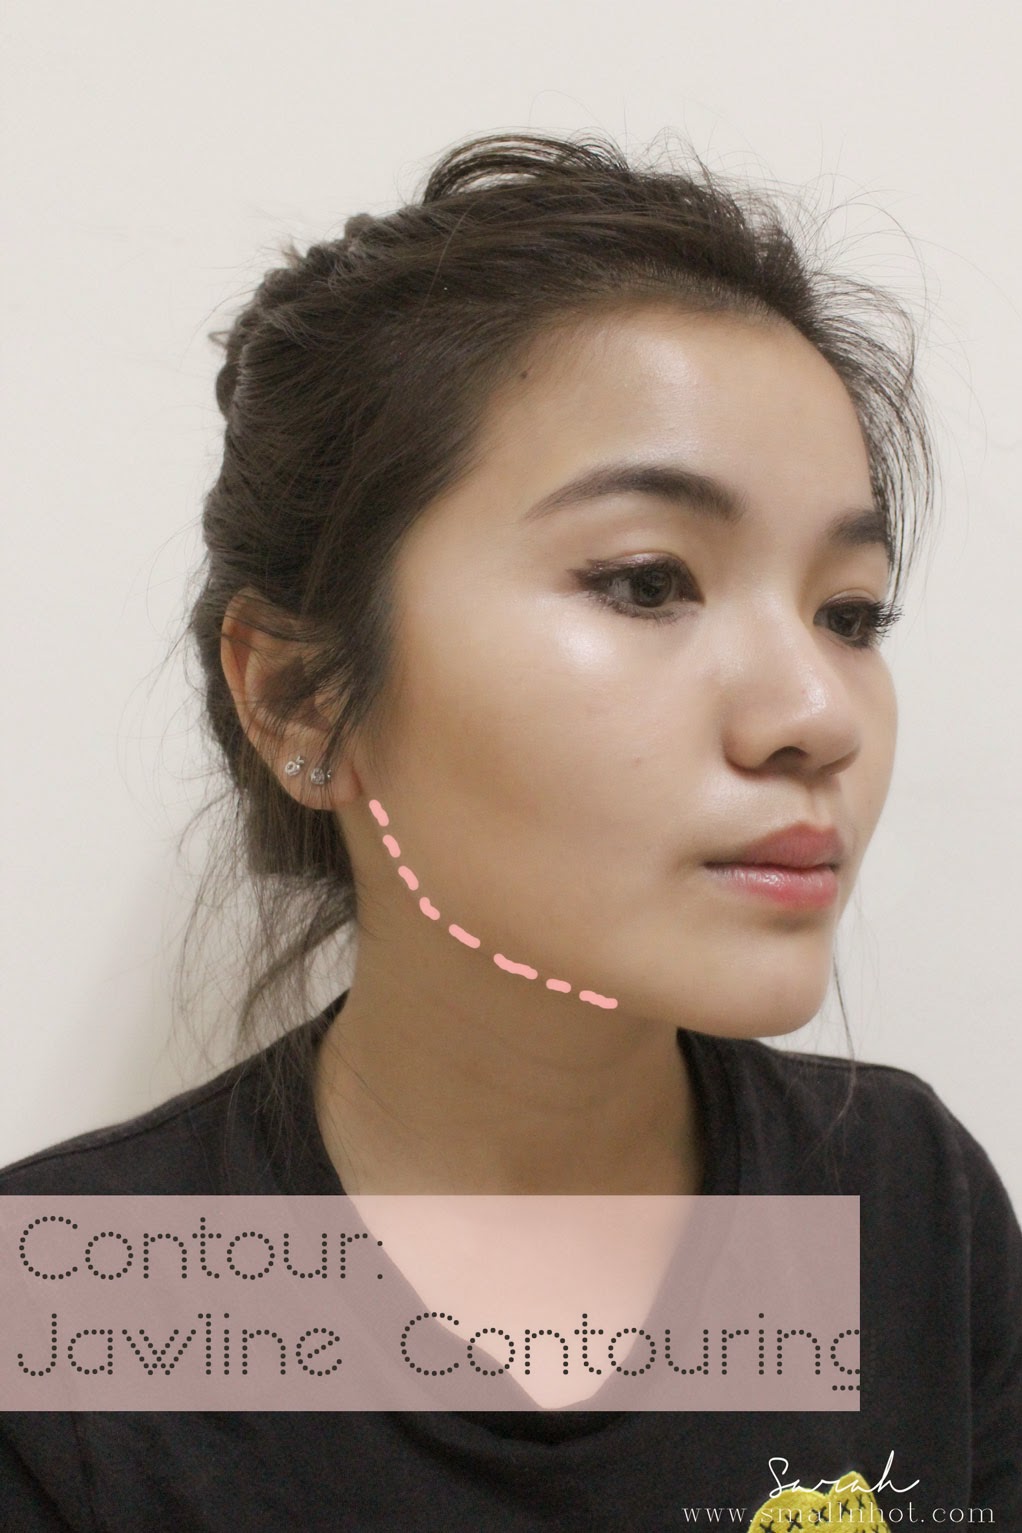
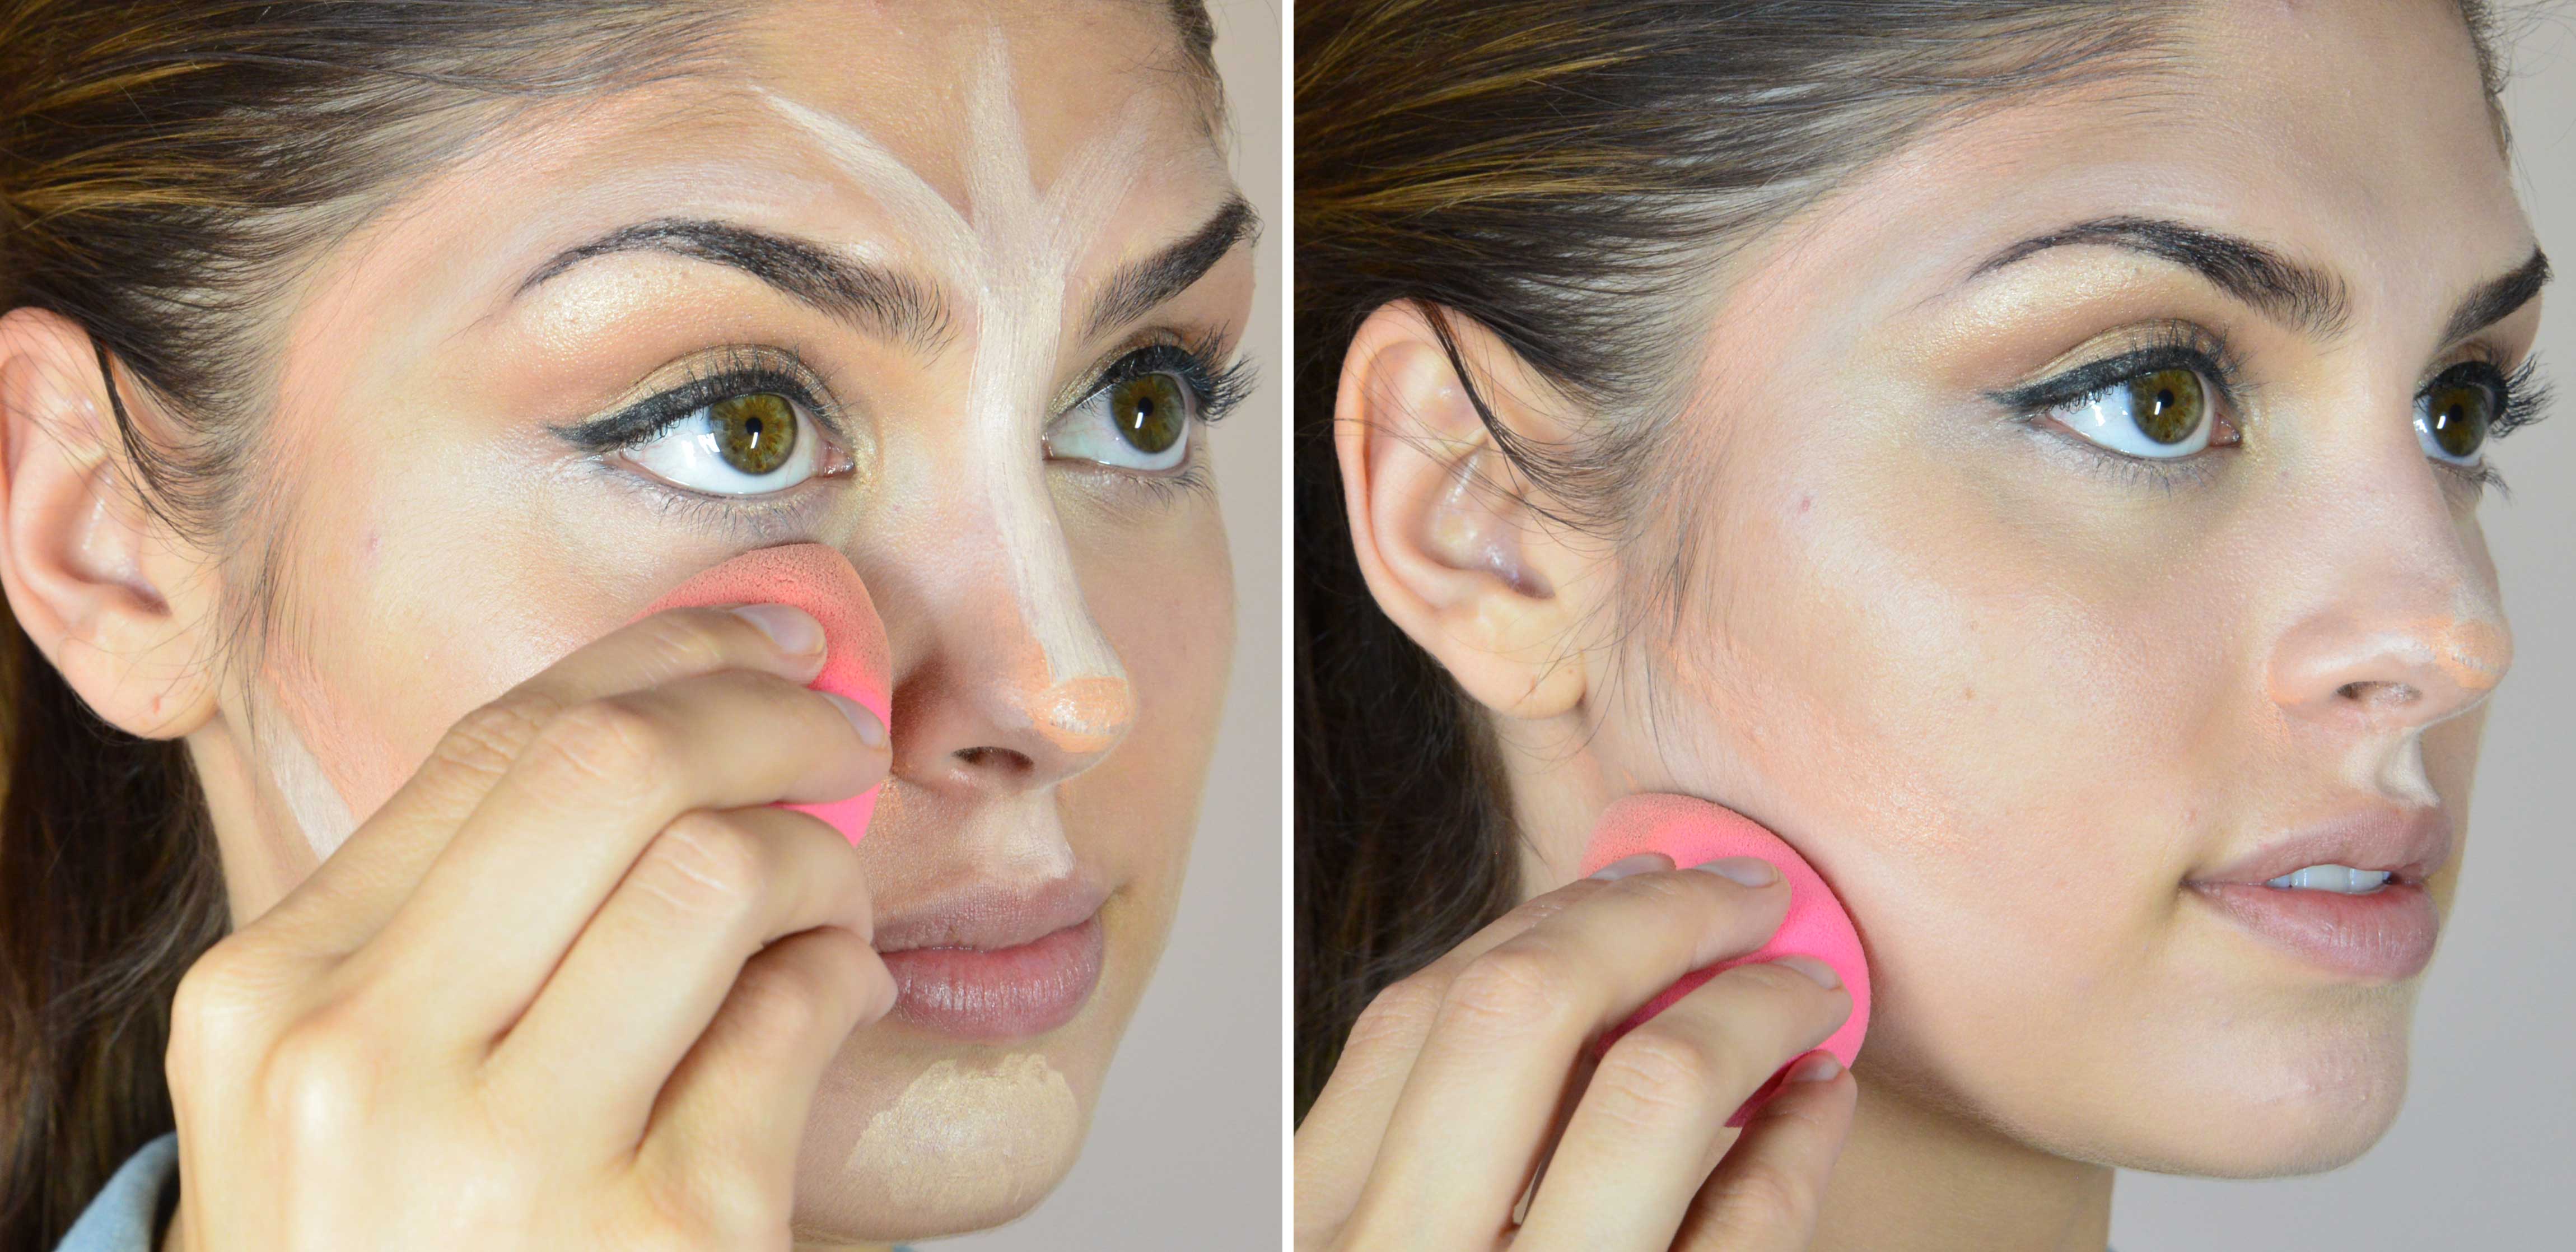
Map out your shadow areas using your contour colour. This is the colour that is slightly darker than your base foundation. Start with your jawline. Tracing a thin line that starts thicker near the back of the jaw and things out towards the chin will soften hard lines.
(Source: Small n Hot)
Step 9:
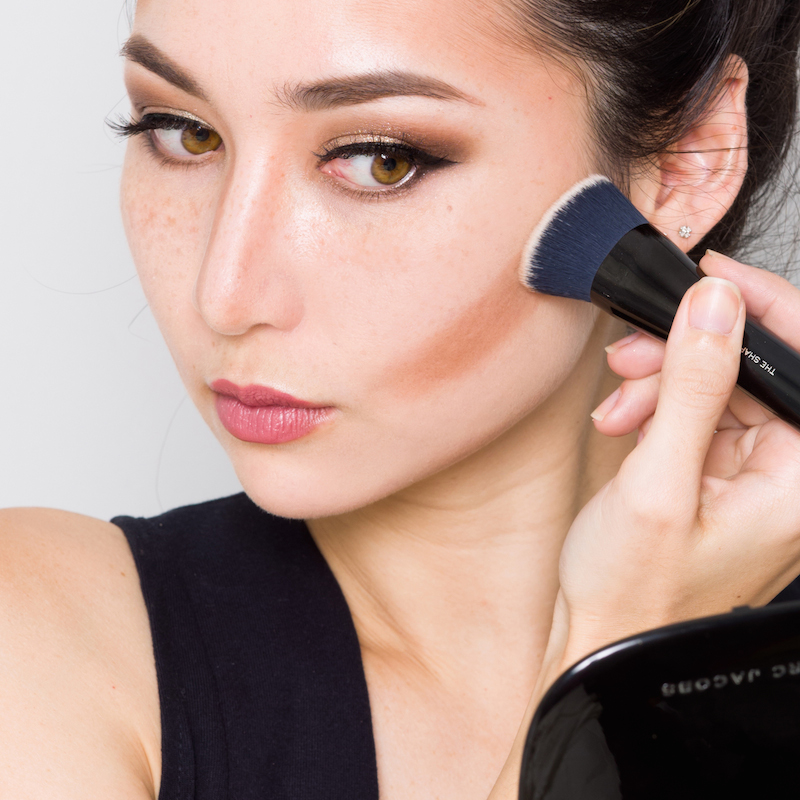
Map out your cheekbone contour. Just below where your cheekbones protrude, trace a shape like a wide C turned on its back Your shape should taper closer to the mouth and centre of the face.
(Source: Emily Loke)
Step 10:
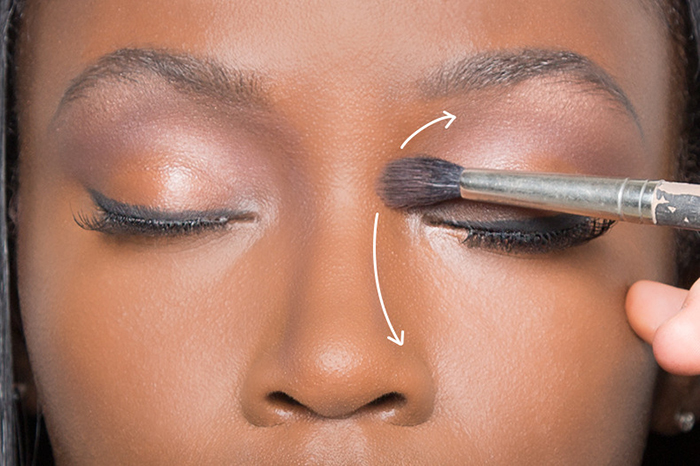
Map out your nose contour. Apply your shadow down the sides and end of your nose from brow to tip to narrow it appropriately for your face shape.
(Source: Angelica Ricardo)
Step 11:
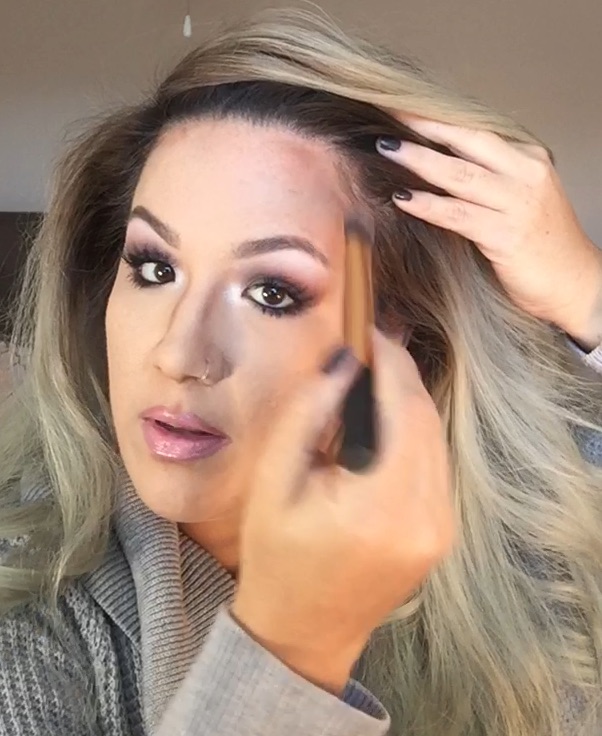
Map out a contour around the edge of your forehead to frame your face and blend into your hairline. If you have bands and your forehead won’t be seen of you have a very small forehead, concentrate on applying a bit of contour just at the temples instead.
(Source: Beautifying by Jen)
Step 12:
Map out your highlight. Use the shade that is lighter than your base for this. Apply the highlight:
- On the tip of your chin
- In the Cupid’s bow of your lip
- Down the bridge of your nose and on the tip
- In an upside down triangle shape below the eyes
- In the centre of the forehead leading up from the bridge of the nose
(Source: Alexandra’s Girly Talk)
Step 13:
(Source: Miss Vixen)
Step 14:
Set your foundation, highlight, and contour with translucent powder if you used cream or liquid foundations. Move on to your blush, eyes, and lips.
(Source: My Makeup Ideas)
Step 15:
Enjoy your new contoured look!
(Source: Melissa Samways)
Do you know someone who’s been interested in practicing their contouring techniques? Share this article with them to give them a hand!
