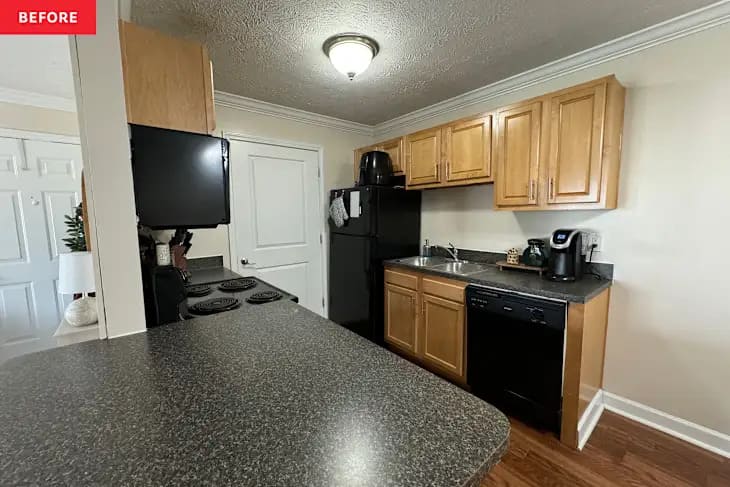
The kitchen came with the apartment, and so did everything in it: gold-toned cabinets, a dark countertop, beige walls and a flush-mount “boob light” on the ceiling. You can’t paint the cabinets, you can’t rip anything out, and you’ll want your security deposit back. So you live with it, one dated corner at a time.
This is not your fault. Most renovation advice assumes you own the place. But a rental kitchen can change a lot without a single permanent change, if every layer is chosen to come off again.
Why this rental redo works
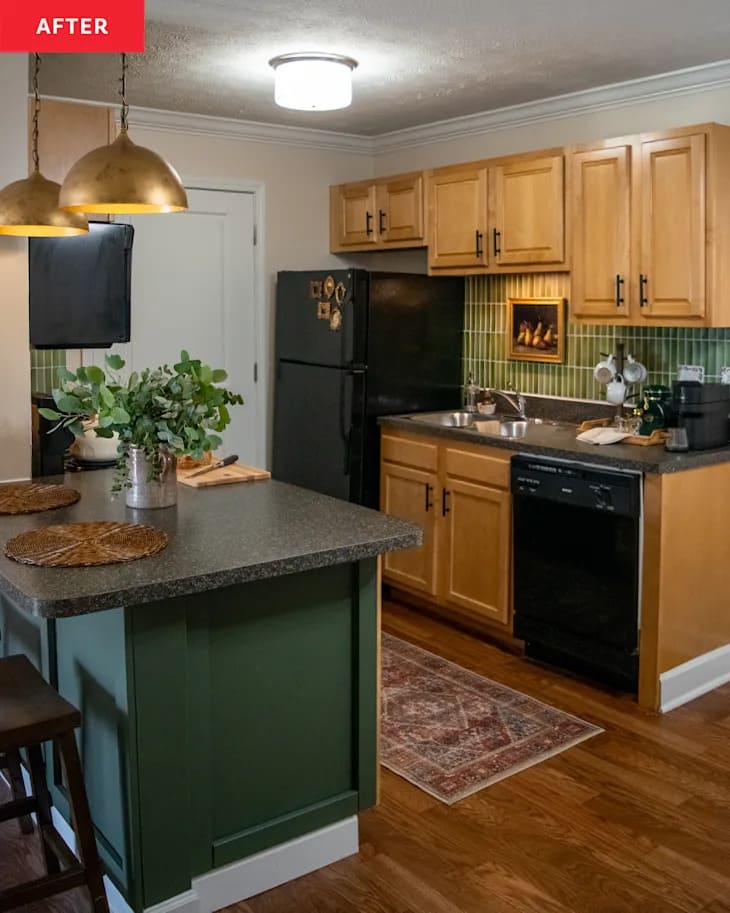
As Apartment Therapy reported, a renter named Alli, who shares her projects on Instagram as @actuallyallidiy, transformed her 68 sq ft rental kitchen for about $300. She left the yellow-toned cabinets in place and focused on what surrounds them.
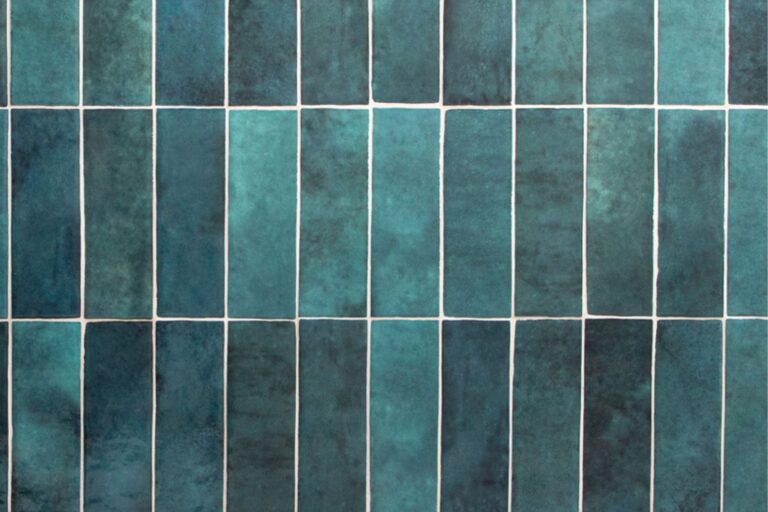
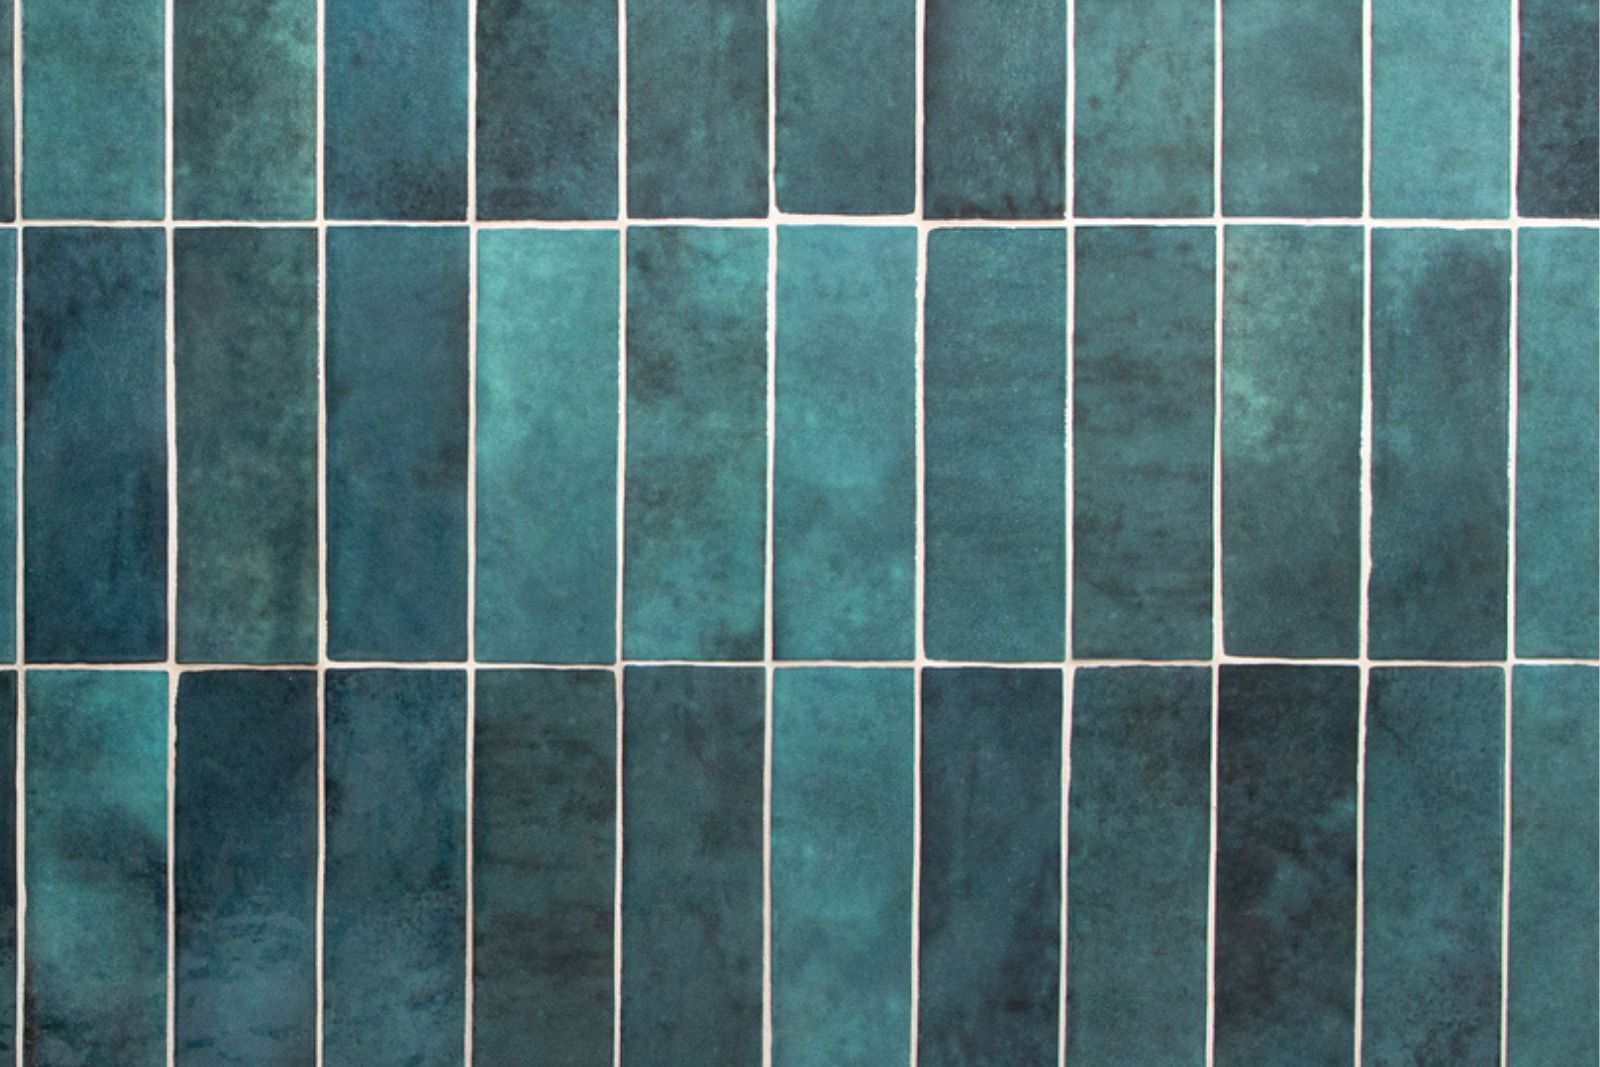
Her biggest worry was the wall tile. She says she had seen people apply peel-and-stick tiles and then have trouble removing them at move-out. Her solution was layering: contact paper over the beige walls, removable vinyl shelf liner on top, and only then green matte peel-and-stick tile. “I feel much more confident that the tiles will come down now,” she says.
She also kept costs down on purpose. “I like to try to save as much money as possible on the removable renovations,” she says. Switching to a cheaper tile than her first choice saved her around $100, and the tiles she used cost about $30.
Her removable changes, layer by layer
- Walls: contact paper, then removable vinyl shelf liner, then green matte peel-and-stick tile.
- Island: covered in Con-Tact self-adhesive vinyl, trimmed with Command strips, then primed and painted Valspar Flora.
- Ceiling light: a white flush-mount cover over the old fixture. She says it worked 100 times better than the shade she tried first.
- Pendants: a pair of black dome pendants over the counter seating, finished with Rub n’ Buff for a metallic look.
- Hardware and decor: black T-bar cabinet pulls, matte black cup pulls on the drawers, a runner, a ceramic lamp, secondhand accessories and new linens.
Plan B if $300 is more than you want to spend: start with the swaps that change the most for the least, like the light cover and the cabinet pulls, and add tile later.
Before you copy it in your rental
Removable doesn’t mean risk-free. The article doesn’t say whether Alli asked her landlord, so check your lease before you stick anything to walls or swap hardware. Keep the original pulls and screws in a labeled bag so you can put them back when you leave.
Test any adhesive on a hidden spot first, and expect surfaces to behave differently. Her shelf-liner layer exists because peel-and-stick tile applied straight to the wall can be hard to remove. She also says she might add contact paper to the countertops someday.
If you own your home, you can go further with paint. One designer kept her kitchen’s layout and cabinet boxes and still made the room look completely new without a gut renovation.
Leave the cabinets alone and change everything around them. That’s the trick.