Bow ties can be formal or stylish, fancy or fun. They can be a subtle way to dress up an outfit, or act as an awesome statement piece. Buying a new bow tie is great, but as usual, making one yourself is always better!
Check out this easy guide to making a simple new bow tie.
Step 1:
Choose your fabric. Do you want your bow tie to show off your subtle glamour, or to stand out in a bright, patterned way?
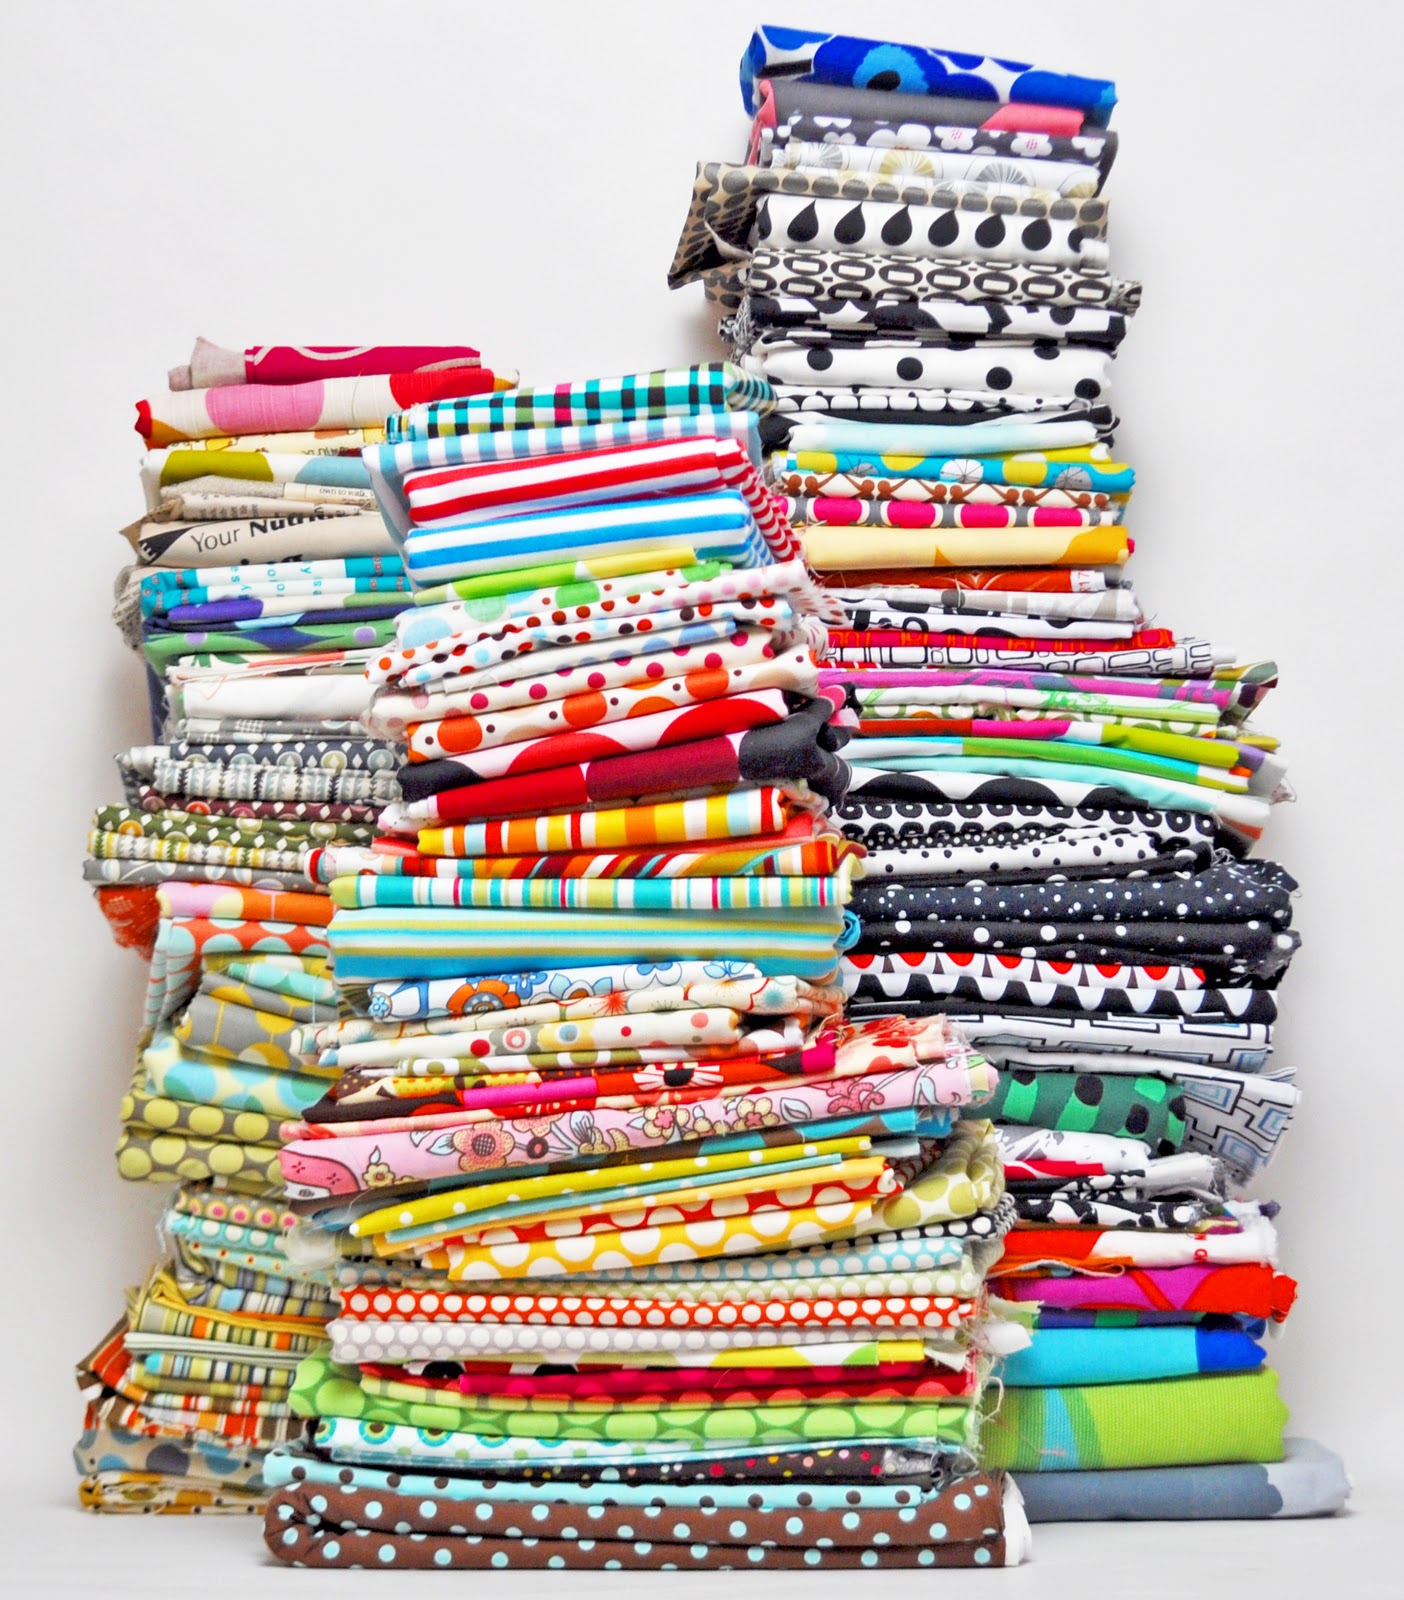
(Source: Kitworks)
Step 2:
Gather your materials. You’ll need:
- Your sewing machine
- An ironing board
- Your iron
- 1/4 yard of iron-on interfacing
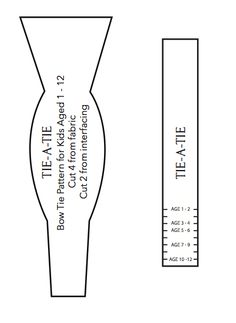
- A bow tie pattern (you can download one here)
- 1/4 of your chosen fabric
- Good fabric scissors
- Thread that matches your fabric
- Pins
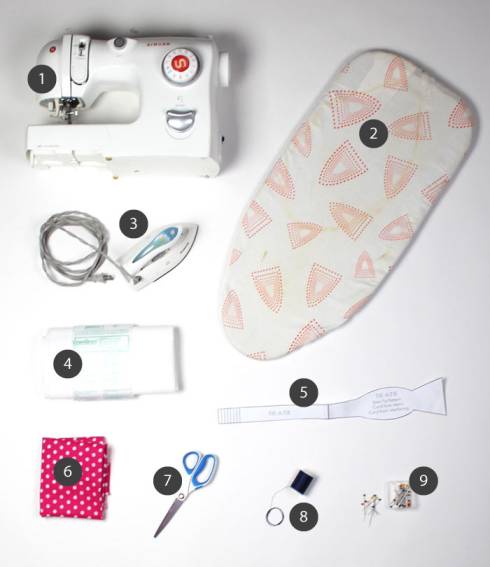
(Source: Tie-a-Tie)
Step 3:
Print your bow tie pattern. Printing it on thicker paper, like card stock, works well because it will hold its structure well as you work.
(Source: Doctstoc)
Step 4:
Cut the pattern out along the black lines and tape the two pieces together so you have one pattern piece to work with.
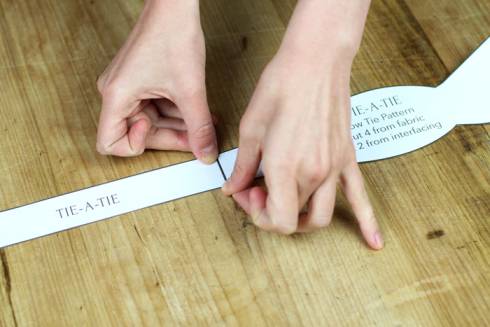
(Source: Tie-a-Tie)
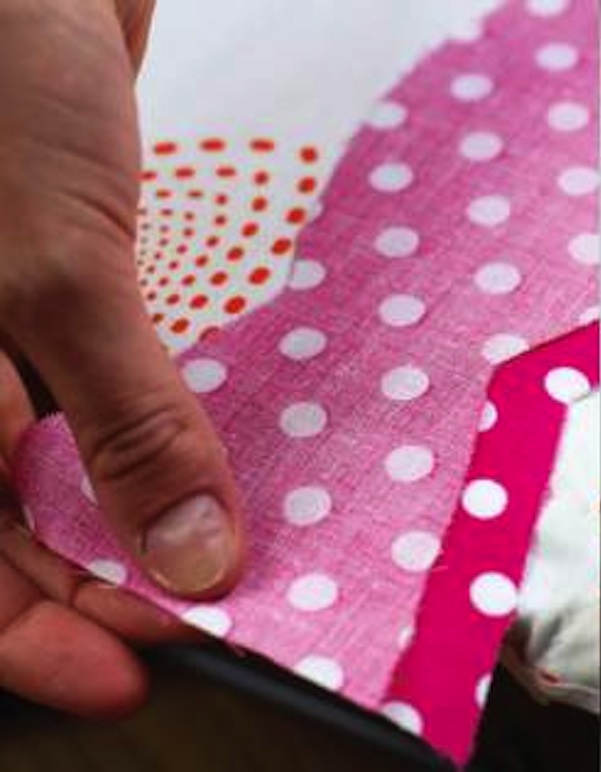
Step 5:
Pin the pattern to your fabric and cut the shape out. Repeat the process with the fabric three more times. Next, pin the pattern to the interfacing and cut the piece out. Repeat the process once more. At the end, you should have four fabric pieces and two interfacing pieces.

(Source: Tie-a-Tie)
Step 6:
Pin the two interfacing pieces to the backside of two of the fabric pieces, making sure the patterned side of the fabric faces out away from the interfacing. Iron the pieces together.
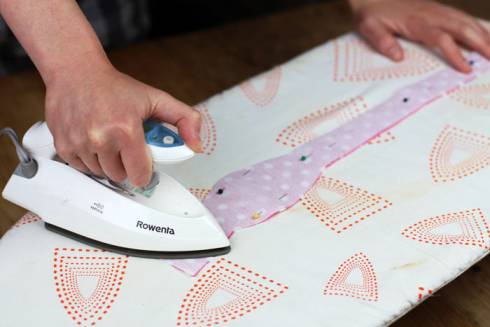
(Source: Tie-a-Tie)
Step 7:
Now you have two pieces of fabric with interfacing and two without. Next, take two matching pieces and line them up so the patterned sides (or the right sides) lay against each other. Sew the pieces together along the bottom edge at the skinny ends. Make sure to leave a 1/4 inch seam allowance. Repeat the process with the other two matching pieces.
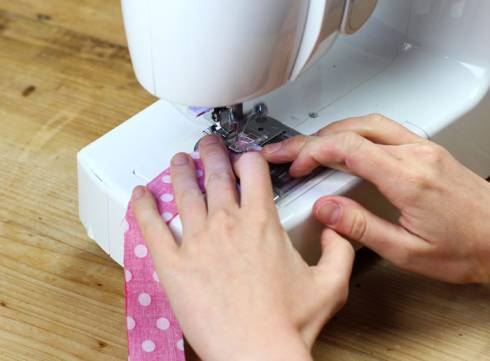
(Source: Tie-a-Tie)
Step 8:
At this point, you have two longer pieces. Lay them against each other so the edges line up and the patterned sides (or the right sides) lay against each other again.
(Source: Tie-a-Tie)
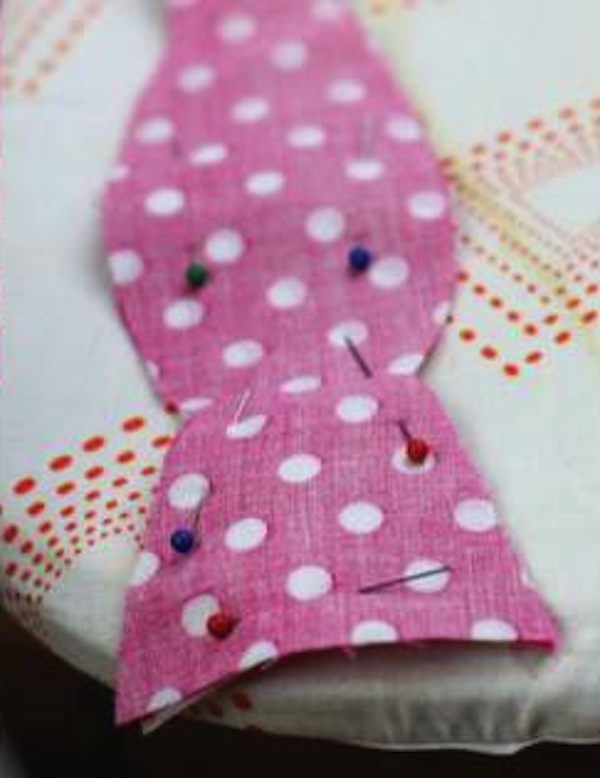
Step 9:
Pin along the edges, leaving about a 1/4 inch space along the edges to create a seam when you sew.
(Source: Tie-a-Tie)
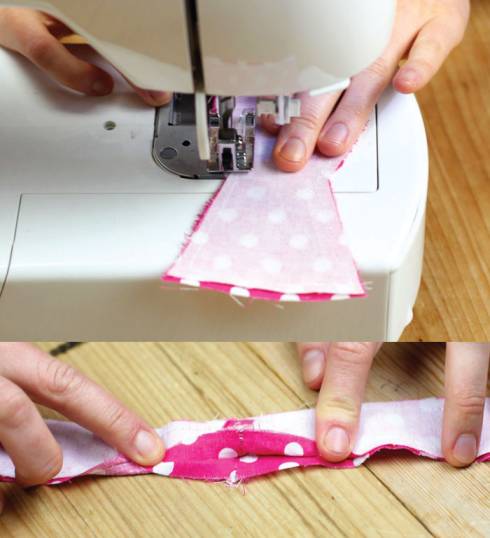
Step 10:
Using your sewing machine, sew along the edges of the fabric, leaving seam space. In the middle where the strip gets skinnier, make sure to leave a gap of about 3-4 inches not sewn. This hole is how you’ll turn the bow right side out.
(Source: Tie-a-Tie)
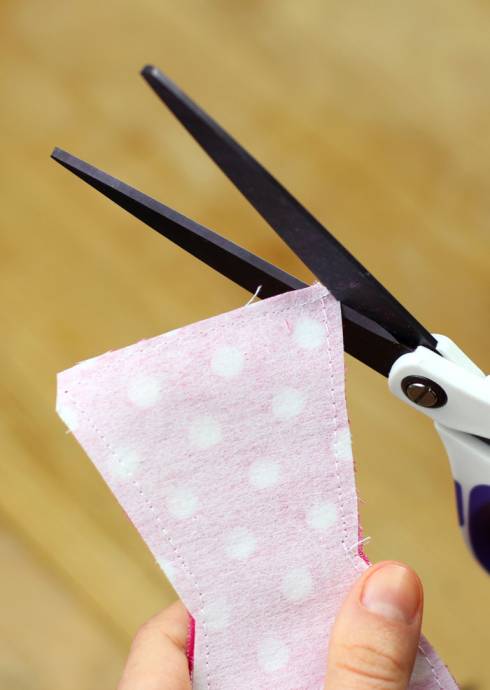
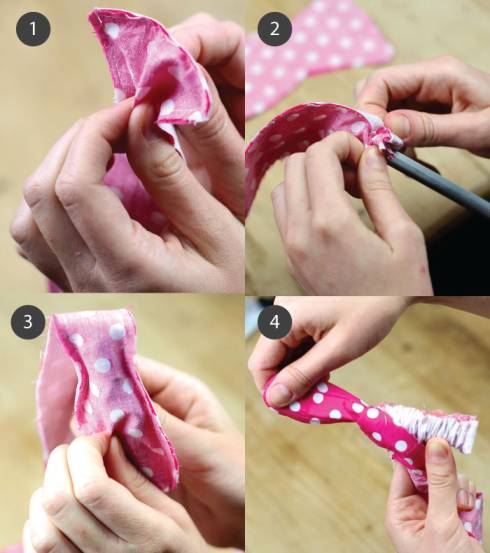
Step 11:
While your tie is still inside out, use your scissors to cut the very tip off each corner. This will make sure that your bow tie has nice sharp corners when you turn in right side out.
(Source: Tie-a-Tie)
Step 12:
Turn your bow tie right side out through the gap that you left open when you sewed around the edges.
(Source: Tie-a-Tie)
Step 13:
Use a pair of tweezers to pull out the very corners at each end of the bow tie and any indented places along the edges, then lay it on one side and iron the whole strip flat.

(Source: Tie-a-Tie)
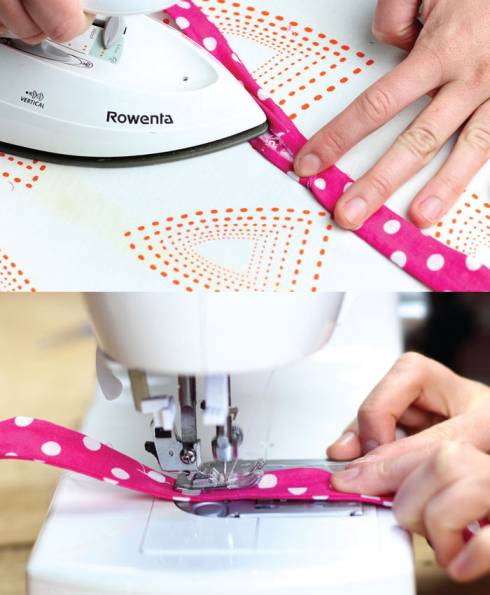
Step 14:
Seal the gap you left open before. Fold the very edge of the gap in on each side and iron it in place to help it stay. Next, sew along the new edge where your folded, ironed edges meet.
(Source: Tie-a-Tie)
Step 15:
Tie your tie and rock it!

(Source: Tie-a-Tie)
Once you’ve made your own bow tie, link us to a picture of your work in the comments section!