Turning old things into brand new items that you’ll actually use is some of the most fun you’ll have with DIY. If you have old cassette tapes lying around from the ’90s, this is the throwback project for you!


Check out these easy steps for turning a cassette tape into a unique, trendy wallet!
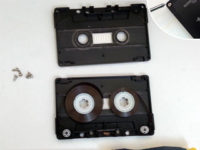
Step 1:
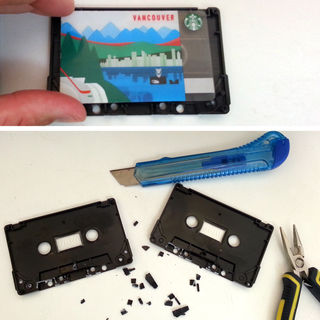
Find an old cassette tape. If you know firmly that you’ll never use the tape again (for example, if the actual tape inside the cassette is broken), choose an album by your favourite ’90s band to give the project a personal spin!

(Photo source: Fan Art TV)
Step 2:
Gather your tools. You’ll need:
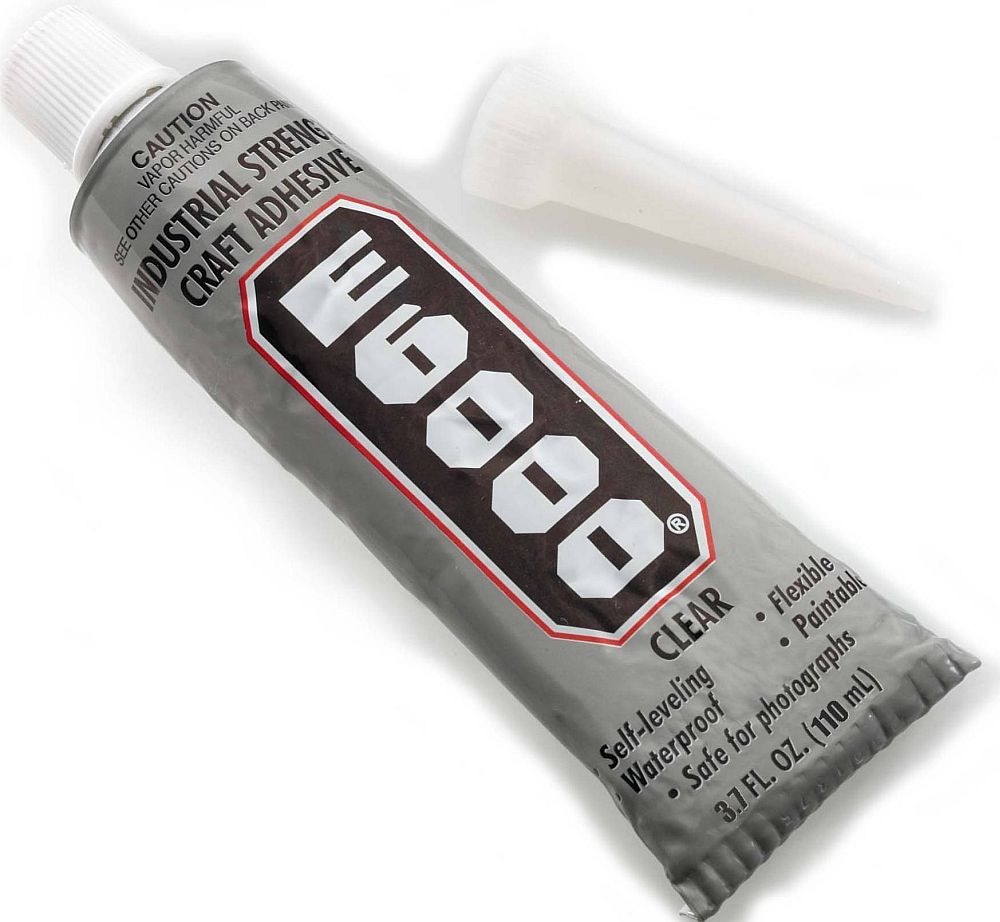
- All purposes glue (i.e. glue that will work on both fabric and plastic. Try E6000).
- A screwdriver
(Photo source: Easy Crafts)
Step 3:
Gather the rest of your materials besides the cassette tape. You’ll need:
- A fabric zipper
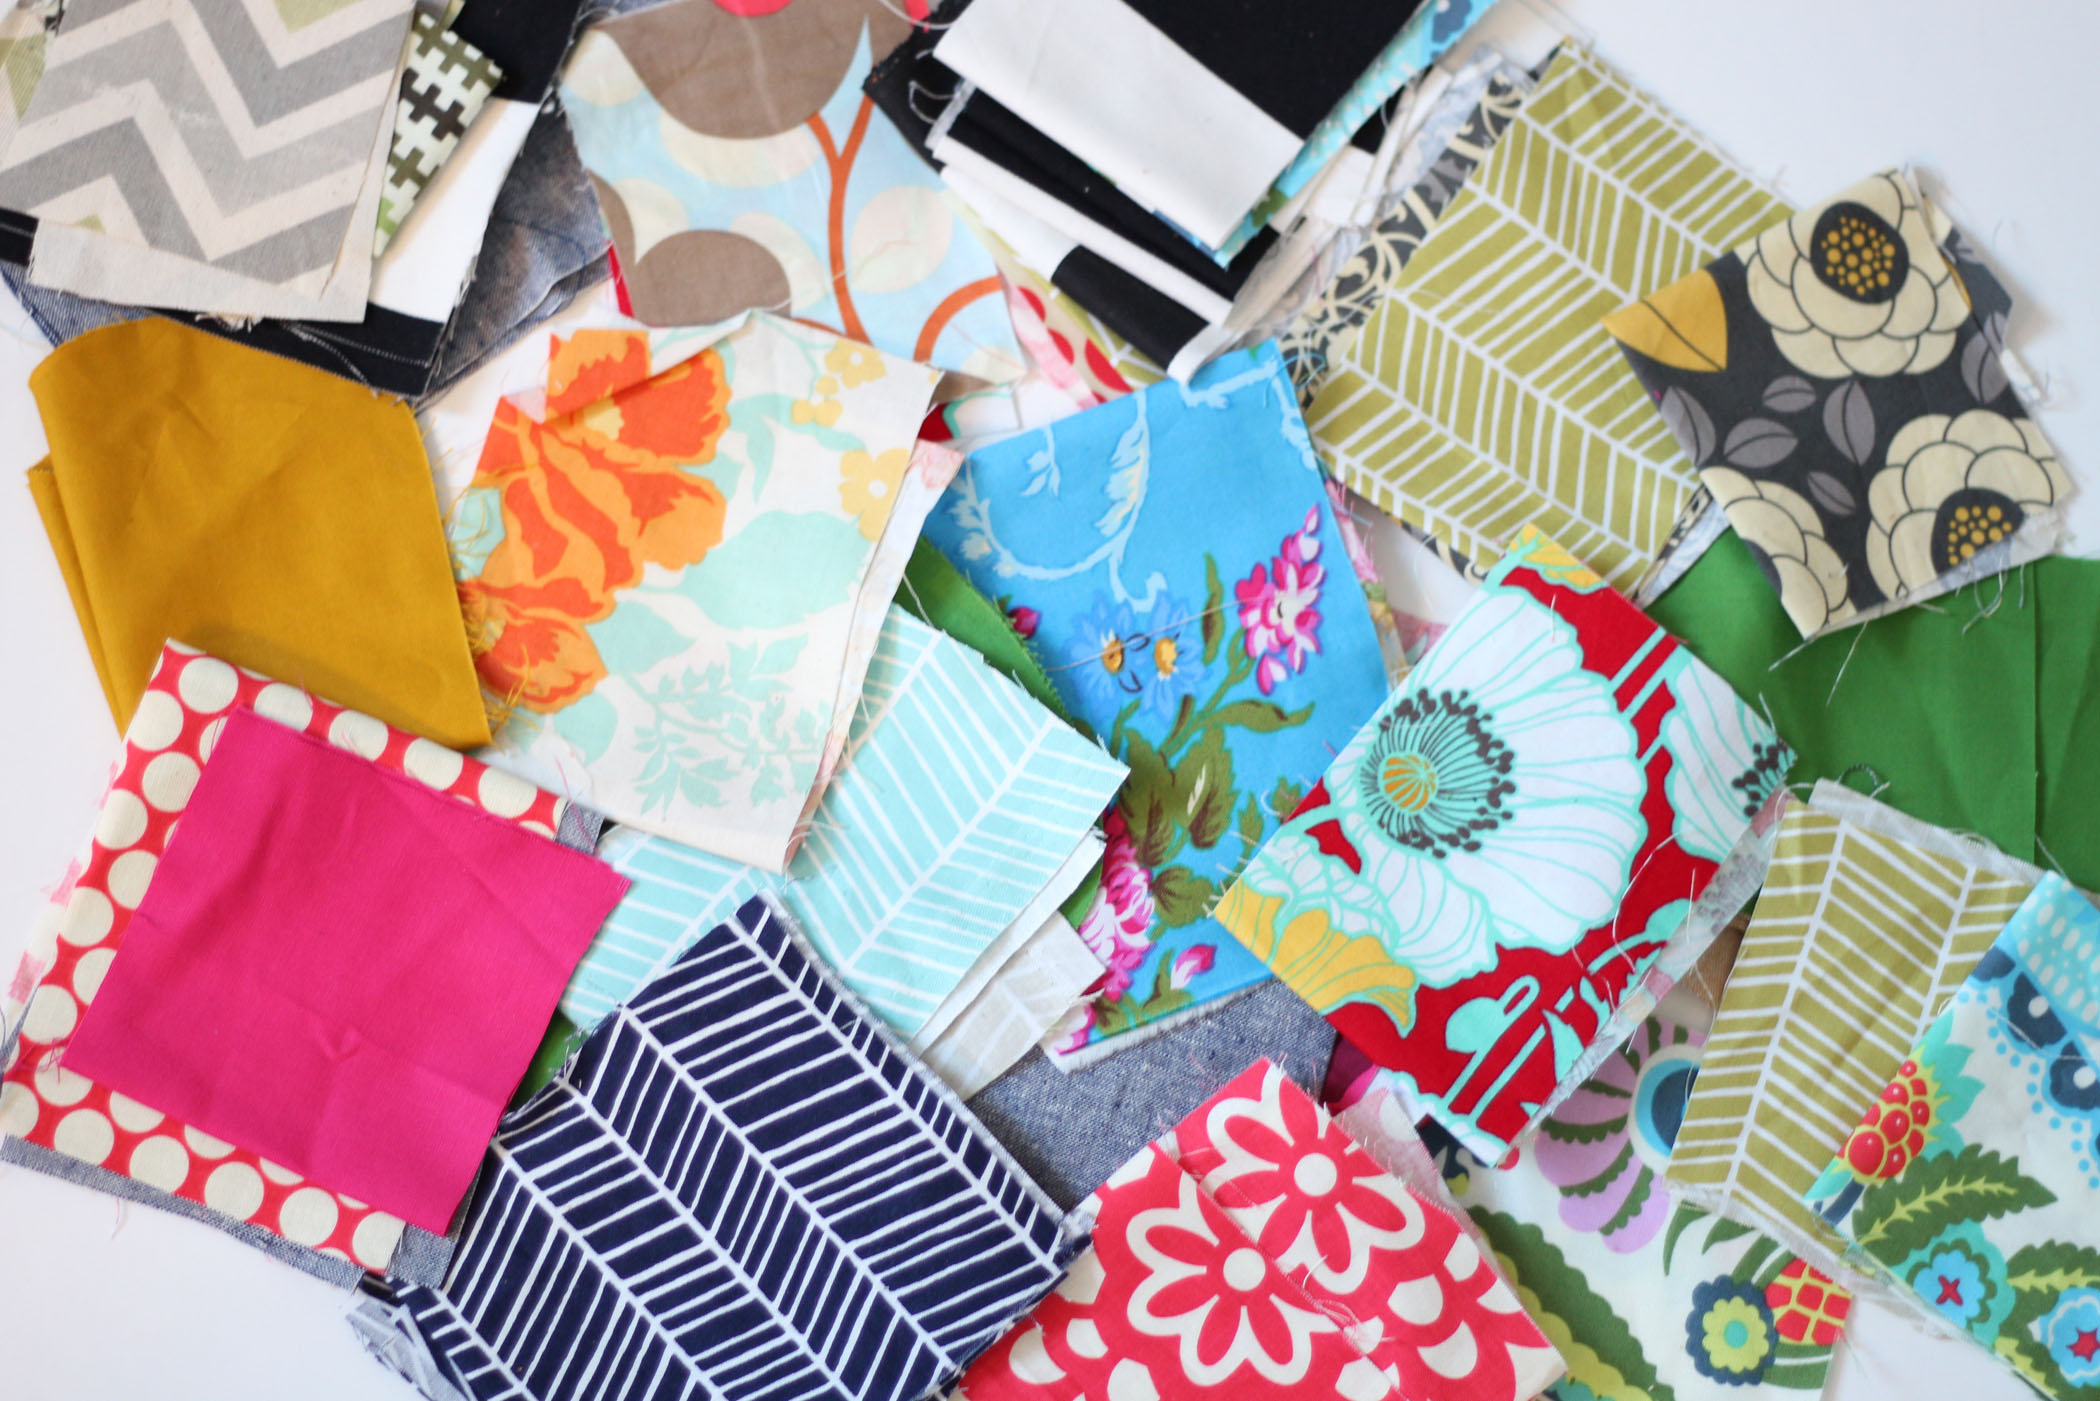
- Scrap fabric
- A plate for mixing epoxy
- A stir stick
(Photo source: Better Life Bags)
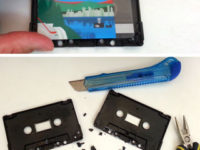
Step 4:
Open the cassette tape. Your tape will either be screwed shut with tiny screws or welded shut with fasteners. If your tape has screws, unscrews them using your screwdriver, remove them, and separate the sides of the cassette. If your tape is welded shit, carefully separate the two halves at the crack all along the side and pull them apart until the fixtures break. Be careful not to bend the sides apart so hard that the plastic breaks.
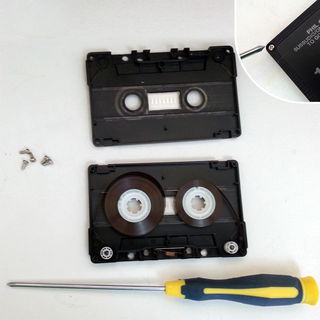
(Photo source: Instructables)
Step 5:
Empty the cassette. Take out the tape and any fixtures or screws. The cassette should look like an empty shell in the centre when you’re done.

(Photo source: Instructables)
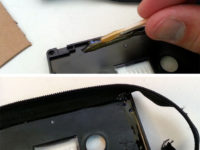
Step 6:
Remove any leftover posts and fastenings around the edges of the cassette sides. Use an Exacto knife or needle nose pliers if it well help, but remember to always be careful with sharp tools! When everything is removed, you’ll be able to see how the average card in your wallet will fit inside perfectly.
(Photo source: Instructables)
Step 7:
Measure your zipper. It should be the same length as the two short sides and one long side of your rectangular cassette tape sides. Trim the zipper at the right length.
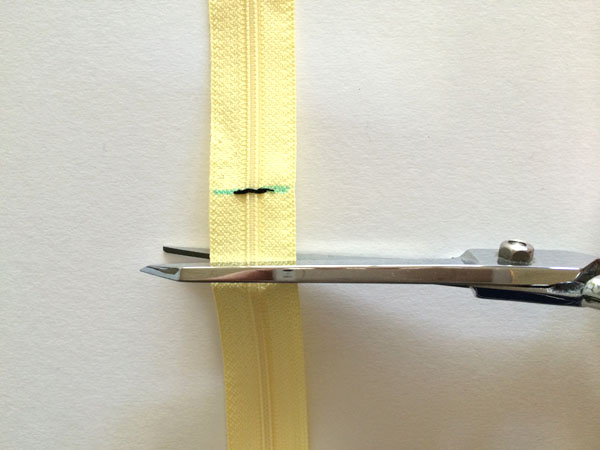
(Photo source: Craftsy)
Step 8:
Sew the end so the zipper pull doesn’t come off where you trimmed it.
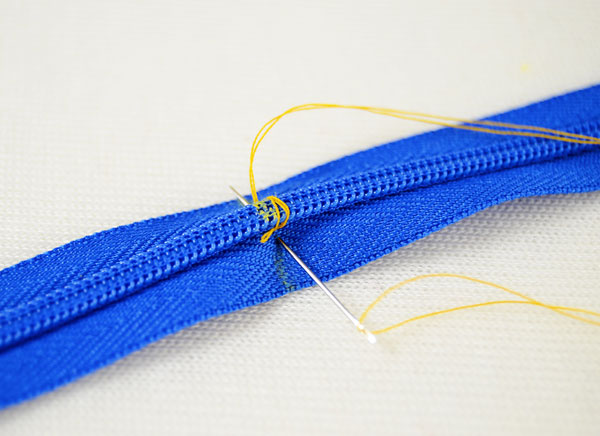
(Photo source: Amy Pow Pow)
Step 8:
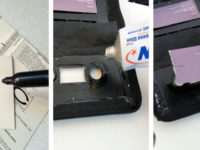
Glue the zipper around the edge of each side of the cassette tape. Open the zipper and, starting with one side and then the other, apply the glue around the inside edges of the plastic and carefully press the outer fabric of the zipper into it. Make sure the side of the zipper with the pull tab is facing outwards so you can open and close the finished wallet! Leave the zipper glue to dry.
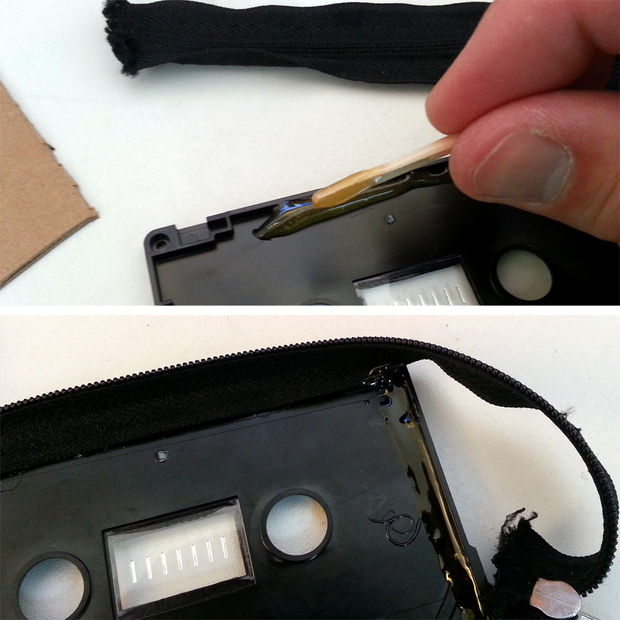
(Photo source: Instructables)
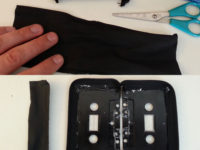
Step 9:
Along the edge of your cassette sides that doesn’t have a length of zipper, create a fabric pouch. This helps the wallet open and close. Unzip the wallet and lay the sides open and flat so the unglued sides lay parallel. Measure a rectangle of fabric as long as that middle side. The strip should be as thick as the zipper when it’s zipped up.

(Photo source: Instructables)
Step 10:
Glue the pouch fabric in place and let it dry.
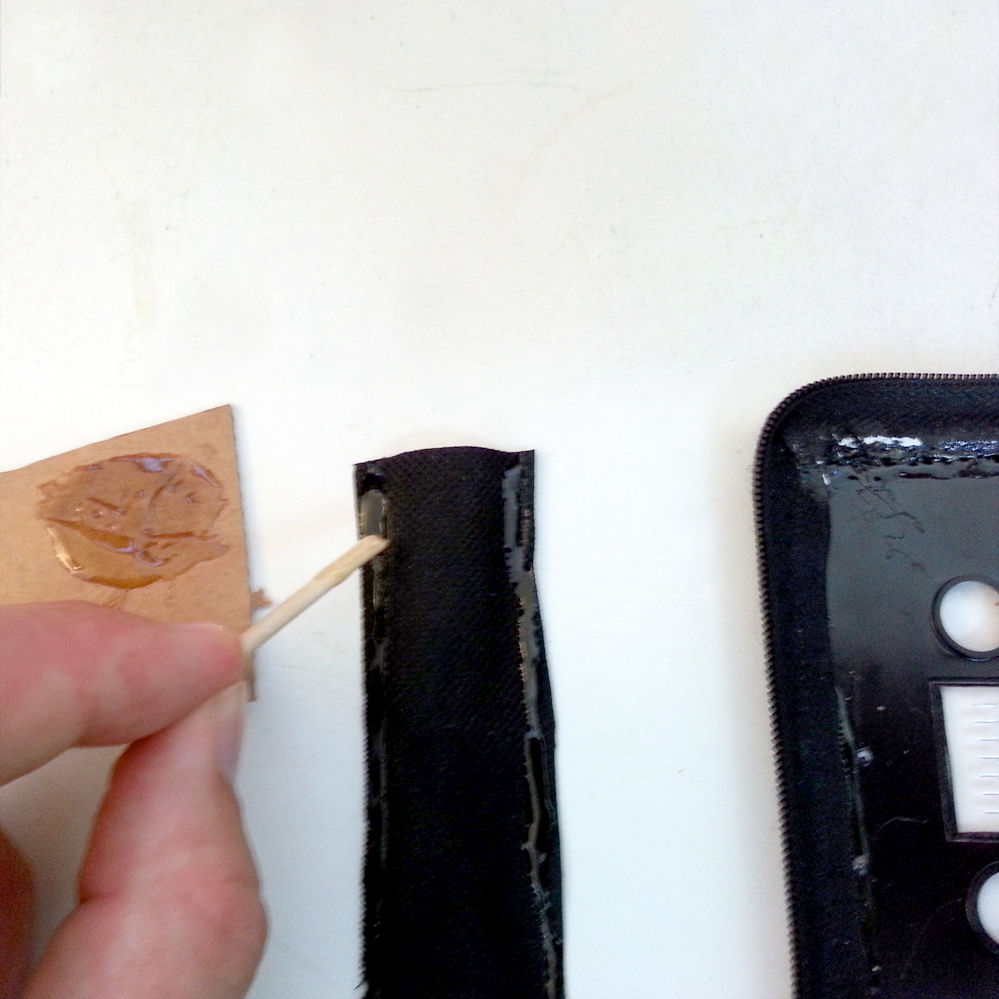
(Photo source: Instructables)
Step 11:
Cover the holes in the sides of the cassette tape. Do this by gluing paper or fabric over them in a matching or contrasting colour, depending on the look you’re going for.
(Photo source: Instructables)
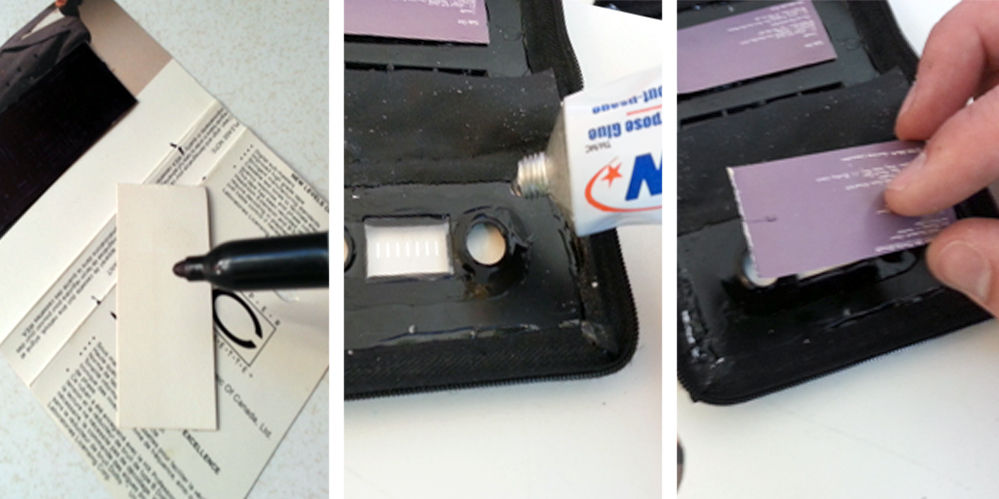
Step 12:
Cover the insides of the wallet. Choose something decorative to look at when you open your wallet! Try using fun graphic fabric or even the paper booklet that came inside the album of the cassette you’re upcycling. Set it aside to dry.
(Photo source: Instructables)
Step 13:
Test the wallet. Close the sides to make sure they meet evenly and zip it open and shut to make sure the zipper doesn’t catch on the edges of the material glued on the inside.
(Photo source: Instructables)
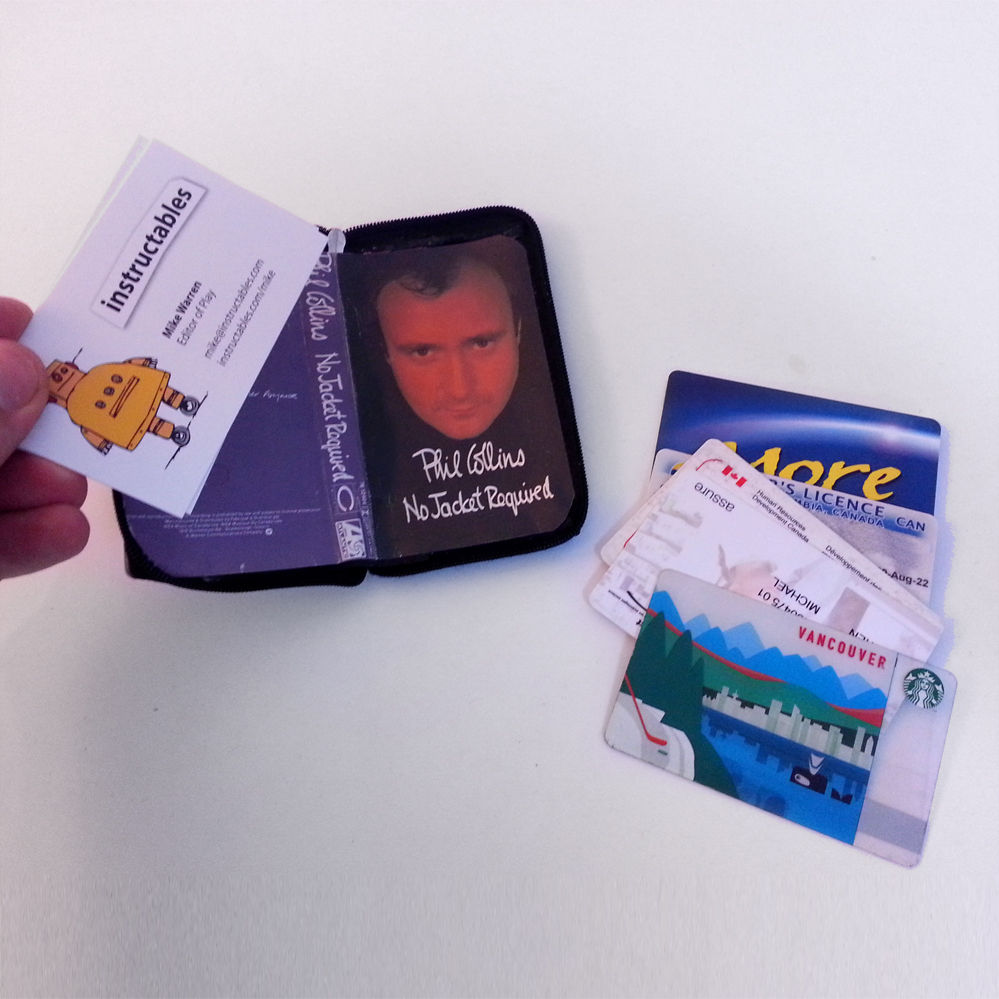
Step 14:
Fill your new cassette wallet!
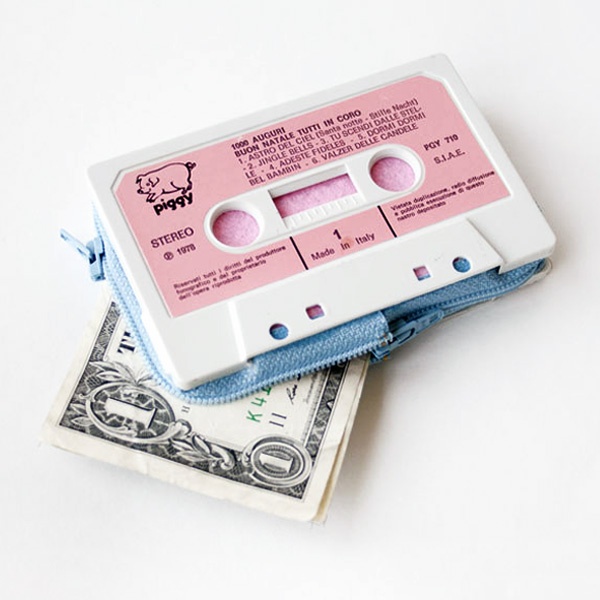
(Photo source: Designboom)
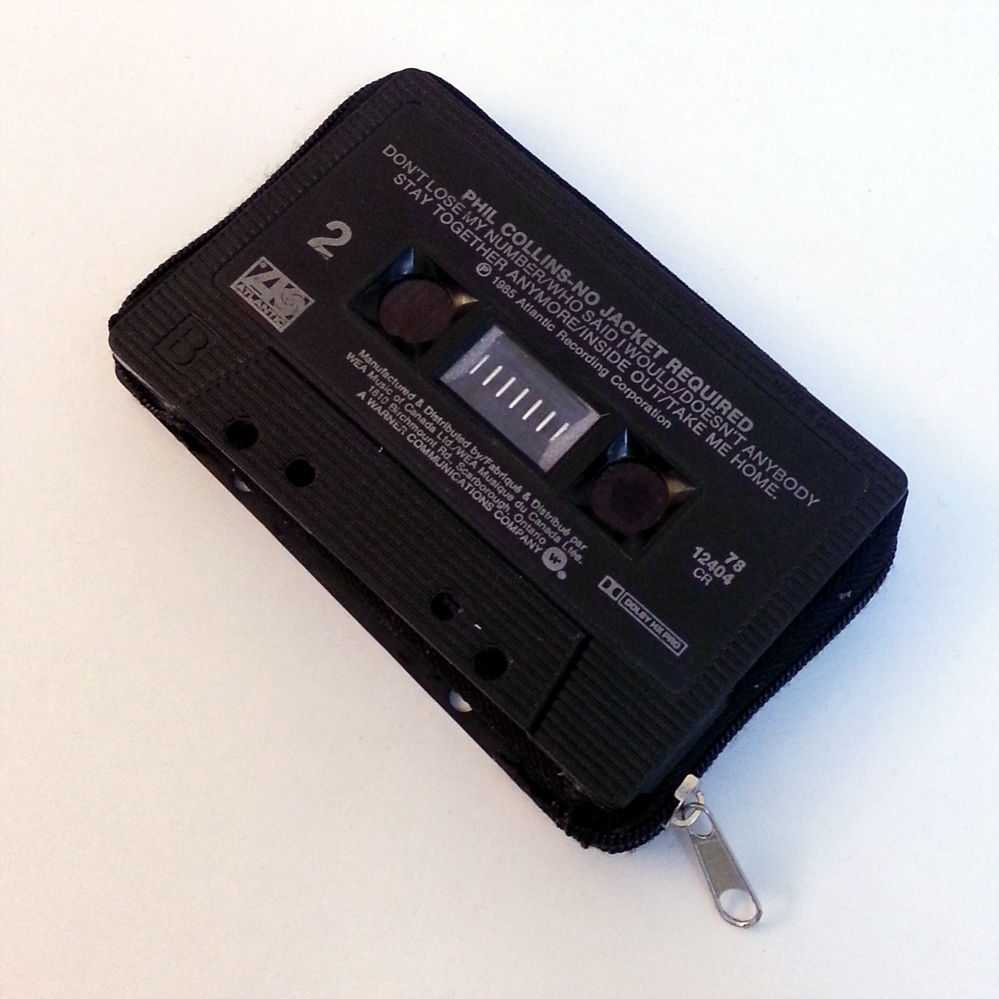
Step 15:
Enjoy your unique new wallet!
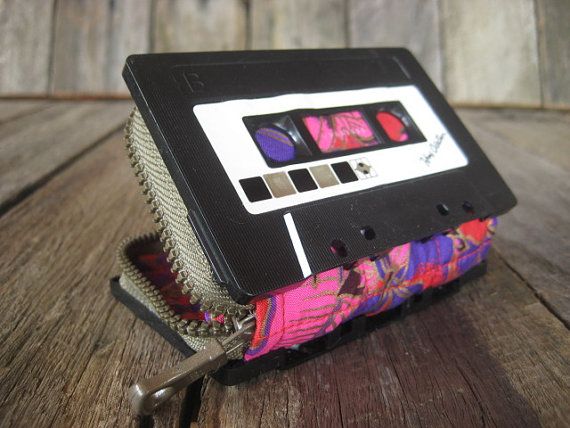
(Photo source: MamaPacha)
Once you’ve made your cassette tape wallet, link us to a picture of the finished product in the comments below!